Beginner Guides
Crochet Cozy Textured V-Neck Cardigan Free Pattern
Anonymous
•
June 29, 2026

Crochet Cozy Textured V-Neck Cardigan Free Pattern
Introduction
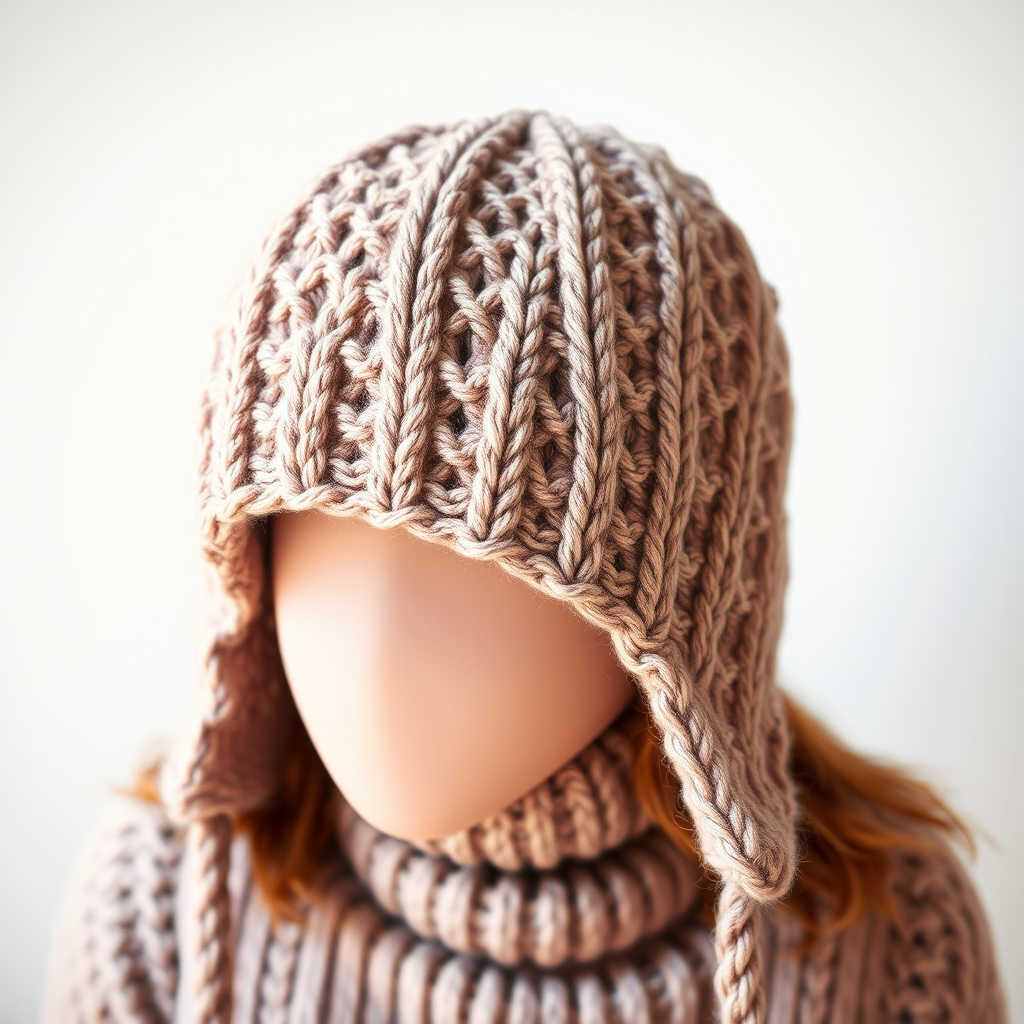
Create your own stylish and warm crochet cardigan with this easy-to-follow pattern. Featuring a beautiful textured stitch and a classic V-neck design, this cardigan is perfect for layering. Whether you're looking to keep warm or add a touch of handmade elegance to your wardrobe, this cardigan is a fantastic project for crocheters of all skill levels, especially beginners!
Materials Needed
- Yarn: Bulky weight yarn
- Crochet Hook: 6.5 mm (K) crochet hook
- Gauge: 12 stitches and 8 rows = 4 inches in pattern stitch
Step-by-Step Instructions
1. Back Panel
- Chain 60 (or your desired width).
- Row 1: Double crochet (dc) in the 4th chain from the hook, then dc across the entire row.
- Row 2: Chain 3 (this counts as your first dc), turn your work. *Dc in the next stitch, chain 1, skip the next stitch; repeat from * across the row.
- Continue repeating Row 2 until the piece measures 24 inches from the beginning.
2. Front Panels (Make 2)
- Chain 30.
- Repeat the same pattern as the back panel until it measures 24 inches, but stop 4 inches from the top to create the V-neck. This means you will stop working on the front panels when they measure 20 inches in length.
3. Sleeves (Make 2)
- Chain 40.
- Row 1: Dc in the 4th chain from the hook, then dc across the entire row.
- Row 2: Chain 3, turn your work. *Dc in the next stitch, chain 1, skip the next stitch; repeat from * across the row.
- Continue repeating Row 2 until the sleeve measures 18 inches in length.
4. Assembly
- Begin by sewing the shoulder seams of the back and front panels together.
- Attach the sleeves to the armholes by aligning the top of the sleeve with the armhole and sewing them together.
- Sew the side seams of the cardigan from the bottom of the front panels to the bottom of the sleeves.
5. Ribbing
- For the bottom hem and cuffs, chain 10.
- Single crochet (sc) in each stitch for 5 rows to create a ribbed effect.
- Attach the ribbing to the bottom of the cardigan and the cuffs of the sleeves by sewing or slip stitching them in place.
6. Button Band
- Create a button band by chaining 4.
- Sc along the edge of the cardigan where you want the buttons to go, adding buttonholes as needed (to create buttonholes, chain 2 and skip 2 stitches before continuing to sc).
- Sew on buttons to correspond with the buttonholes you created.
7. Finishing
- Weave in all loose ends using a yarn needle to ensure a clean finish.
- Block the cardigan to your desired shape, which will help even out the stitches and enhance the overall look of your cardigan.
Congratulations! You have now completed your cozy textured V-neck cardigan. Enjoy wearing your handmade creation or gift it to a loved one!
Also Check Out: We think you'd love this beautiful pattern on our sister site: Chic Crochet Beach Bag with Rope Handles