Cozy Textured Baby Bonnet Knitting Pattern

Cozy Textured Baby Bonnet Knitting Pattern
Introduction
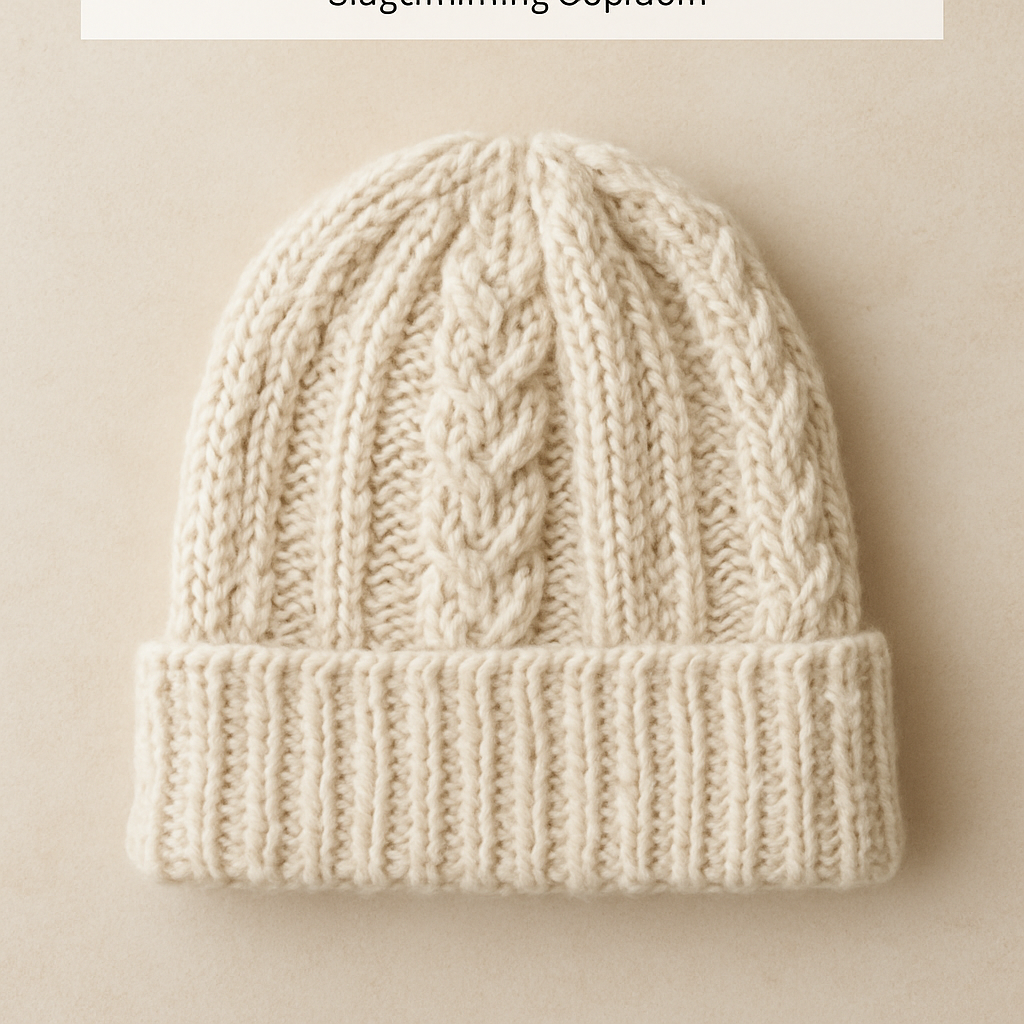
Create a delightful knitted baby bonnet featuring a charming textured pattern with braided ties. This cozy hat is perfect for keeping little ones warm and stylish. Whether you're a beginner or looking to refine your skills, this pattern is designed to be easy to follow, ensuring that you can recreate this adorable accessory at home with confidence.
Materials Needed
- Yarn: Worsted weight yarn
- Knitting Needles: US 7 (4.5mm) knitting needles
- Gauge: 18 stitches and 24 rows = 4 inches in stockinette stitch
Step-by-Step Instructions
1. Cast On
Begin by casting on 64 stitches using your US 7 (4.5mm) knitting needles. Ensure that your stitches are not too tight, as this will affect the elasticity of the bonnet.
2. Work in Garter Stitch
Next, work in garter stitch by knitting every row for a total of 6 rows. This creates a nice border for the bonnet.
3. Begin Textured Pattern
Now we will start the textured pattern:
- Row 1 (Right Side): *K2, P2; repeat from * to end of the row.
- Row 2 (Wrong Side): *P2, K2; repeat from * to end of the row.
Continue repeating these two rows until the piece measures 4 inches from the cast-on edge.
4. Shape the Crown
To shape the crown of the bonnet, follow these instructions:
- Row 1: *K6, K2tog; repeat from * to end of the row.
- Row 2 and all even rows: Purl.
- Row 3: *K5, K2tog; repeat from * to end of the row.
- Row 5: *K4, K2tog; repeat from * to end of the row.
Continue decreasing in this manner, reducing the number of knit stitches before each K2tog, until you have 8 stitches remaining.
5. Finish the Crown
Once you have 8 stitches left, cut the yarn, leaving a long tail (about 12 inches). Thread the tail through the remaining stitches and pull tight to close the top of the bonnet. Secure the closure by weaving in the ends.
6. Sew the Back Seam
With the right sides together, sew the back seam of the bonnet using a whip stitch or your preferred method. This will create a seamless look and ensure the bonnet fits snugly.
7. Create the Ties
For the braided ties, cut two lengths of yarn, each about 24 inches long. Fold each length in half and attach to the bottom corners of the bonnet. Braid each tie and secure the ends with a knot to prevent unraveling.
8. Weave in Ends
Finally, weave in any loose ends using a tapestry needle to give your bonnet a polished finish.
Conclusion
Congratulations! You have successfully knitted a cozy textured baby bonnet. This charming accessory is perfect for keeping little ones warm and stylish. Enjoy your crafting journey and share your beautiful creations with friends and family!