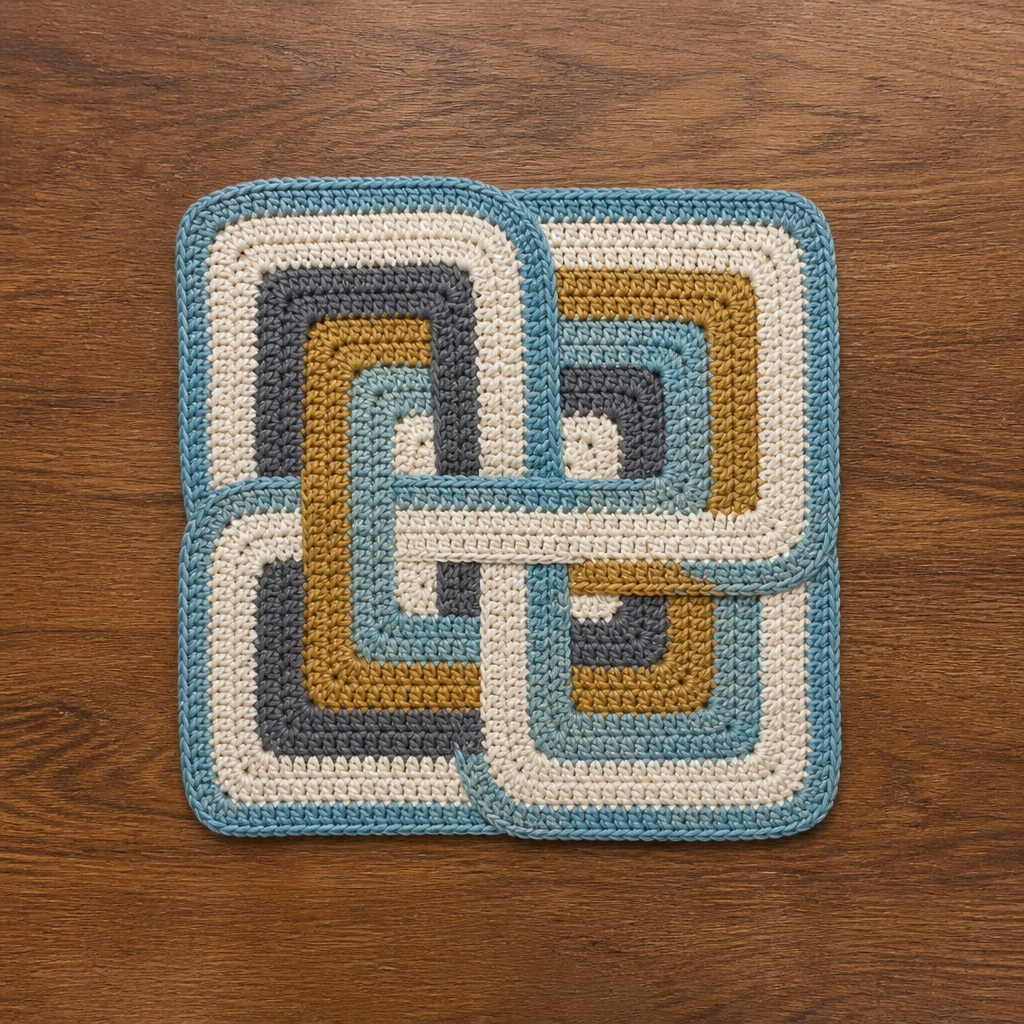
Crochet Boho Floral Granny Square Cardigan Free Pattern

Materials:
- Yarn: Worsted weight yarn in cream, mustard, sage green, dusty rose, teal, and rust.
- Crochet Hook: Size H/5mm
- Buttons: 5 wooden buttons
- Tapestry needle
- Scissors
Gauge:
4 inches = 12 double crochet and 7 rows
Stitches Used:
- Chain (ch)
- Slip Stitch (sl st)
- Single Crochet (sc)
- Double Crochet (dc)
- Popcorn Stitch
- Granny Square Pattern
Pattern:
Floral Granny Squares:
Center: With mustard, make a magic ring.
Rnd 1: Ch 3 (counts as dc), 2 dc in ring, *ch 2, 3 dc in ring; rep from * 3 more times, ch 2, join with sl st to top of beginning ch-3.—12 dc and 4 ch-2 sps.
Fasten off mustard.
Petals: Join teal in any ch-2 sp.
Rnd 2: Work 5 dc in each ch-2 sp around. Join with sl st.
Fasten off teal.
Square: Join cream yarn in any dc.
Rnd 3: Ch 3, dc in next dc, *(2 dc, ch 2, 2 dc) in next dc (corner made), dc in each of next 5 dc; repeat from * around, ending with dc in each of last 3 dc, join with sl st to top of beginning ch-3.
Body:
Make 30 floral granny squares and sew together to form the main body of the cardigan, following the pattern in the image for color placement and layout.
Ribbed Hem:
With cream yarn, attach yarn to the bottom of the cardigan.
Row 1: Ch 2 (does not count as st here and throughout), fpdc around post of each dc to end, turn.
Row 2: Ch 2, *bpdc around post of next st, fpdc around post of next st; repeat from * to end, turn.
Repeat Row 2 until ribbing measures 2 inches. Fasten off.
Sleeves:
Make 10 floral granny squares for each sleeve, sew into a tube. Attach cream yarn to the bottom edge of the sleeve and work ribbed hem as you did for the body.
Neck and Button Band:
With cream yarn, attach yarn to the bottom corner of the front panel.
Row 1: Work sc evenly along the edge of the cardigan and neckline.
Row 2: Ch 1, work sc equally around, making buttonholes on one side as needed.
Fasten off and weave in all ends.
Finishing:
Sew on buttons evenly along the button band opposite the buttonholes. Block the cardigan to measurements, lay flat to dry. Enjoy your new wearable piece of art!