Gilded Fern Lace Shawl Free Pattern – A Knitted Copperwood Elegance

Gilded Fern Lace Shawl Free Pattern – A Knitted Copperwood Elegance
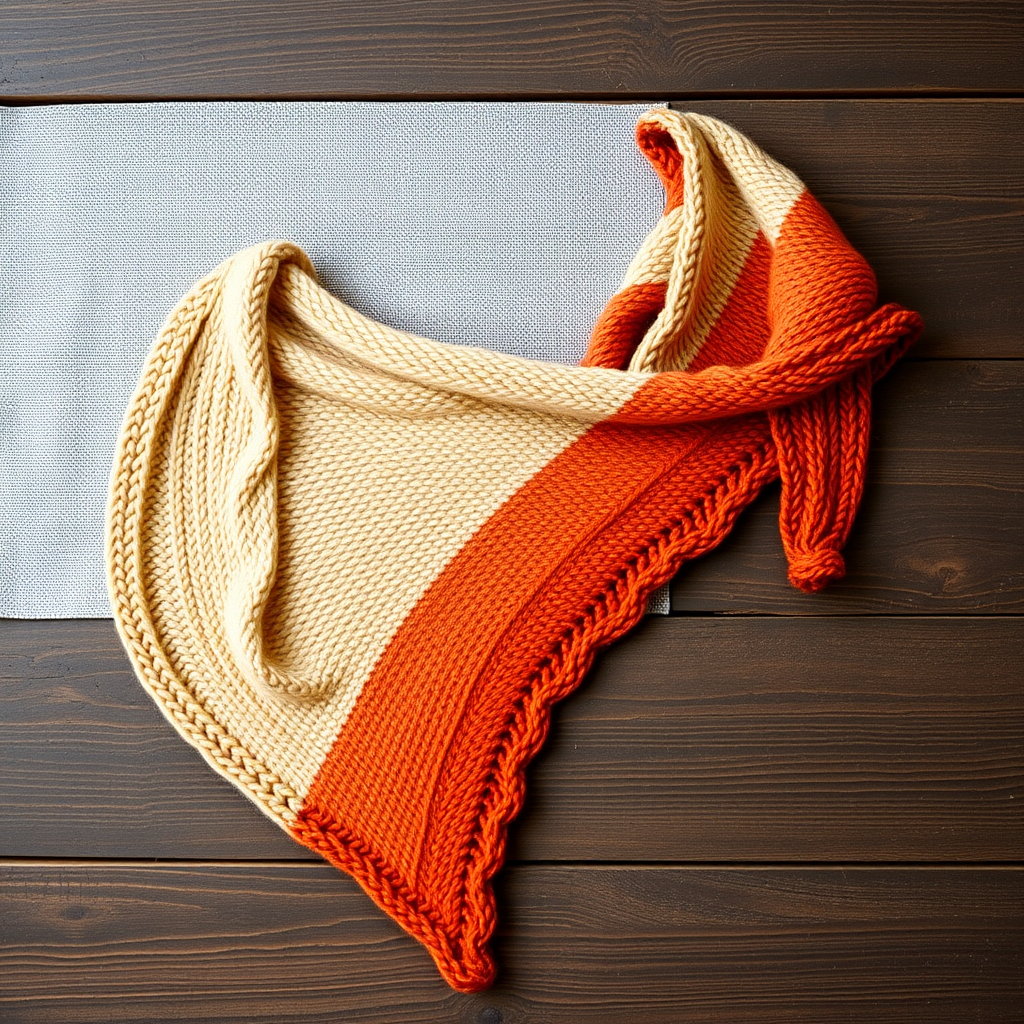
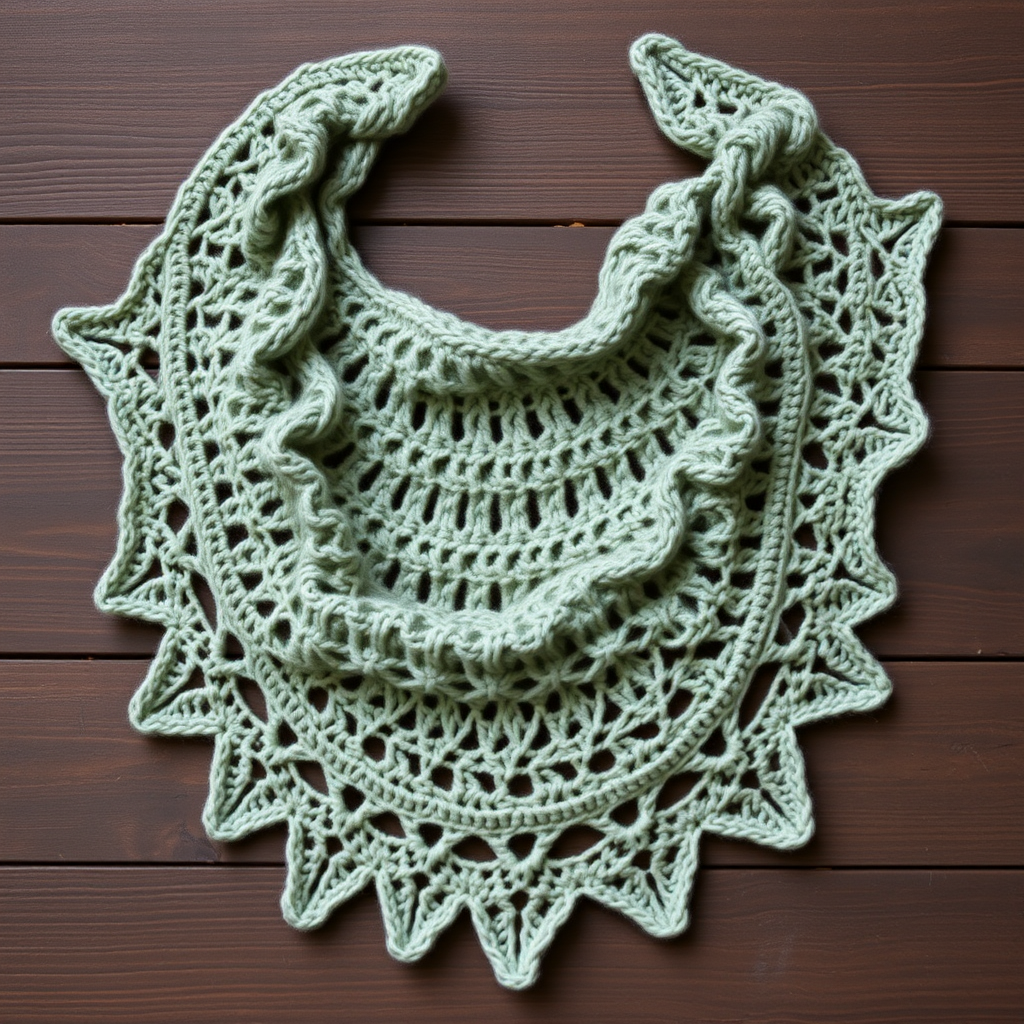
Wrap yourself in the warm, earthy elegance of a copper-toned lace shawl that drapes like autumn sunlight through ferns. This knitted masterpiece blends delicate leaf motifs with a rich, burnished palette for a truly unique accessory. Whether you're a seasoned knitter looking for a meditative project or a brave beginner ready to tackle lace, this pattern offers a rewarding journey into texture and color. The Gilded Fern Shawl is more than just an accessory; it's a wearable piece of autumn, designed to be cherished for years to come.
This free knitting pattern will guide you through creating a stunning triangular shawl from the top down. The construction is clever and intuitive, allowing you to watch your work grow row by row. The combination of simple increases and a repeating lace motif creates a fabric that is both structured and fluid, perfect for draping over your shoulders on a crisp evening. Let's gather our materials and begin this cozy, sophisticated project.
Materials Needed
Before you cast on, ensure you have all the necessary supplies. The beauty of this pattern lies in its simplicity of materials, but the quality of your yarn will truly make the colors sing.
- Yarn: Fingering weight yarn in three colors: copper, burnt sienna, and deep bronze (approx. 800 yards total). A soft, matte-finish yarn with good stitch definition is ideal to showcase the lace.
- Needle: US 6 (4.0 mm) circular knitting needle with a 32-inch cable. The long cable is essential to accommodate the growing number of stitches as the shawl expands.
- Notions: Stitch markers (optional, but helpful for tracking lace repeats), a tapestry needle for weaving in ends, and blocking pins or wires for the finishing touches.
- Gauge: 20 stitches and 28 rows = 4 inches in stockinette stitch (blocked). While gauge is important for size, the drape of lace is forgiving; focus on maintaining a consistent tension.
Step-by-Step Instructions
This shawl is knitted from the top center down, creating a graceful triangular shape. Work all lace patterns as charted or written. The pattern begins with a simple garter stitch increase section, then transitions into a beautiful fern-inspired lace motif. Don't be intimidated by the lace; the repeats are simple and rhythmic once you get going.
Getting Started: The Center Cast-On
We begin with just three stitches. This is the point of the shawl that will sit at the back of your neck.
Cast On: With copper yarn, cast on 3 stitches.
Row 1 (RS): K1, yo, k1, yo, k1 (5 stitches).
Row 2 (WS): K2, purl to last 2 stitches, k2. (This establishes the garter stitch border that will run along the edges of the shawl.)
Row 3: K1, yo, k1, yo, k2, yo, k1, yo, k1 (9 stitches).
Row 4: K2, purl to last 2 stitches, k2.
Row 5: K1, yo, k1, yo, knit to last 3 stitches, yo, k1, yo, k1 (13 stitches).
Row 6: K2, purl to last 2 stitches, k2.
Repeat Rows 5-6 until you have 45 stitches, ending with a WS row. This creates the solid, structured base from which the lace will bloom. The increases are always placed two stitches in from the edge, creating a neat, decorative line.
The Fern Lace Pattern
Now we begin the main event. The lace pattern is a 6-row repeat that creates the delicate fern fronds. Pay close attention to the yarn overs (yo) and decreases (k2tog, ssk) to ensure your stitch count remains correct.
Row 1 (RS): K1, yo, k1, yo, *k2tog, yo, k1, yo, ssk, k1; repeat from * to last 3 stitches, yo, k1, yo, k1.
Row 2 (WS): K2, purl to last 2 stitches, k2.
Row 3: K1, yo, k1, yo, *k1, yo, ssk, k2tog, yo, k1; repeat from * to last 3 stitches, yo, k1, yo, k1.
Row 4: K2, purl to last 2 stitches, k2.
Row 5: K1, yo, k1, yo, *yo, ssk, k1, k2tog, yo, k1; repeat from * to last 3 stitches, yo, k1, yo, k1.
Row 6: K2, purl to last 2 stitches, k2.
Repeat Rows 1-6, alternating colors every 12 rows (copper, burnt sienna, deep bronze, then repeat), until the shawl measures approximately 28 inches from the cast-on edge, ending with a WS row. The color changes create the beautiful, seamless gradient that evokes autumn leaves. When changing colors, simply drop the old yarn and pick up the new one at the beginning of a RS row, leaving a tail to weave in later.
Creating the Scalloped Edging
The edging adds a final flourish, creating a subtle scalloped border that enhances the organic, fern-like quality of the shawl. This section uses a simpler lace repeat to finish the piece beautifully.
Row 1 (RS): K1, yo, k1, yo, *k2tog, yo; repeat from * to last 3 stitches, yo, k1, yo, k1.
Row 2 (WS): K2, purl to last 2 stitches, k2.
Row 3: K1, yo, k1, yo, *k1, yo, k2tog; repeat from * to last 3 stitches, yo, k1, yo, k1.
Row 4: K2, purl to last 2 stitches, k2.
Repeat Rows 1-4 once more, then bind off loosely in pattern. A loose bind-off is crucial to prevent the edge from pulling and to maintain the drape of the lace. You can bind off using a larger needle or a yarn-over bind-off method for extra stretch.
Finishing Touches
The final step is what transforms your knitting from a flat piece into a beautiful, draped shawl.
Finishing: Weave in all ends carefully with a tapestry needle, ensuring they are secure but not visible on the right side. Block the shawl gently to open up the lace, pinning the edges to create a smooth, scalloped shape. Use blocking wires along the straight top edge and pins along the scalloped bottom to define the shape. Mist with water (or soak and gently squeeze out excess) and allow to dry completely. This process is essential for lace; it relaxes the yarn and opens up the stitch patterns, revealing the true beauty of the ferns.
Once dry, your Gilded Fern Lace Shawl is ready to wear. Drape it over your shoulders for a touch of autumn elegance, or gift it to someone special. The combination of the rich copper palette and the delicate lace pattern makes this a timeless piece that captures the cozy, sophisticated spirit of the season. Happy knitting!