Dune Mirage Crescent Shawl Free Pattern – Knit a Desert Sunset Wrap

Dune Mirage Crescent Shawl: Knit a Desert Sunset Wrap
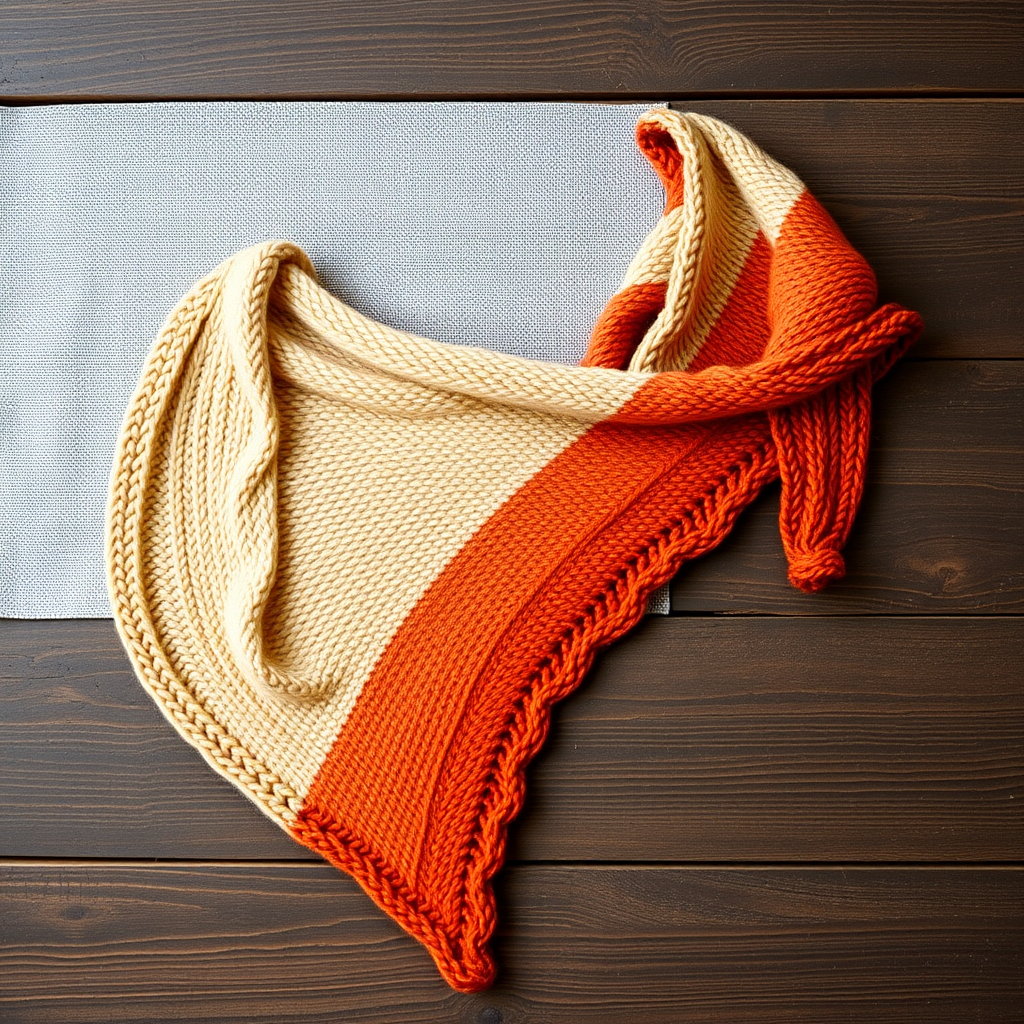
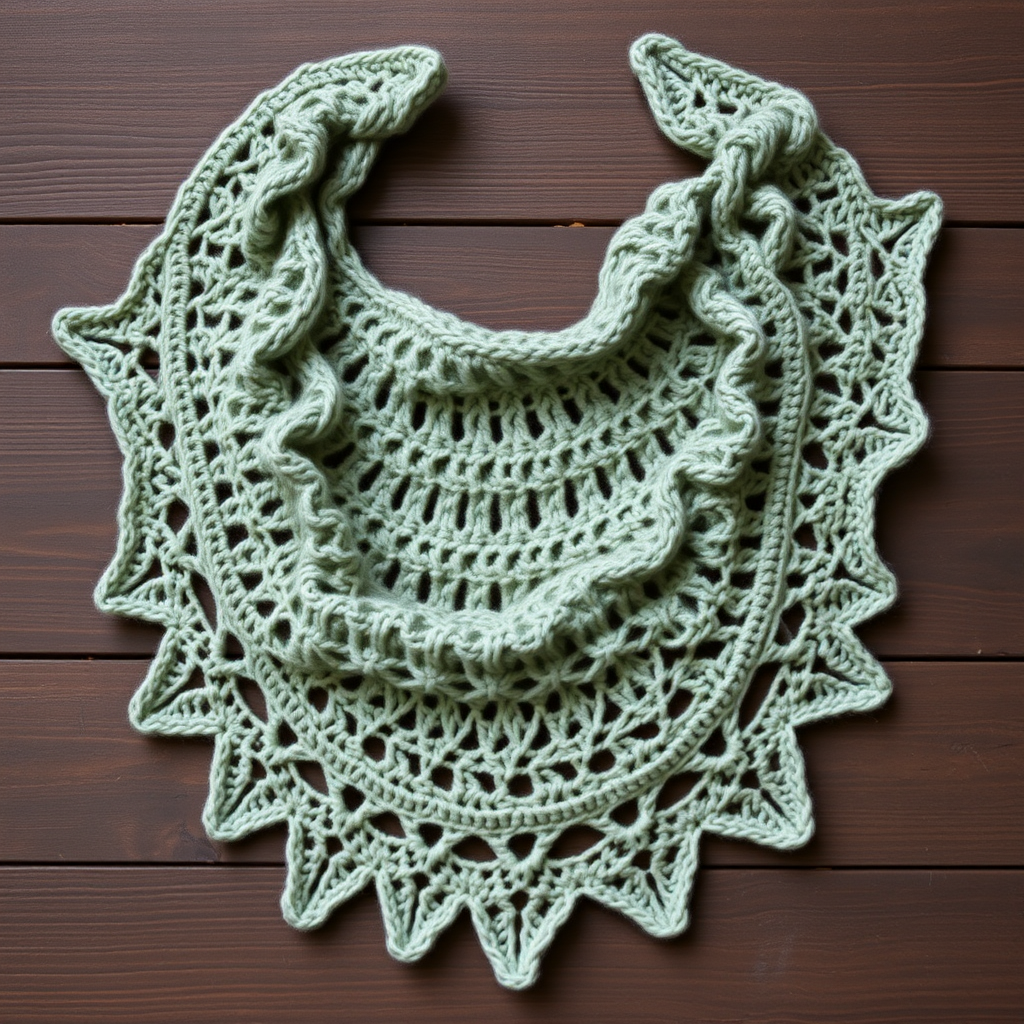
Wrap yourself in the warm hues of a desert evening with this crescent-shaped shawl, knitted in a gradient of sunset oranges, pinks, and purples. The soft, airy lace pattern mimics the shifting sands and the fading light, creating a stunning, versatile accessory. This free knitting pattern is perfect for intermediate knitters looking to expand their skills while creating a breathtaking piece. The crescent shape drapes beautifully over the shoulders, and the gradient color transitions make every row a visual delight.
Whether you're a seasoned knitter or a confident beginner ready for a challenge, this pattern offers a rewarding project with a memorable result. The lace repeat is simple to memorize, allowing you to settle into a soothing rhythm as the colors shift beneath your fingers. Let's dive into creating this desert-inspired masterpiece.
Materials Needed
Before you begin, gather the following materials to ensure a smooth knitting experience:
- Yarn: Fingering weight yarn in 4 colors:
- Color A: Burnt orange (100g)
- Color B: Coral pink (100g)
- Color C: Magenta (100g)
- Color D: Deep purple (100g)
- Needle: US 6 (4.0 mm) circular knitting needle, 32 inches or longer. The long circular needle is essential to accommodate the growing number of stitches.
- Notions: Stitch markers (at least 2), tapestry needle for weaving in ends, blocking mats and pins for finishing.
- Gauge: 20 stitches and 28 rows = 4 inches in stockinette stitch, after blocking. Gauge is important for achieving the correct size and drape, though this shawl is forgiving.
Step-by-Step Instructions
This shawl is knitted from the top center outwards, increasing on both sides to form a crescent shape. The lace pattern is a simple repeat that is easy to memorize. Follow these detailed instructions carefully, and you'll have a beautiful shawl in no time.
Abbreviations
- CO: Cast on
- K: Knit
- P: Purl
- YO: Yarn over
- K2tog: Knit two together (right-leaning decrease)
- SSK: Slip, slip, knit (left-leaning decrease)
- PM: Place marker
- SM: Slip marker
- RS: Right side
- WS: Wrong side
Setup: Casting On and Creating the Base
This unique cast-on creates the foundation for the crescent shape. Follow these steps carefully:
- CO 5 stitches using your preferred method (long-tail cast on works well).
- Knit 6 rows in garter stitch (knit every row). Do not turn after the last row.
- Rotate the work 90 degrees clockwise. Along the side edge, pick up and knit 3 stitches. You should be picking up along the edge of the garter stitch rectangle you just created.
- Rotate the work again (now you're at the cast-on edge). Pick up and knit 5 stitches from the cast-on edge.
- You now have 13 stitches on the needle. This forms the foundation of your shawl.
Initial Increases: Shaping the Crescent
Now we'll begin the increases that create the crescent shape. The markers divide the work into three sections: two side sections and a center section.
Row 1 (RS): K3, YO, K1, PM, K5, PM, K1, YO, K3. (15 stitches)
Row 2 (WS): K3, P to last 3 stitches, K3. (The garter stitch edges are maintained throughout.)
Row 3 (RS): K3, YO, K to marker, YO, SM, K5, SM, YO, K to last 3 stitches, YO, K3. (19 stitches)
Row 4 (WS): K3, P to last 3 stitches, K3.
Repeat Rows 3 and 4 until you have 35 stitches total. This means you'll have 17 stitches on each side section (between the edge and the marker) and 5 center stitches. End with a WS row (a purl row).
Begin Lace Pattern
Now the lace pattern begins. This 4-row repeat creates the beautiful eyelet pattern reminiscent of desert sands. The increases continue on Row 3 of the pattern, maintaining the crescent shape.
Row 1 (RS): K3, YO, K1, (YO, K2tog) repeat until 2 stitches before marker, K2, YO, SM, K5, SM, YO, K2, (SSK, YO) repeat until 2 stitches before last 3, K1, YO, K3.
Let's break this down: After the initial K3, YO, K1, you'll work a series of (YO, K2tog) pairs across the left side section. This creates a row of eyelets. When you reach 2 stitches before the marker, knit those 2 stitches, then YO, slip the marker. Knit the 5 center stitches, slip the second marker, YO. Now on the right side section, knit 2 stitches, then work (SSK, YO) pairs until 2 stitches before the last 3. Knit 1, YO, K3.
Row 2 (WS): K3, P to last 3 stitches, K3.
Row 3 (RS): K3, YO, K to marker, YO, SM, K5, SM, YO, K to last 3 stitches, YO, K3.
This is the increase row. Knit all stitches between the edge and the marker, with a YO on each side of the markers.
Row 4 (WS): K3, P to last 3 stitches, K3.
Repeat these 4 rows, changing colors every 20 rows in the order A (burnt orange), B (coral pink), C (magenta), D (deep purple).
Color Change Tip: When changing colors, do so at the beginning of a RS row. Leave a tail of about 6 inches to weave in later. You can either cut the old color or carry it up the side (though for a gradient effect, cutting and weaving in is cleaner).
Continue until you have completed all four color sections, ending with a WS row after the last repeat. Each color section is 20 rows, so you'll have 80 rows of lace pattern total.
Edging: The Perfect Finish
The edging adds a delicate, scalloped finish to the shawl. It's worked similarly to the lace pattern but with a slightly different stitch arrangement.
Row 1 (RS): K3, YO, (K2tog, YO) repeat until 2 stitches before marker, K2, YO, SM, K5, SM, YO, K2, (YO, SSK) repeat until 2 stitches before last 3, YO, K3.
Note the difference: On the left side, you're working (K2tog, YO) pairs, and on the right side, (YO, SSK) pairs. This creates a mirror-image effect that frames the shawl beautifully.
Row 2 (WS): K3, P to last 3 stitches, K3.
Row 3 (RS): K3, YO, K to marker, YO, SM, K5, SM, YO, K to last 3 stitches, YO, K3.
Row 4 (WS): Bind off loosely in purl. Important: Bind off in purl on the wrong side to create a stretchy edge that won't pull the shawl. Use a larger needle or a loose bind-off method if needed.
Finishing Touches
Weave in all ends using a tapestry needle. Be sure to weave in securely but not too tightly, as this can pucker the fabric.
Blocking is essential for this shawl. The lace pattern needs to be opened up to show its full beauty, and blocking will shape the crescent. Here's how:
- Soak the shawl in lukewarm water with a gentle wool wash for 20-30 minutes.
- Gently squeeze out excess water (do not wring or twist).
- Roll the shawl in a towel to remove more water.
- Lay the shawl flat on blocking mats. Gently stretch it into a crescent shape, pinning the edges. Focus on opening up the lace eyelets.
- Pay special attention to the points of the crescent and the center. Pin the top edge straight and the bottom edge in a gentle curve.
- Allow to dry completely (24-48 hours) before unpinning.
Once blocked, your Dune Mirage Crescent Shawl is ready to wear. The gradient of sunset colors and the delicate lace pattern create a stunning accessory that will be treasured for years. The crescent shape drapes elegantly over the shoulders, and the soft, airy fabric is perfect for cool evenings.
Enjoy your knitting journey, and remember: each stitch brings you closer to a beautiful desert sunset you can wear. Happy knitting!