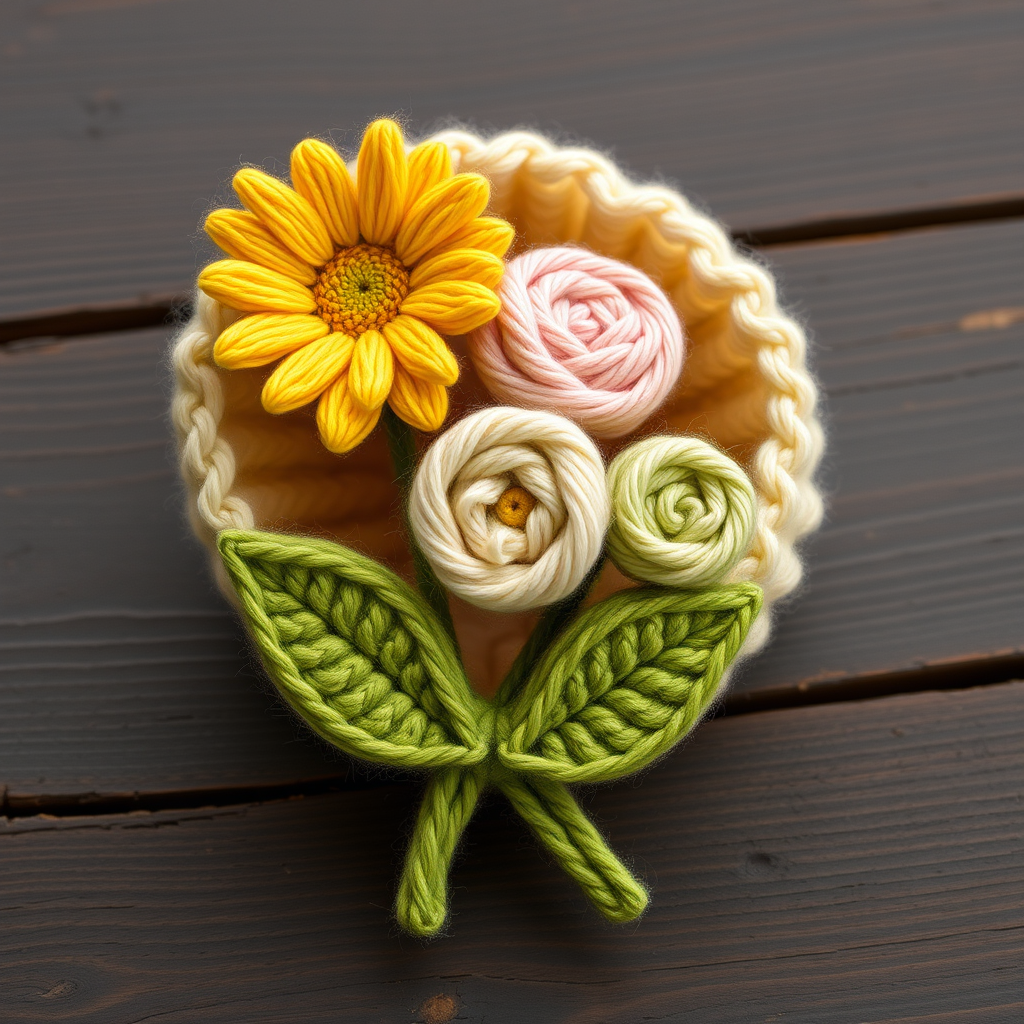
Enchanted Blossom Bouquet Free Pattern – Knit a Whimsical Wildflower Posy
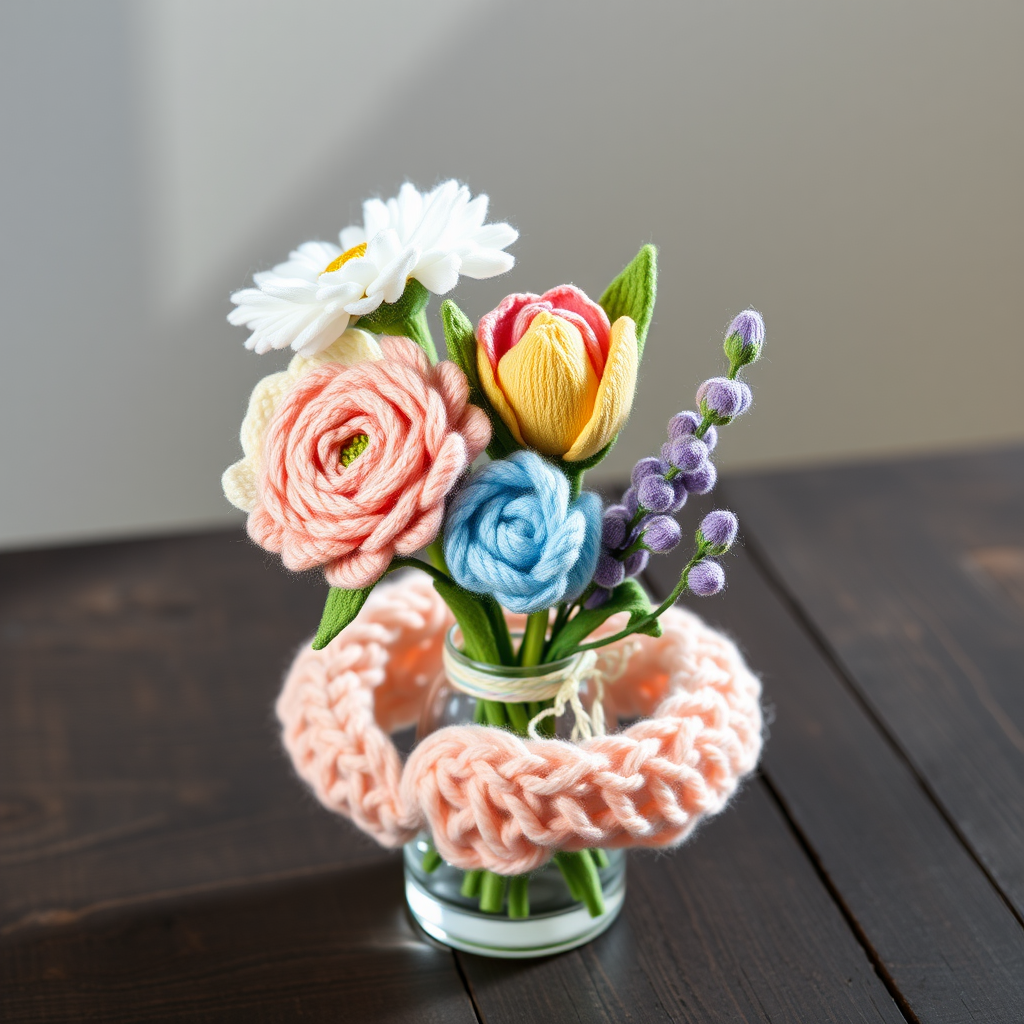
Enchanted Blossom Bouquet Free Pattern – Knit a Whimsical Wildflower Posy
Bring a touch of everlasting spring to your home with this charming knitted flower bouquet, featuring five distinct wildflower varieties in soft, dreamy pastels. Each bloom is crafted with simple knit stitches and delicate shaping, making it a delightful project for knitters of all skill levels. Whether you're a seasoned crafter or picking up needles for the first time, this pattern is designed to be approachable, forgiving, and endlessly rewarding. The finished bouquet makes a perfect handmade gift, a cheerful addition to your desk, or a whimsical centerpiece for a special occasion.
Materials Needed
Before you begin, gather the following supplies to ensure a smooth and enjoyable knitting experience:
- Yarn: Worsted weight cotton or acrylic yarn in assorted pastel colors (e.g., blush pink, lavender, butter yellow, mint green, sky blue) and a small amount of green for stems and leaves.
- Needles: US Size 6 (4.0 mm) knitting needles, plus a tapestry needle for assembly.
- Optional: Pipe cleaners (for stems), fiberfill (for stuffing the tulip), and a small vase or ribbon for display.
Gauge: 20 stitches and 28 rows = 4 inches in stockinette stitch. Gauge is not critical for this project, but consistent tension will help your flowers look uniform and polished.
Step-by-Step Instructions
This pattern creates five different flower types: a daisy, a rose, a tulip, a bellflower, and a lavender sprig. Each flower is knitted flat and then seamed, with stems made from twisted yarn or pipe cleaners wrapped in yarn. Follow the instructions below carefully, and you'll have a beautiful bouquet in no time.
General Notes
- Work in stockinette stitch (knit on right side, purl on wrong side) unless otherwise noted.
- Use a slip knot to cast on.
- For increases, use the knit front and back (kfb) method: knit into the front of the stitch, then knit into the back of the same stitch before slipping it off the needle.
- For decreases, use knit two together (k2tog) or slip slip knit (ssk) as indicated. To k2tog, insert the right needle through two stitches at once and knit them together. To ssk, slip two stitches knitwise one at a time, then insert the left needle into the front of both slipped stitches and knit them together.
- Always leave long tails (at least 12 inches) when cutting yarn for seaming and assembly.
1. Daisy (Make 2 per bouquet)
The daisy is a cheerful, classic bloom with a gathered center and ruffled petals. Here's how to make it:
- Cast on 60 stitches.
- Row 1 (RS): Knit all stitches.
- Row 2 (WS): Purl all stitches.
- Row 3: *K2tog, repeat from * to end of row (30 stitches remain).
- Row 4: Purl all stitches.
- Row 5: *K2tog, repeat from * to end of row (15 stitches remain).
- Cut the yarn, leaving a 12-inch tail. Thread the tail through a tapestry needle, then pass it through the remaining 15 stitches. Pull tight to gather the fabric into a circle, and secure with a few stitches. This forms the center of the daisy.
- For the petals: You have two options. The simplest method is to use the tail to sew a running stitch around the cast-on edge, then pull to ruffle, creating petals. Alternatively, for more defined petals, knit a separate petal strip: Cast on 10 stitches, knit every row (garter stitch) for 2 inches, then bind off. Make 8-10 such strips and sew them evenly around the center. You can also pick up and knit 1 stitch in each of the 60 cast-on edge stitches and bind off immediately to create a looped petal effect.
- Weave in any loose ends, but leave the center tail long enough to attach the stem later.
2. Rose (Make 1)
The rose is a romantic, layered bloom that's surprisingly easy to create. Follow these steps:
- Cast on 40 stitches.
- Row 1 (RS): Knit all stitches.
- Row 2 (WS): Purl all stitches.
- Row 3: *Kfb, repeat from * to end of row (80 stitches now on needle).
- Row 4: Purl all stitches.
- Row 5: *K2tog, repeat from * to end of row (40 stitches remain).
- Row 6: Purl all stitches.
- Bind off loosely. Do not cut the yarn; leave a long tail (at least 18 inches) for gathering.
- Thread the tail through a tapestry needle and run a gathering stitch along the bound-off edge. Pull tight to gather the fabric into a spiral.
- Starting from one end, roll the fabric tightly to form a rose shape. As you roll, secure the layers with small stitches using the tail. Continue rolling and stitching until the entire fabric is used, then fluff the outer layers gently to create a natural, open rose.
- Secure the base with a few extra stitches and weave in the end.
3. Tulip (Make 1)
The tulip is a neat, cup-shaped flower with a lovely silhouette. Here's how to knit it:
- Cast on 30 stitches.
- Row 1 (RS): Knit all stitches.
- Row 2 (WS): Purl all stitches.
- Row 3: *Kfb, repeat from * to end of row (60 stitches now on needle).
- Row 4: Purl all stitches.
- Row 5: *K2tog, repeat from * to end of row (30 stitches remain).
- Row 6: Purl all stitches.
- Bind off, leaving a long tail.
- Fold the piece in half with the right sides together, and sew the side seams to form a cone shape. Turn the cone right side out.
- Gather the top edge with a running stitch using the tail. Stuff the tulip lightly with fiberfill, then pull the gathering thread tight to close the top. Secure with a few stitches.
- Add a small green leaf at the base of the tulip (see leaf instructions below) for a realistic touch.
4. Bellflower (Make 1)
The bellflower is a delicate, hanging bloom with a distinctive bell shape. Follow these instructions:
- Cast on 24 stitches.
- Work in stockinette stitch (knit on RS, purl on WS) for 2 inches, ending with a WS row.
- Next row (RS): *K2tog, repeat from * to end of row (12 stitches remain).
- Next row (WS): Purl all stitches.
- Next row (RS): *K2tog, repeat from * to end of row (6 stitches remain).
- Cut the yarn, leaving a 12-inch tail. Thread the tail through the remaining 6 stitches, pull tight, and secure.
- Sew the side seam to form a tube, then turn the piece right side out. The gathered top will naturally form the bell shape.
- If desired, add a small loop of yarn at the top for hanging, or simply attach it to a stem.
5. Lavender Sprig (Make 1)
Lavender adds a lovely vertical element to the bouquet. Here's how to create the buds:
- Cast on 8 stitches.
- Work in garter stitch (knit every row) for 3 inches.
- Next row: *K2tog, repeat from * to end of row (4 stitches remain).
- Cut the yarn, thread through the remaining 4 stitches, pull tight, and secure. This forms a small bud.
- Make 3-4 buds total, then sew them along a green stem (see below) to create a sprig.
Stems and Leaves
Every flower needs a sturdy stem and a few leaves to complete the look. Here's how to make them:
- Stems: For each flower, cut a piece of green yarn or use a pipe cleaner. If using a pipe cleaner, wrap the green yarn tightly around it for a few inches, securing with glue or small stitches. Attach the flower to the top of the stem by sewing through the base of the flower and the stem.
- Leaves: Cast on 5 stitches. Knit every row (garter stitch) for 1 inch. Then, decrease with k2tog at each end of the row until 1 stitch remains. Bind off and weave in the ends. Sew the leaves to the stems at various heights for a natural look.
Assembly
Once all the flowers, stems, and leaves are ready, it's time to assemble your bouquet:
- Arrange all five flowers together, twisting the stems to form a cohesive bouquet. Position the taller flowers (like lavender and tulip) in the center or back, and the shorter ones (like daisies and bellflower) around the edges.
- Wrap the stems with a ribbon or a knitted strip. To make a knitted wrap, cast on 10 stitches, knit in garter stitch for 6 inches, bind off, and wrap it around the stems. Secure with stitches or a small amount of glue.
- Optionally, place the bouquet in a small vase or wrap it in tissue paper for a beautiful gift.
Your Enchanted Blossom Bouquet is now complete! Display it proudly on a shelf, desk, or table, or gift it to someone special. The soft pastel colors and whimsical shapes are sure to bring a smile to anyone's face. Happy knitting!