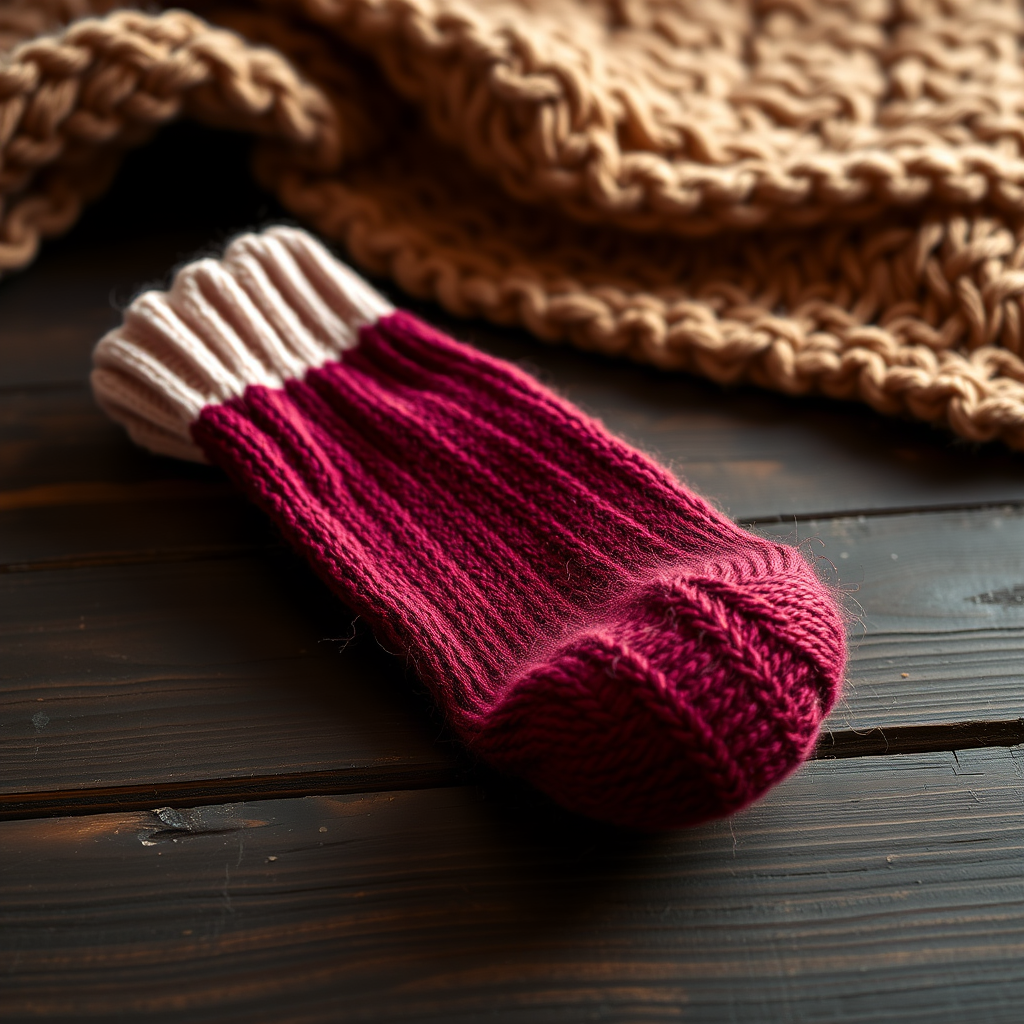
Free Pattern: Reversed Cuff House Sock Knit in Cobalt and Orange

Free Pattern: Reversed Cuff House Sock Knit in Cobalt and Orange
Introduction
Welcome to your very first sock! This Reversed Cuff House Sock is the perfect project for a complete beginner who has never picked up knitting needles before. It is a short, cozy house sock knit as a simple straight tube with a deep fold-over cuff, so there is no complicated shaping to worry about. The body is a warm solid orange, and the turned cuff features a bold cobalt blue block that reveals itself when you fold it down. When finished, you will have a soft, slouchy, matte wool sock that feels wonderful on bare feet and looks impressively handmade. Take it one stitch at a time, and you will be amazed at what you can create.
Materials Needed
- Yarn: Fingering weight wool yarn (approximately 200 yds / 183 m per 50 g skein). You will need 1 skein in Orange (MC) and 1 skein in Cobalt (CC). The sample uses a smooth, round 100% wool.
- Needles: US 2 (2.75 mm) double-pointed needles (set of 4) OR a 9-inch circular needle for the magic loop method, or any size needed to obtain gauge.
- Stitch markers: At least 2, to mark the beginning of the round and the heel section.
- Tapestry needle: A blunt-tipped needle with a large eye for weaving in ends and grafting the toe.
- Scissors: Sharp scissors for cutting yarn.
- Finished size: Foot circumference 7.5 inches (19 cm) unstretched, to fit women's US shoe size 6–9. Leg length from cuff to heel 6 inches (15 cm). Cuff depth when folded 2.5 inches (6.5 cm).
Abbreviations and Beginner Glossary
- st / sts – stitch / stitches (one loop on your needle).
- k – knit (insert the right needle into the front of the stitch from left to right, wrap yarn around, and pull the loop through to the front).
- p – purl (insert the right needle into the front of the stitch from right to left, wrap yarn around, and pull the loop through to the back).
- RS – right side (the front, outward-facing side of your work).
- WS – wrong side (the back, inward-facing side of your work).
- sl 1 – slip one stitch (move one stitch from the left needle to the right needle without knitting it).
- k2tog – knit two stitches together (insert the needle into two stitches at once and knit them as one; this decreases by one stitch).
- p2tog – purl two stitches together (purl two stitches as one; this decreases by one stitch).
- ssk – slip, slip, knit (slip one stitch knitwise, slip a second stitch knitwise, then knit both together through the back loops; this decreases by one stitch).
- MC – main color (Orange).
- CC – contrasting color (Cobalt).
- rnd / rnds – round / rounds (one complete circle of knitting when working in the round).
- intarsia – a colorwork technique where separate balls of yarn are used for each color block, twisting the yarns where they meet to avoid holes.
- Kitchener stitch – a grafting technique that joins two sets of live stitches invisibly, creating a seamless join.
- gusset – the triangular section on the side of the foot that adds width around the heel.
- heel flap – a flat rectangular piece of knitting at the back of the heel.
- heel turn – the short rows that shape the bottom of the heel into a cup.
Gauge
32 sts and 44 rnds = 4 inches (10 cm) in stockinette stitch worked in the round.
Gauge matters because it tells you how big your finished sock will be. If your stitches are too loose, the sock will be too large; if too tight, it will be too small. To make a gauge swatch, cast on about 40 stitches, knit in stockinette stitch (knit every round) for about 4 inches, then measure a 4-inch square in the middle of the swatch. If you have more stitches than 32, go up a needle size; if fewer, go down a needle size. Always wash and dry your swatch the way you will wash the finished sock.
Beginner Tips Before You Start
- Use stitch markers. Place one at the beginning of the round and one at the center of the heel section so you always know where you are.
- Do not pull your yarn too tight. Keep an even, relaxed tension, especially when changing colors, so the sock stays stretchy.
- Count your stitches often. Every few rounds, count to make sure you still have the right number.
- Twist your yarns when changing colors. At the boundary between orange and cobalt, cross the old and new yarns to prevent holes.
- Try on as you go. Slip the work onto a spare needle or scrap yarn to check the fit before you close the toe.
- Keep your first sock simple. Follow the pattern exactly and save color experiments for your second pair.
Step-by-Step Instructions
Cuff (worked flat in intarsia, then joined in the round)
With CC, cast on 60 sts using the long-tail method.
Row 1 (RS): K20 with CC, join MC and k20, join a second ball of CC and k20. (60 sts)
Row 2 (WS): P20 with CC, p20 with MC, p20 with CC. (60 sts)
Repeat Rows 1–2 until the cuff measures 2.5 inches (6.5 cm) from the cast-on edge, ending with a WS row. Cut CC, leaving a 6-inch tail. Do not cut MC.
Join in the Round
Slip the first 20 sts onto a spare needle. Join the last 20 sts to the first 20 sts using the Kitchener stitch or a three-needle bind-off to close the cuff into a tube. Alternatively, with RS facing, pick up and knit 1 st in each cast-on stitch along the opposite edge to join, then proceed. Place a marker for the beginning of the round at the center of the MC section (between the two CC blocks).
Leg
With MC only, knit every round until the leg measures 3.5 inches (9 cm) from the join. (60 sts)
Heel Flap
Set-up: K15, turn. Sl 1, p29, turn. The heel flap is worked flat over the next 30 sts (15 on each side of the marker).
Row 1 (RS): Sl 1, k29. (30 sts)
Row 2 (WS): Sl 1, p29. (30 sts)
Repeat Rows 1–2 until the heel flap measures 2 inches (5 cm), ending with a WS row.
Heel Turn
Row 1 (RS): Sl 1, k16, k2tog, k1, turn. (29 sts)
Row 2 (WS): Sl 1, p5, p2tog, p1, turn. (28 sts)
Row 3 (RS): Sl 1, k6, k2tog, k1, turn. (27 sts)
Row 4 (WS): Sl 1, p7, p2tog, p1, turn. (26 sts)
Continue in this manner, working 1 more stitch before each decrease, until all heel stitches have been worked. End with a RS row. 18 sts remain.
Gusset
With RS facing, knit across 18 heel sts. Pick up and knit 12 sts along the left side of the heel flap. Knit across 30 instep sts (these are the original front stitches). Pick up and knit 12 sts along the right side of the heel flap. Knit 9 sts from the heel needle to the beginning of round. 72 sts total.
Rnd 1: Knit to last 3 sts before instep, k2tog, k1, knit across 30 instep sts, k1, ssk, knit to end. (70 sts)
Rnd 2: Knit. (70 sts)
Repeat Rnds 1–2 until 60 sts remain. (60 sts)
Foot
Knit every round until the foot measures 1.5 inches (4 cm) less than desired finished length (approximately 7 inches / 18 cm from the back of the heel). (60 sts)
Toe
Rnd 1: K1, ssk, knit to last 3 sts before instep, k2tog, k1, k1, ssk, knit to last 3 sts, k2tog, k1. (56 sts)
Rnd 2: Knit. (56 sts)
Repeat Rnds 1–2 until 24 sts remain. (24 sts)
Knit 1 round even. (24 sts)
Graft the remaining 24 sts together using the Kitchener stitch.
Assembly and Finishing
Weave in all ends on the wrong side of the sock using the tapestry needle, threading each tail through several stitches before trimming. Block lightly to measurements by soaking the sock in cool water, gently squeezing out excess water, and laying it flat to dry in the shape you want. Fold the cuff down over the leg so the cobalt block shows on the outside. Your sock is complete!
Pro Tips and Variations
- Change the colors: Swap the orange and cobalt for any two colors you love, or use a self-striping yarn for the body.
- Adjust the size: Add or subtract stitches in multiples of 4 to change the circumference, and adjust the leg length by knitting more or fewer rounds.
- Try a different yarn: A wool-nylon blend will make the sock more durable, while a cotton blend will be cooler for summer.
- Make a pair: Knit a second sock following the same instructions, and try reversing the colors for a fun mismatched look.