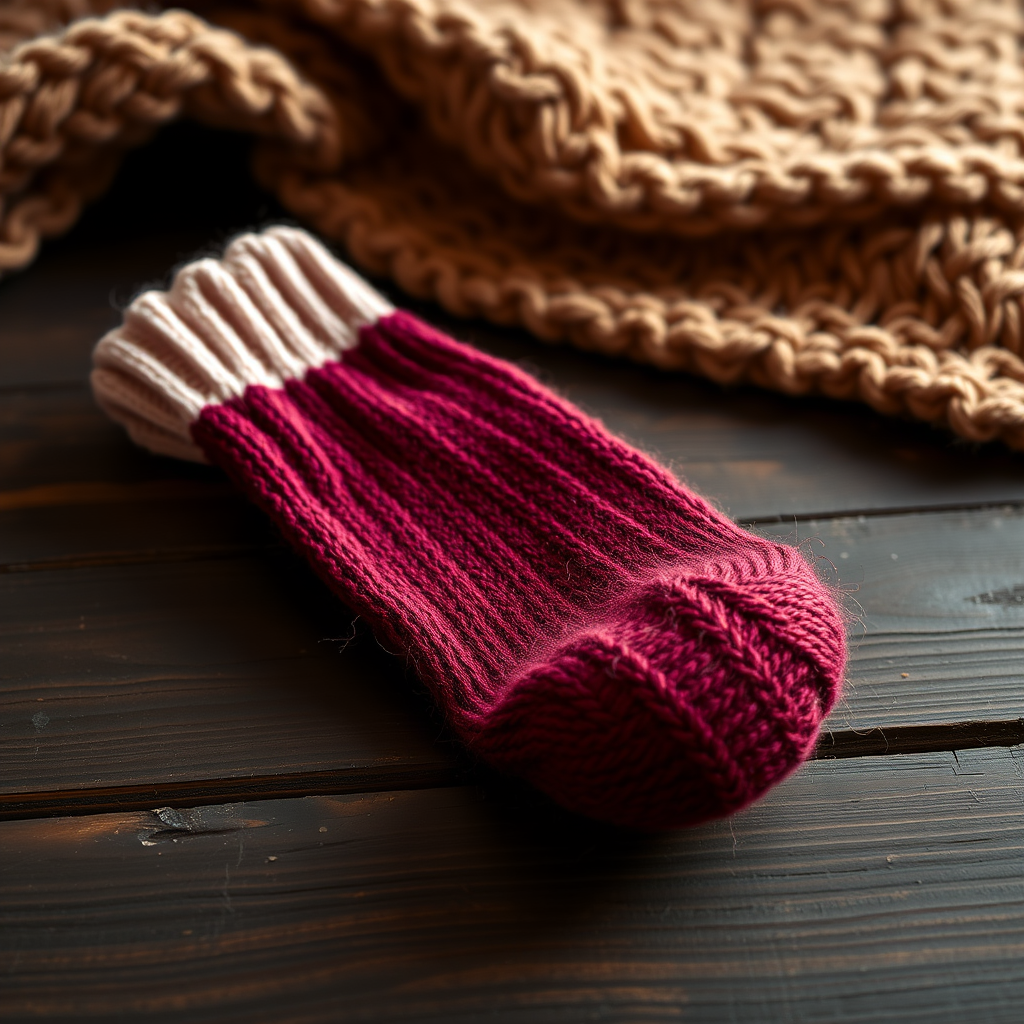
Whispering Pine Cable Socks Free Pattern – Knit Cozy Forest Footwear

Whispering Pine Cable Socks: A Cozy Knitting Adventure
There's something magical about hand-knit socks—especially when they're adorned with intricate cables that evoke the quiet beauty of a pine forest. The Whispering Pine Cable Socks are designed to wrap little feet in warmth and charm, featuring twisted stitch columns and a ribbed cuff that create a snug, heirloom-quality fit. Whether you're knitting for a child's winter adventures or simply want to practice your cable technique on a smaller scale, this pattern is the perfect project. Let's dive into the details and create something truly special.
Materials Needed
Before you begin, gather the following supplies to ensure a smooth knitting experience:
- Yarn: Worsted weight yarn in forest green (approx 200-250 yards for child size). Choose a soft, durable yarn that will withstand wear and washing.
- Needles: US 4 (3.5 mm) double-pointed needles or a circular needle for magic loop—whichever you prefer for small-circumference knitting.
- Notions: Stitch markers, cable needle, tapestry needle for weaving in ends, and scissors.
- Gauge: 24 stitches and 32 rows = 4 inches in stockinette stitch. Always check your gauge to ensure the correct fit!
Step-by-Step Instructions
This pattern includes two sizes: Child Small (fits 4-6 years, foot length 6 inches) and Child Medium (fits 7-9 years, foot length 7 inches). Instructions are written for Small with Medium in parentheses.
Abbreviations
- k = knit
- p = purl
- k2tog = knit two together
- ssk = slip slip knit
- c4f = cable 4 front (slip 2 stitches to cable needle, hold in front, k2, then k2 from cable needle)
- c4b = cable 4 back (slip 2 stitches to cable needle, hold in back, k2, then k2 from cable needle)
- pm = place marker
- sm = slip marker
Cuff
Cast on 40 (44) stitches. Distribute evenly over needles (10/10/10/10 for DPNs or 20/20 for magic loop). Join in the round, being careful not to twist. Work k2, p2 ribbing for 1.5 inches. This creates a stretchy, comfortable cuff that will keep the socks in place.
Leg
Now it's time to bring the pine forest to life with cables! Work the following pattern:
- Round 1: *K2, p2, c4f, p2, k2, p2, c4b, p2* repeat to end (repeat pattern twice around).
- Round 2: *K2, p2, k4, p2, k2, p2, k4, p2* repeat to end.
- Round 3: *K2, p2, k4, p2, k2, p2, k4, p2* repeat to end.
- Round 4: *K2, p2, c4b, p2, k2, p2, c4f, p2* repeat to end.
- Rounds 5-8: Repeat rounds 2-3.
Work these 8 rounds until the leg measures 4 (5) inches from the cast-on edge, ending with round 8. The cables will twist in opposite directions, creating a beautiful, symmetrical pattern that mimics the branches of pine trees.
Heel Flap
Now we'll shape the heel. Work back and forth over the first 20 (22) stitches:
- Row 1 (RS): *Slip 1 purlwise, k1* repeat to end.
- Row 2 (WS): Slip 1 purlwise, purl to end.
Repeat these 2 rows for 20 (22) rows total, ending with a WS row. The slipped stitches create a sturdy, reinforced heel that will stand up to lots of wear.
Turn Heel
This is where the magic happens—shaping the heel cup with short rows:
- Row 1 (RS): K12 (13), ssk, k1, turn.
- Row 2: Slip 1, p5 (6), p2tog, p1, turn.
- Row 3: Slip 1, knit to 1 stitch before gap, ssk (knit the stitch before gap and the stitch after gap together), k1, turn.
- Row 4: Slip 1, purl to 1 stitch before gap, p2tog (purl the stitch before gap and the stitch after gap together), p1, turn.
Repeat rows 3-4 until all heel stitches are worked. You will have 12 (14) stitches remaining. The "gap" refers to the space between the worked and unworked stitches—knitting across it closes the gap and creates a smooth heel curve.
Gusset
Now we'll pick up stitches along the heel flap to create the gusset, which shapes the instep:
- With RS facing, pick up and knit 11 (12) stitches along the left side of heel flap. Place marker.
- Knit across instep stitches (the 20 (22) stitches that were on hold) in the established cable pattern. Place marker.
- Pick up and knit 11 (12) stitches along the right side of heel flap.
- Knit across the 12 (14) heel stitches. You now have 54 (60) stitches total.
Gusset Decreases
We'll now decrease to shape the foot and get back to the original stitch count:
- Round 1: Knit to 3 stitches before marker, k2tog, k1, sm, work instep in pattern, sm, k1, ssk, knit to end.
- Round 2: Knit to marker, sm, work instep in pattern, sm, knit to end.
Repeat rounds 1-2 until 40 (44) stitches remain. Continue working even (with instep in pattern and sole in stockinette) until the foot measures 4 (5) inches from the heel flap, or 1.5 inches less than the desired total foot length. This ensures the toe shaping starts at the right point.
Toe
Time to shape the toe with gentle decreases:
- Round 1: K1, ssk, knit to 3 stitches before marker, k2tog, k1, sm, k1, ssk, knit to 3 stitches before marker, k2tog, k1.
- Round 2: Knit all.
Repeat rounds 1-2 until 16 (18) stitches remain. Then repeat round 1 only until 8 (10) stitches remain. Cut yarn, leaving a 12-inch tail. Thread tail through remaining stitches, pull tight, and weave in end. This creates a seamless, comfortable toe that won't bunch up inside shoes.
Finishing
Weave in all loose ends with your tapestry needle. Block gently to shape—this helps the cables relax and look their best. Lay flat to dry, and your Whispering Pine Cable Socks are ready to warm little feet!
Tips for Success
- Check your gauge: Cables pull fabric in, so it's especially important to match gauge for a proper fit.
- Use a cable needle: If you're new to cables, a cable needle makes the process much easier. You can also use a spare DPN.
- Keep your place: Use a row counter or mark your pattern chart to keep track of where you are in the cable sequence.
- Try magic loop: If you're not comfortable with DPNs, magic loop is a great alternative for knitting small circumferences.
These Whispering Pine Cable Socks are more than just footwear—they're a labor of love that will be treasured for years. The intricate cables and cozy worsted weight yarn make them perfect for winter adventures, holiday gifts, or simply keeping little toes toasty on cold days. Happy knitting!