The Ember Glow Toe-Up Sock Free Pattern – A Cozy Gradient Knit
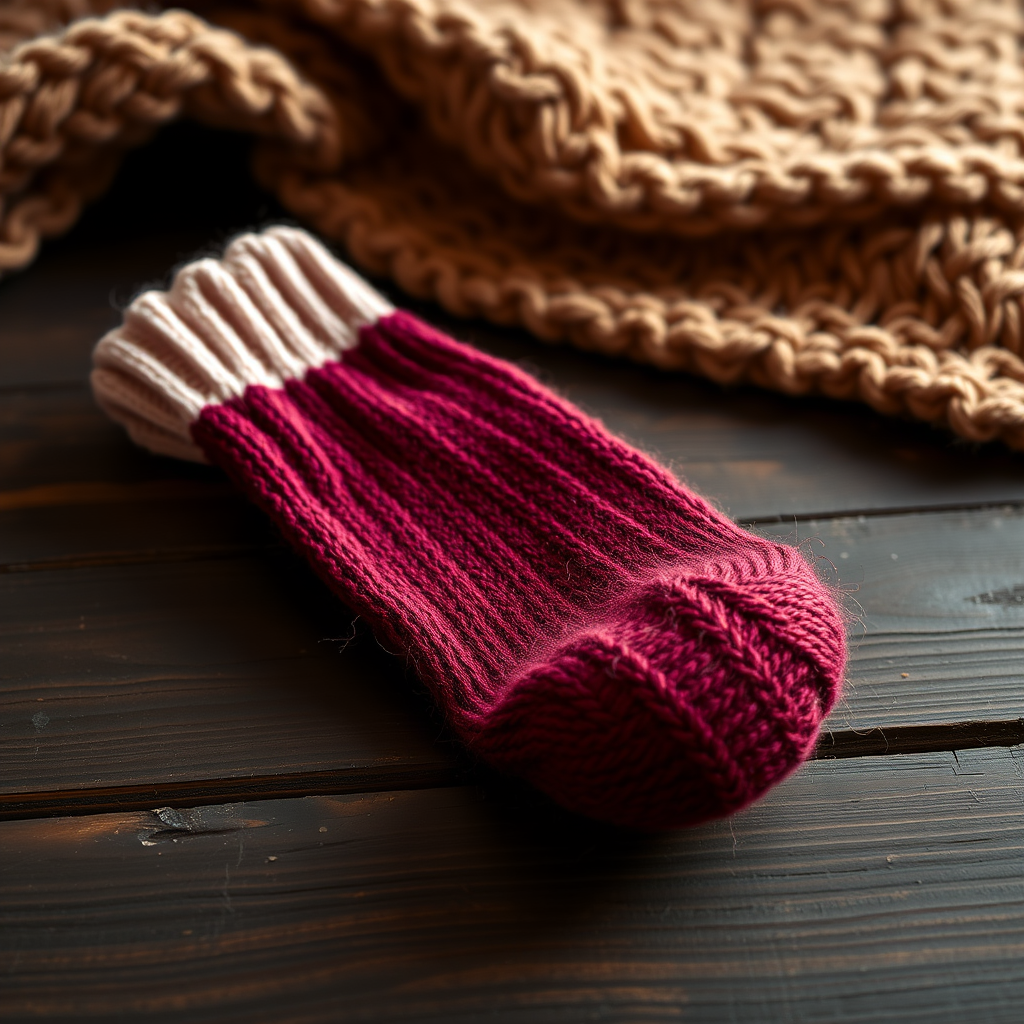
The Ember Glow Toe-Up Sock: A Cozy Gradient Knit for Beginners
There is something deeply satisfying about slipping your feet into a pair of hand-knit socks. The Ember Glow Toe-Up Sock elevates that feeling with a stunning gradient that shifts from deep burgundy at the toe to a soft, romantic blush at the cuff. This pattern is designed with the beginner in mind, using a simple ribbed cuff and a snug, comfortable fit that feels like a warm hug. The toe-up construction means you can try them on as you go, ensuring a perfect fit every time. Let's cast on and create a pair of these cozy, gradient beauties.
Materials Needed
Before you begin your knitting journey, gather the following materials. The right tools make all the difference in creating a polished, professional-looking sock.
- Yarn: Fingering weight yarn in gradient colors (e.g., Malabrigo Sock in 'Plum' to 'Rose') – 400 yards. The gradient effect is key, so choose a yarn that transitions beautifully.
- Needles: US 1.5 (2.5 mm) circular needles with a 32-inch cable for the magic loop method, or a set of double-pointed needles (DPNs) if you prefer.
- Notions: Stitch markers (at least 2), a tapestry needle for weaving in ends, and a flexible tape measure.
- Gauge: 32 stitches and 44 rows = 4 inches in stockinette stitch. Always check your gauge to ensure the correct fit.
Step-by-Step Instructions
This pattern uses the magic loop method, but you can easily adapt it for DPNs. The instructions are detailed to guide you through every step, from the cast-on to the final bind-off.
Abbreviations
Familiarize yourself with these standard knitting abbreviations before you start:
- k = knit
- p = purl
- k2tog = knit two together (decrease)
- ssk = slip slip knit (decrease)
- m1l = make one left (increase)
- m1r = make one right (increase)
- pm = place marker
- sm = slip marker
Part 1: The Toe (Turkish Cast-On)
We begin with a seamless, invisible toe using the Turkish cast-on. This creates a sturdy, comfortable start for your sock.
- Cast On: Using the Turkish cast-on method, cast on 12 stitches total (6 stitches on each of your two needles).
- Round 1: Knit all stitches around.
- Round 2 (Increase Round): On the first needle: *K1, m1l, knit to the last stitch on the needle, m1r, k1*. Repeat this sequence on the second needle. You will now have 16 stitches total (8 on each needle).
- Round 3: Knit all stitches around.
- Repeat: Continue repeating Rounds 2 and 3. Each repeat adds 4 stitches. Keep going until you have a total of 32 stitches on your needles (16 stitches on each needle).
Part 2: The Foot
Now that the toe is complete, we'll knit the main body of the foot in a simple, smooth stockinette stitch.
- Knit in the Round: Continue knitting every round in stockinette stitch (knit every stitch).
- Measure Length: Knit until the foot measures 2 inches less than your desired total foot length. For a woman's US size 8, this is typically about 7 inches from the toe. Try the sock on as you go to ensure a perfect fit.
Part 3: Gusset Increases
The gusset adds width to accommodate the ball of your foot and the instep. We'll increase stitches here to create a comfortable, roomy fit.
- Place Marker: Place a stitch marker at the start of the round. This marks the center of the sole.
- Round 1 (Increase Round): Knit to 2 stitches before the marker. M1r, k2, sm, k2, m1l, then knit to the end of the round. You have increased 2 stitches.
- Round 2: Knit all stitches around.
- Repeat: Repeat these two rounds until you have a total of 48 stitches on your needles (24 stitches on the sole, 24 on the instep).
Part 4: The Heel Flap
We will now work the heel flap back and forth on the sole stitches only. This creates a sturdy, classic heel.
- Set Up: You will now work only on the 24 sole stitches. The instep stitches will rest on the cable or a spare needle.
- Row 1 (Right Side): *Slip 1 stitch purlwise, k1*. Repeat from * to * across all 24 stitches.
- Row 2 (Wrong Side): Slip 1 stitch purlwise, then purl to the end of the row.
- Repeat: Repeat these two rows until the heel flap is square. This is typically about 24 rows, or until the flap, when folded, covers the back of your heel.
Part 5: The Heel Turn
This technique shapes the bottom of the heel, creating a cup that fits snugly around your heel bone.
- Row 1 (Right Side): K14, ssk, k1, turn your work.
- Row 2 (Wrong Side): Slip 1 purlwise, p5, p2tog, p1, turn.
- Row 3: Slip 1 purlwise, k6, ssk, k1, turn.
- Row 4: Slip 1 purlwise, p7, p2tog, p1, turn.
- Continue: Continue in this manner, working one more stitch each row before the decrease. Keep going until all heel stitches have been worked. You should end with 14 stitches remaining on your needle.
Part 6: Gusset Decreases
Now we will rejoin the instep stitches and decrease the extra gusset stitches to return to the original circumference of the leg.
- Pick Up Stitches: With your working needle, pick up and knit 12 stitches along the side of the heel flap. Knit across the 24 instep stitches. Then, pick up and knit 12 stitches along the other side of the heel flap. You should now have a total of 62 stitches on your needles.
- Round 1 (Decrease Round): Knit to 3 stitches before the end of the sole stitches. K2tog, k1. Then, knit across the instep stitches. On the other side of the sole, k1, ssk, then knit to the end of the round. You have decreased 2 stitches.
- Round 2: Knit all stitches around.
- Repeat: Repeat these two rounds until you have 48 stitches total (24 on the sole, 24 on the instep).
Part 7: The Leg
With the gusset complete, we'll knit the leg of the sock in a simple, comfortable stockinette stitch.
- Knit in the Round: Continue knitting every round in stockinette stitch until the leg measures 6 inches from the heel, or your desired length. You can make it longer for a taller sock or shorter for an ankle sock.
Part 8: The Cuff
We finish with a classic, stretchy ribbed cuff that will keep the sock securely in place.
- Ribbing: Work in a k1, p1 ribbing pattern for 2 inches. This creates a neat, elastic edge.
- Bind Off: Bind off loosely in pattern (knit the knits and purl the purls as you bind off). A loose bind-off is crucial for a comfortable cuff that's easy to pull on.
Finishing Touches
- Weave in Ends: Use your tapestry needle to carefully weave in all loose yarn ends on the inside of the sock.
- Block: Gently block your sock to shape. You can wet-block it by soaking it in lukewarm water, gently squeezing out excess water, and laying it flat to dry. This will even out the stitches and give your sock a professional finish.
Repeat the entire process to create the second sock. Once you've finished, you'll have a beautiful, cozy pair of Ember Glow socks that are as delightful to make as they are to wear. Happy knitting!


