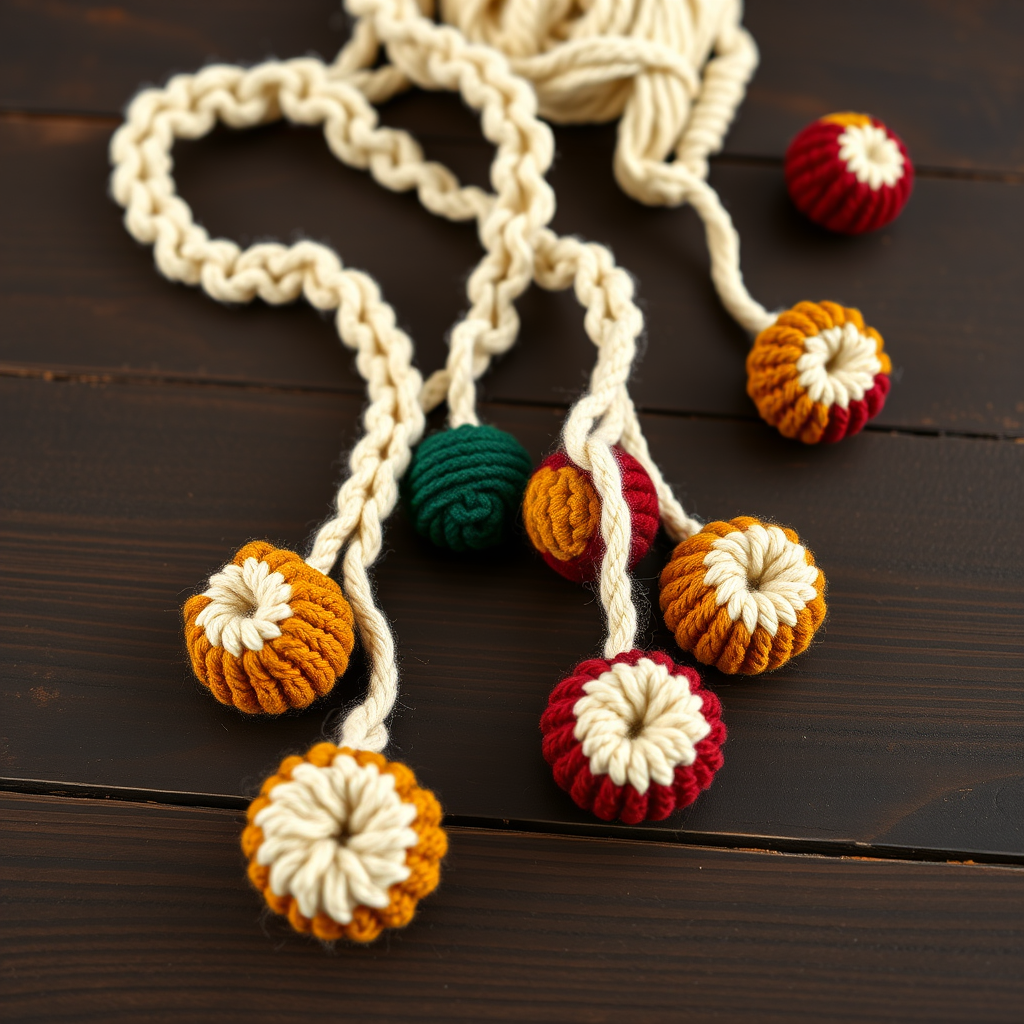
Frosty's Cozy Cocoon Gift Sack Free Pattern – Crochet a Whimsical Snowman Keeper

Frosty's Cozy Cocoon Gift Sack Free Pattern – Crochet a Whimsical Snowman Keeper
Wrap your holiday gifts in this charming crochet snowman gift sack, complete with a textured scarf and button eyes. A delightful, handmade touch that turns simple presents into memorable keepsakes. This whimsical snowman keeper is the perfect project for beginners and experienced crocheters alike, bringing a cozy, festive feel to any gift-giving occasion. Whether you're tucking in a small toy, a handful of candy, or a handmade treasure, this adorable sack will make the presentation as special as the gift itself.
Introduction
There's something magical about handmade holiday decor—it carries warmth, love, and a personal touch that store-bought wrapping simply can't match. Frosty's Cozy Cocoon Gift Sack is designed to be both functional and adorable, transforming an ordinary present into a whimsical snowman character. The plump white body, embroidered face, and bright festive scarf create a charming keeper that can be reused year after year. This pattern is worked in continuous rounds with basic stitches, making it an accessible project for crocheters who are ready to move beyond flat pieces and try something three-dimensional. The result is a soft, pliable sack that stands on its own or drapes beautifully around a gift.
Materials Needed
Before you begin, gather the following materials to ensure a smooth crocheting experience:
- Yarn: Worsted weight yarn in the following colors:
- White (approx. 200g) – for the main body
- Black (small amount) – for eyes and mouth
- Orange (small amount) – for the carrot nose
- Festive color like red or green (approx. 50g) – for the scarf
- Crochet Hook: 5.0 mm (H-8) crochet hook
- Yarn needle – for weaving in ends and embroidery
- Stitch markers – to keep track of rounds
- Scissors – for cutting yarn
Gauge: 16 sc x 18 rows = 4 x 4 inches (10 x 10 cm). Gauge is important for achieving the correct size, but this project is forgiving—if your sack turns out slightly larger or smaller, it will still work beautifully.
Abbreviations
- ch = chain
- sc = single crochet
- hdc = half double crochet
- dc = double crochet
- sl st = slip stitch
- inc = increase (2 sc in same stitch)
- dec = decrease (sc 2 together)
- rnd = round
Step-by-Step Instructions
Body (Worked in Continuous Rounds)
The body of the snowman sack is worked from the bottom up in a spiral, using single crochet stitches. This creates a seamless, plump shape that forms the main body of the sack.
- Round 1: Magic ring, ch 1, 6 sc in ring. (6)
- Round 2: Inc in each sc around. (12)
- Round 3: *Sc in next sc, inc* repeat around. (18)
- Round 4: *Sc in next 2 sc, inc* repeat around. (24)
- Round 5: *Sc in next 3 sc, inc* repeat around. (30)
- Round 6: *Sc in next 4 sc, inc* repeat around. (36)
- Round 7: *Sc in next 5 sc, inc* repeat around. (42)
- Round 8: *Sc in next 6 sc, inc* repeat around. (48)
- Round 9: *Sc in next 7 sc, inc* repeat around. (54)
- Round 10: *Sc in next 8 sc, inc* repeat around. (60)
- Rounds 11-25: Sc in each sc around. (60) – This forms the main body of the sack. Continue working in continuous rounds without joining; use a stitch marker to track the beginning of each round.
- Round 26: *Sc in next 8 sc, dec* repeat around. (54)
- Round 27: *Sc in next 7 sc, dec* repeat around. (48)
- Round 28: *Sc in next 6 sc, dec* repeat around. (42)
- Round 29: *Sc in next 5 sc, dec* repeat around. (36)
- Round 30: *Sc in next 4 sc, dec* repeat around. (30)
- Round 31: *Sc in next 3 sc, dec* repeat around. (24)
- Round 32: *Sc in next 2 sc, dec* repeat around. (18)
- Round 33: *Sc in next sc, dec* repeat around. (12)
- Round 34: Dec around. (6)
Finishing the bottom: Fasten off, leaving a long tail (about 12 inches). Thread the tail through a yarn needle and weave it through the front loops of the remaining 6 stitches. Pull tight to close the hole completely. Weave in the end securely.
Opening (Top Edge)
Now we'll create the opening of the sack with a decorative edge and buttonholes for the drawstring.
- Turn the sack so the closed bottom is at the bottom and the open top is facing you.
- Attach white yarn to the top edge with a sl st in any stitch.
- Row 1: Ch 1, sc in each stitch around the top edge. (60) Join with a sl st to the first sc.
- Row 2: Ch 1, sc in each stitch around. (60) Join with a sl st.
- Row 3 (Buttonhole row): Ch 1, *sc in next 4 sc, ch 2, skip 2 sc* repeat around. (This creates buttonholes for the drawstring.) Join with a sl st.
- Row 4: Ch 1, sc in each stitch around, working sc in the ch-2 spaces as well. (60) Join with a sl st.
Fasten off and weave in all ends.
Drawstring
The drawstring is a simple chain that threads through the buttonhole row to cinch the sack closed.
- With white yarn, make a chain about 30 inches long (or longer if you prefer a more generous tie).
- Fasten off and weave in the ends.
- Starting at the front of the sack, weave the drawstring through the buttonhole row, going in and out of the ch-2 spaces. Continue all the way around until you return to the starting point.
- Tie a neat bow at the front.
Snowman Face (Embroidered)
The face brings your snowman to life! Using the yarn needle and small amounts of yarn, embroider the features directly onto the front of the sack.
- Positioning: The face should be centered on the front of the sack, about 2 inches down from the top edge. Use stitch markers to mark the placement if needed.
- Eyes: Using black yarn, embroider two French knots or small X's on the front of the sack, about 2 inches down from the top edge and 2 inches apart. For French knots: bring the needle up through the fabric, wrap the yarn around the needle 2-3 times, then insert the needle back down close to where it came up, pulling gently to form a knot.
- Nose: Using orange yarn, embroider a small triangle or a few straight stitches in a carrot shape between the eyes. Start at the base of the nose and work upward to create a tapered point.
- Mouth: Using black yarn, embroider a gentle smile with a few backstitches below the nose. Make small, even stitches to create a curved line.
Scarf (Crocheted Separately)
The scarf adds a pop of festive color and completes the snowman look. It's worked in simple rows and can be customized with fringe.
- With the festive color (red or green), ch 8.
- Row 1: Sc in the second ch from the hook and in each ch across. (7)
- Row 2: Ch 1, turn, sc in each sc across. (7)
- Repeat Row 2 until the scarf measures about 12 inches long. The scarf should be long enough to wrap around the sack and tie in a knot or bow.
- Fasten off and weave in the ends.
Adding fringe (optional): Cut small pieces of yarn (about 4 inches long) in the same festive color. Fold each piece in half, insert the hook through the end of the scarf, pull the folded loop through, and pull the ends through the loop to secure. Add 3-4 pieces of fringe to each end of the scarf.
Assembling the Snowman
- Wrap the scarf around the sack just below the embroidered face.
- Tie the scarf in a loose knot or bow at the front, letting the ends hang naturally.
- Adjust the scarf so it sits comfortably and covers the area where the face meets the body.
Finishing Touches
- Weave in all remaining ends using the yarn needle. Make sure all tails are securely hidden inside the work.
- Gently shape the sack by pulling the drawstring closed and then opening it again to ensure it moves smoothly through the buttonholes.
- Place a small gift, candy, or treasure inside the sack, pull the drawstring closed, and tie a neat bow.
Tips for Success
- Use stitch markers to keep track of the beginning of each round—this is essential for continuous spiral crochet.
- Keep your tension consistent throughout the project to ensure the sack has an even shape.
- Count your stitches after each increase round to make sure you haven't accidentally added or skipped any.
- Blocking is optional—this project doesn't require blocking, but if you want a crisper shape, you can lightly steam block the finished sack.
- Customize the size by adding or removing rounds in the middle section (Rounds 11-25). More rounds create a taller sack; fewer rounds create a shorter one.
Creative Variations
Once you've mastered the basic pattern, feel free to get creative:
- Change the scarf color to match your holiday theme—try blue, purple, or even a multicolored yarn.
- Add a hat by crocheting a small top hat or beanie and attaching it to the top of the sack.
- Embroider different faces—give your snowman glasses, rosy cheeks, or a different expression.
- Use a different stitch for the body, like half double crochet or double crochet, for a different texture.
- Attach small buttons to the front of the body for a classic snowman look.
Conclusion
Frosty's Cozy Cocoon Gift Sack is a delightful project that combines the joy of crochet with the magic of holiday gift-giving. The finished sack is not just a wrapping—it's a reusable keepsake that adds warmth and personality to any present. Whether you're making it for a loved one, a holiday bazaar, or your own festive decor, this snowman keeper is sure to bring smiles. The pattern is beginner-friendly, uses basic stitches, and comes together quickly, making it a perfect weekend project. So grab your yarn, settle in with some hot cocoa, and let Frosty come to life in your hands. Happy crocheting, and happy holidays!