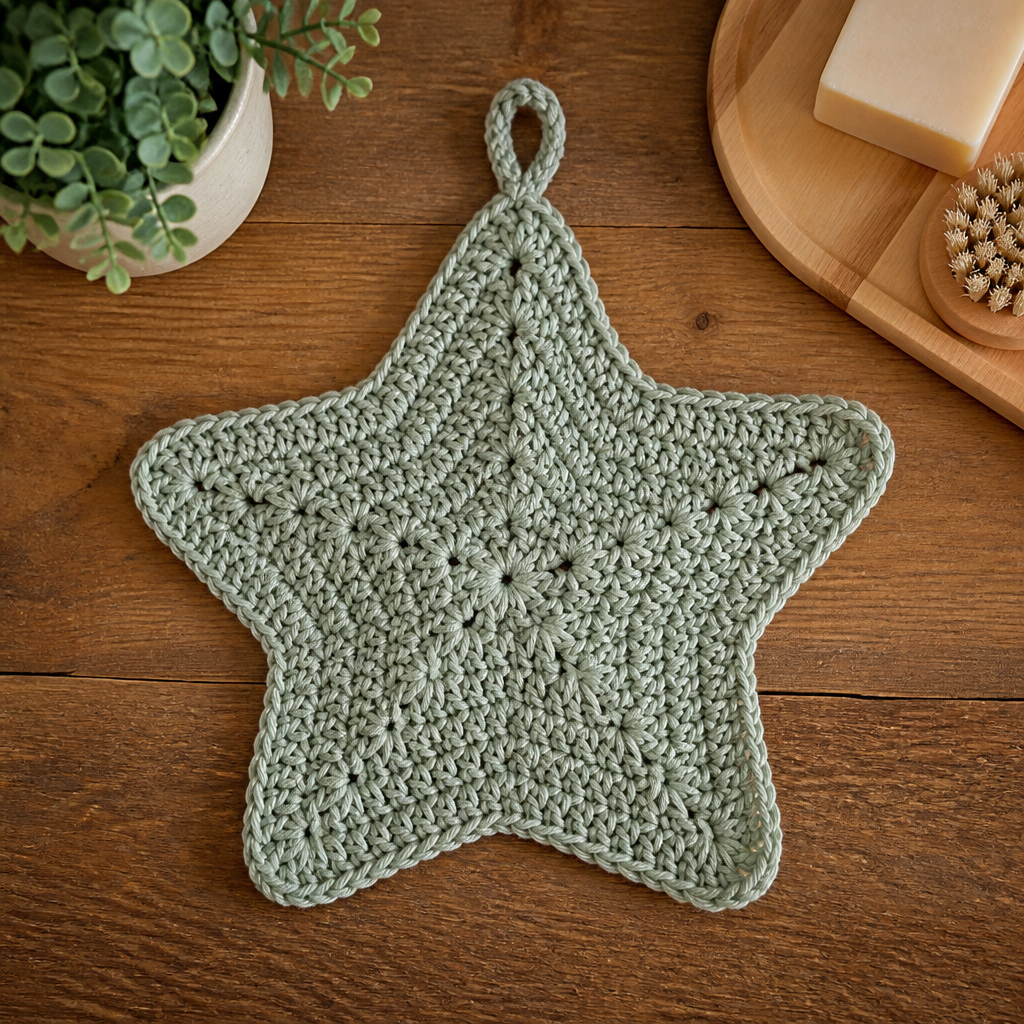
Hearthside Granite Stitch Crochet Dishcloth Free Pattern

Hearthside Granite Stitch Crochet Dishcloth
If you have never held a crochet hook before, this is the perfect first project for you. The Hearthside Granite Stitch Dishcloth is a simple 8 x 8 inch square worked flat in easy stripes of cream and rust, using only two basic stitches: the chain and the single crochet. The granite stitch (also called the linen stitch) creates a dense, slightly nubby, woven-looking surface that feels sturdy and satisfying in your hands, like a tiny piece of cabin kitchen textile. Because it is small, flat, and forgiving, you can finish it in a couple of evenings and proudly hang it by the sink. The finished cloth is matte, rustic, and soft but firm, with a neat single-crochet border that frames the stripes beautifully.
Materials Needed
- Yarn: Worsted weight (medium, CYC #4) cotton yarn, approximately 90–100 yards total. You need about 55 yards of cream (MC) and 40 yards of rust (CC). The sample used Lily Sugar'n Cream (100% cotton, 2.5 oz / 120 yd per ball) in Ecru (MC) and Warm Brown/Rust (CC).
- Hook: US H-8 / 5.0 mm crochet hook, or whatever size you need to match the gauge below.
- Stitch markers: At least 4, to mark corners and color changes.
- Tapestry needle: A blunt-tipped needle with a large eye, for weaving in yarn ends.
- Scissors: Sharp, for trimming yarn.
- Finished size: Approximately 8 x 8 inches (20 x 20 cm) after light blocking.
Abbreviations and Beginner Glossary
- ch – chain. Make a slip knot, then wrap yarn over the hook and pull it through the loop on your hook. Each loop you pull through is one chain.
- sc – single crochet. Insert your hook into the stitch, yarn over, pull up a loop (2 loops on hook), yarn over again, and pull through both loops. One single crochet made.
- st(s) – stitch(es). One completed stitch, or several.
- sp – space. The little gap made by a chain from the row below.
- sk – skip. Do not work into that stitch or space; move past it to the next one.
- rep – repeat. Do the same thing again.
- sl st – slip stitch. Insert hook, yarn over, and pull through both the stitch and the loop on your hook at once. Used to join rounds.
- MC – main color (cream).
- CC – contrast color (rust).
- RS / WS – right side (the front, public side) and wrong side (the back).
- turning ch – the chain(s) you make at the end of a row before turning your work, which lift your yarn up to the next row's height.
- yarn over – wrap the working yarn over your hook from back to front.
- fasten off – cut the yarn, pull the tail all the way through the last loop, and tighten.
Gauge
16 stitches and 16 rows = 4 inches (10 cm) in granite stitch (the sc, ch 1 pattern) after light blocking.
Gauge matters because it tells you your cloth will come out the right size. If your stitches are too big, the cloth will be larger than 8 x 8 inches; if too small, it will shrink. To check, crochet a small practice square about 4 x 4 inches in granite stitch, lay it flat, and measure 4 inches across the middle. Count how many stitches fit in those 4 inches. If you have more than 16, your stitches are tight—try a larger hook. If fewer than 16, your stitches are loose—try a smaller hook. Do not skip this step; it saves you from redoing the whole cloth.
Beginner Tips Before You Start
- Use stitch markers to track your corners. Place one in each corner stitch as you work the border so you always know where the 3-sc corner goes.
- Do not pull your yarn too tight. Keep an even, relaxed tension. Tight stitches make the granite texture stiff and hard to work into.
- Count your stitches at the end of every row. You should always have 16 single crochets and 16 chain-1 spaces across. Counting now prevents fixing later.
- Change colors on the last yarn-over of the final sc. This hides the color change neatly and keeps your stripes crisp.
- Carry the unused color up the side. Do not cut the yarn at each stripe; just let it travel up the edge and pick it up again when needed.
- Work in good light and take breaks. Small, dense stitches are easier to see and count when you are comfortable.
Step-by-Step Instructions
Set-Up
With MC (cream), ch 33.
Row 1 (RS): Sc in the 2nd ch from hook and in each ch across, turn. (32 sc)
Row 2 (granite set-up row): Ch 1, sc in first sc, *ch 1, sk next sc, sc in next sc; rep from * across, turn. (16 sc, 16 ch-1 sps)
Body
Row 3: Ch 2 (counts as first ch-1 sp), *sc in next ch-1 sp, ch 1; rep from * across, ending with sc in last ch-1 sp, ch 1, sk last sc, sc in turning ch-1 sp, turn. (16 sc, 16 ch-1 sps)
Rows 4–33: Repeat Row 3, changing colors as follows. Change color on the last yarn-over of the final sc of the row, and carry the unused color up the side edge.
- Rows 4–5: MC
- Rows 6–9: CC
- Rows 10–13: MC
- Rows 14–17: CC
- Rows 18–21: MC
- Rows 22–25: CC
- Rows 26–29: MC
- Rows 30–33: CC
You will have eight stripes of 4 rows each, and the cloth will be approximately 8 inches tall. Do not fasten off after Row 33; continue directly to the border.
Border
Round 1: With MC, ch 1, work sc evenly around the entire cloth: 1 sc in each st and ch-1 sp along the top and bottom edges, and 1 sc in the end of each row along both side edges, working 3 sc in each corner. Join with sl st to first sc. (Approximately 32 sc top, 32 sc bottom, 33 sc each side, plus 3 sc at each corner = about 136 sc total.)
Round 2: Ch 1, sc in each sc around, working 3 sc in each corner sc. Join with sl st to first sc. Fasten off. (About 144 sc total.)
Assembly and Finishing
This cloth is worked in one piece, so there is no seaming to do. Your finishing work is all about tidying and shaping.
Weave in ends: Thread each yarn tail onto your tapestry needle. Turn the cloth to the wrong side and weave the tail in and out through the back of several stitches, changing direction once or twice so it locks in place. Trim the excess close to the fabric.
Blocking: Lightly mist the cloth with water until damp but not soaking. Pin it to an 8 x 8 inch square on a blocking mat or towel, using rust-proof pins at the corners and edges. Let it dry completely—usually overnight. This opens up the granite texture and makes the square edges crisp and even.
Final check: Trim any loose yarn tails and give the cloth a gentle press with your hands. Your dishcloth is ready to use or gift.
Pro Tips and Variations
- Change the colors: Swap the rust for mustard, sage, or navy to match your kitchen. Keep one neutral and one accent for the same crisp striped look.
- Adjust the size: For a larger cloth, chain any odd number (for example, ch 41 for a 10-inch cloth) and work until the piece is square. For a smaller cloth, chain fewer stitches. Always keep the starting chain an odd number so the granite stitch lines up.
- Substitute yarn: Any worsted-weight cotton works well. Avoid acrylic if the cloth will be used for hot dishes, as cotton handles heat and water better.
- Add a hanging loop: After Round 2 of the border, ch 10 and sl st back into the same corner to make a small loop for hanging by the sink.