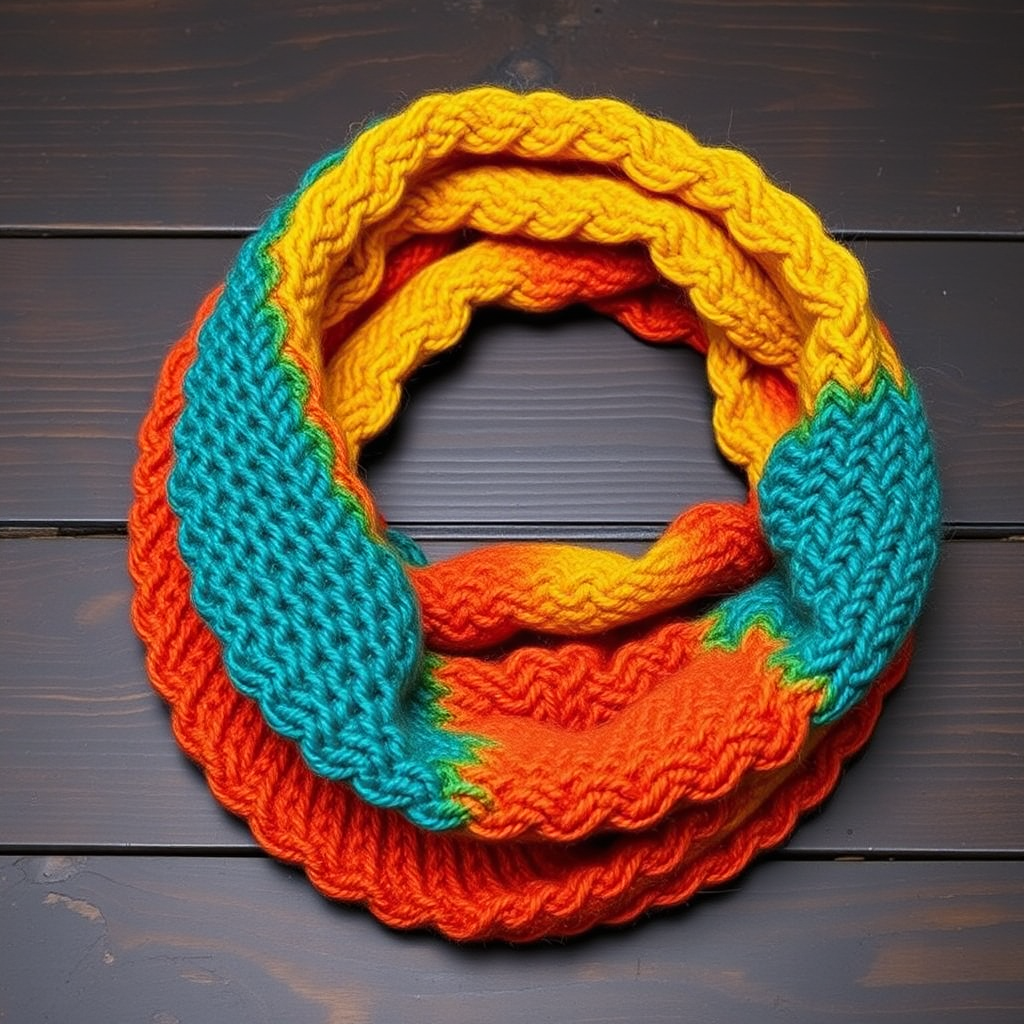
Lacy Crimson Cowl Free Pattern – Elegant Openwork Knit

Wrap Yourself in Elegance: The Lacy Crimson Cowl Free Knitting Pattern
There are certain knitting projects that feel like a hug for the soul—and the Lacy Crimson Cowl is exactly that. This stunning openwork knit combines the timeless beauty of lace stitches with the rich, jewel-toned depth of crimson yarn, creating a sophisticated accessory that drapes gracefully around your neck. Whether you're a seasoned knitter looking for a quick, satisfying project or a confident beginner ready to dip your toes into lacework, this pattern is designed to inspire.
The magic of this cowl lies in its deceptive simplicity. Worked in the round on a circular needle, it uses just a few basic stitches—knits, purls, yarn overs, and simple decreases—to create a breathtaking repeating diamond and eyelet motif. The result is a cozy, lightweight tube that adds a touch of romance and luxury to any winter outfit. Best of all, this free pattern is completely beginner-friendly, with clear instructions and a rhythm that becomes meditative after just a few rounds.
So, grab your needles, pour yourself a warm cup of tea, and let's create something beautiful together. By the end of this guide, you'll have a gorgeous, handmade cowl that you'll be proud to wear or gift.
Materials Needed: Your Simple Shopping List
One of the best things about this pattern is that it requires minimal materials. Here's everything you'll need to get started:
Yarn
- Worsted weight yarn in a deep crimson red (or any color you love!)
- Approximately 220 yards (200 meters) of yarn
Pro Tip: Look for a soft, slightly drapey worsted weight yarn. A merino wool or a wool-blend will give you that beautiful stitch definition and cozy warmth. The deep crimson red is classic, but don't be afraid to experiment with jewel tones like sapphire, emerald, or amethyst.
Needles & Notions
- US Size 8 (5.0 mm) circular knitting needle, 16-inch (40 cm) length
- Stitch marker (to mark the beginning of the round)
- Tapestry needle (for weaving in ends)
- Scissors
Gauge
18 stitches and 24 rows = 4 inches (10 cm) in stockinette stitch (blocked).
Why Gauge Matters: While gauge isn't critical for a cowl (it's quite forgiving), getting close to the recommended gauge ensures your finished piece matches the intended dimensions. If your gauge is off, you can easily adjust by going up or down a needle size.
Step-by-Step Instructions: Your Complete Guide to Knitting the Lacy Crimson Cowl
This pattern is worked in the round, creating a seamless tube. Don't worry if you've never worked lace before—the pattern is simple, repetitive, and easy to memorize. Let's break it down step by step.
Understanding Your Pattern
Before we begin, let's review the abbreviations you'll need:
- CO: Cast on
- K: Knit
- P: Purl
- Yo: Yarn over (bring yarn to front, then over the needle to the back, creating a new loop)
- K2tog: Knit two stitches together (a right-leaning decrease)
- SSK: Slip, slip, knit (a left-leaning decrease)
- PM: Place marker
- Rep: Repeat
- St(s): Stitch(es)
Pattern Notes:
- The cowl is worked in the round on a circular needle.
- The lace pattern is a multiple of 6 stitches.
- Always block the finished cowl to open up the lace and even out the stitches.
Finished Measurements
Your finished cowl will measure approximately 24 inches (61 cm) in circumference and 10 inches (25 cm) in height. This size is perfect for wrapping comfortably around your neck once or twice. The pattern is easily adjustable—simply cast on more or fewer stitches in multiples of 6 to change the circumference.
Step 1: Cast On & Setup
Let's get those stitches on the needle!
- CO 120 stitches using your preferred method (long-tail cast on works beautifully here).
- Place a marker (PM) at the beginning of the round.
- Join in the round by knitting the first stitch from the left needle. Critical: Be extremely careful not to twist your stitches. Lay your needle down and check that the cast-on edge is lying flat and facing the same direction all the way around before you join.
Step 2: The Garter Ridge Edge (Rounds 1-4)
This creates a neat, rolled edge that frames the lace beautifully.
- Round 1: Knit all stitches.
- Round 2: Knit all stitches.
- Round 3: Knit all stitches.
- Round 4: Knit all stitches.
You've just created a lovely garter stitch ridge at the bottom of your cowl. Take a moment to admire your work!
Step 3: The Lace Pattern (Rounds 1-8)
Now for the fun part—the lace! This 8-round pattern creates the stunning diamond and eyelet motif. The pattern is a multiple of 6 stitches, and since you have 120 stitches, you'll repeat the section between the asterisks (*) 20 times around each round.
Here's the complete lace pattern:
Round 1: *K2tog, yo, K1, yo, SSK, K1; rep from * to end of round.
Round 2: Knit all stitches.
Round 3: *K1, yo, SSK, K2tog, yo, K1; rep from * to end of round.
Round 4: Knit all stitches.
Round 5: *K2tog, yo, K1, yo, SSK, K1; rep from * to end of round.
Round 6: Knit all stitches.
Round 7: *K1, yo, SSK, K2tog, yo, K1; rep from * to end of round.
Round 8: Knit all stitches.
Let's break down Round 1 stitch by stitch:
- K2tog: Knit two stitches together. This decreases your stitch count by one.
- Yo: Bring the yarn to the front of your work, then over the right needle to the back. This creates a new loop and increases your stitch count by one.
- K1: Knit one stitch.
- Yo: Yarn over again.
- SSK: Slip the next two stitches knitwise, one at a time, to the right needle. Then insert the left needle into the front of these two slipped stitches and knit them together. This is a left-leaning decrease.
- K1: Knit one stitch.
Notice how the yarn overs (increases) balance out the decreases (K2tog and SSK), so your stitch count stays the same at the end of each round. This is the beauty of lace knitting!
Round 3 explained: This round shifts the pattern slightly to create the staggered diamond effect. You'll start with K1, then yo, SSK, K2tog, yo, and finish with K1. The decreases are now in the center, flanked by yarn overs.
Pro Tip for Beginners: If you lose your place, don't panic! Look at your knitting. The yarn overs create visible holes, and the decreases create diagonal lines. You can easily see where you are in the pattern by examining the stitches on your needle. Also, count your stitches after each lace round—you should always have 120 stitches.
Step 4: Repeat the Lace Pattern
Continue repeating Rounds 1-8 of the lace pattern until your cowl measures approximately 8 inches (20 cm) from the cast-on edge. It's best to end after completing a Round 8 (a plain knit round) so that you're ready to start the finishing edge on a clean round.
How to measure: Lay your work flat on a table and measure from the cast-on edge to your needle. Don't stretch it—measure it as it naturally lies.
Step 5: The Finishing Edge (Rounds 1-4)
Just as you started, you'll finish with a garter ridge edge to frame the lace symmetrically.
- Round 1: Knit all stitches.
- Round 2: Knit all stitches.
- Round 3: Knit all stitches.
- Round 4: Knit all stitches.
Step 6: Bind Off & Weave in Ends
Now it's time to finish your beautiful creation.
- Bind off loosely in knit. To ensure a stretchy bind-off that matches the flexibility of your lace, use a larger needle or bind off using the "knit two together" method: Knit two stitches, then pass the first stitch over the second. Knit one more stitch, pass the previous stitch over, and repeat until one stitch remains. Cut your yarn and pull it through the last loop.
- Weave in all ends using your tapestry needle. Thread the yarn tail through the back of several stitches on the wrong side of the work, then trim the excess. Do this for both the cast-on and bind-off tails.
Step 7: Blocking—The Secret to Beautiful Lace
Blocking is the most magical step in lace knitting. It transforms your crinkled, scrunched-up fabric into a smooth, open, and beautifully defined piece of art. Don't skip this step!
- Soak your cowl in lukewarm water with a gentle wool wash (or a drop of mild shampoo) for 15-20 minutes. Let it fully saturate.
- Gently squeeze out the excess water. Do not wring or twist—this can felt and ruin your work. Instead, press the water out or roll the cowl in a clean towel and press.
- Lay flat on a dry towel or blocking mat.
- Shape the cowl to the desired dimensions (approximately 24 inches in circumference and 10 inches tall).
- Pin out the lace points if you want to emphasize the diamond pattern. Use rust-proof blocking pins to gently stretch and secure the points of the lace, opening up the eyelets.
- Allow to dry completely—this can take 24-48 hours depending on your environment. Once dry, unpin and enjoy your gorgeous, perfectly blocked cowl!
Your Lacy Crimson Cowl Awaits
Congratulations! You've just created a stunning, elegant accessory that looks far more complex than it actually is. The Lacy Crimson Cowl is perfect for adding a touch of sophistication to a winter coat, dressing up a casual sweater, or gifting to someone special (if you can bear to part with it!).
The beauty of this pattern is its versatility. Once you've mastered the basic lace repeat, you can easily adjust the length, change the yarn weight, or experiment with different colors. The skills you've practiced—yarn overs, decreases, working in the round, and blocking—are foundational techniques that will serve you in countless future projects.
We'd love to see your finished cowl! Share your creation on social media with the hashtag #LacyCrimsonCowl and tag us so we can admire your handiwork. Happy knitting, and may your days be filled with warmth, creativity, and the simple joy of making something beautiful with your own two hands.