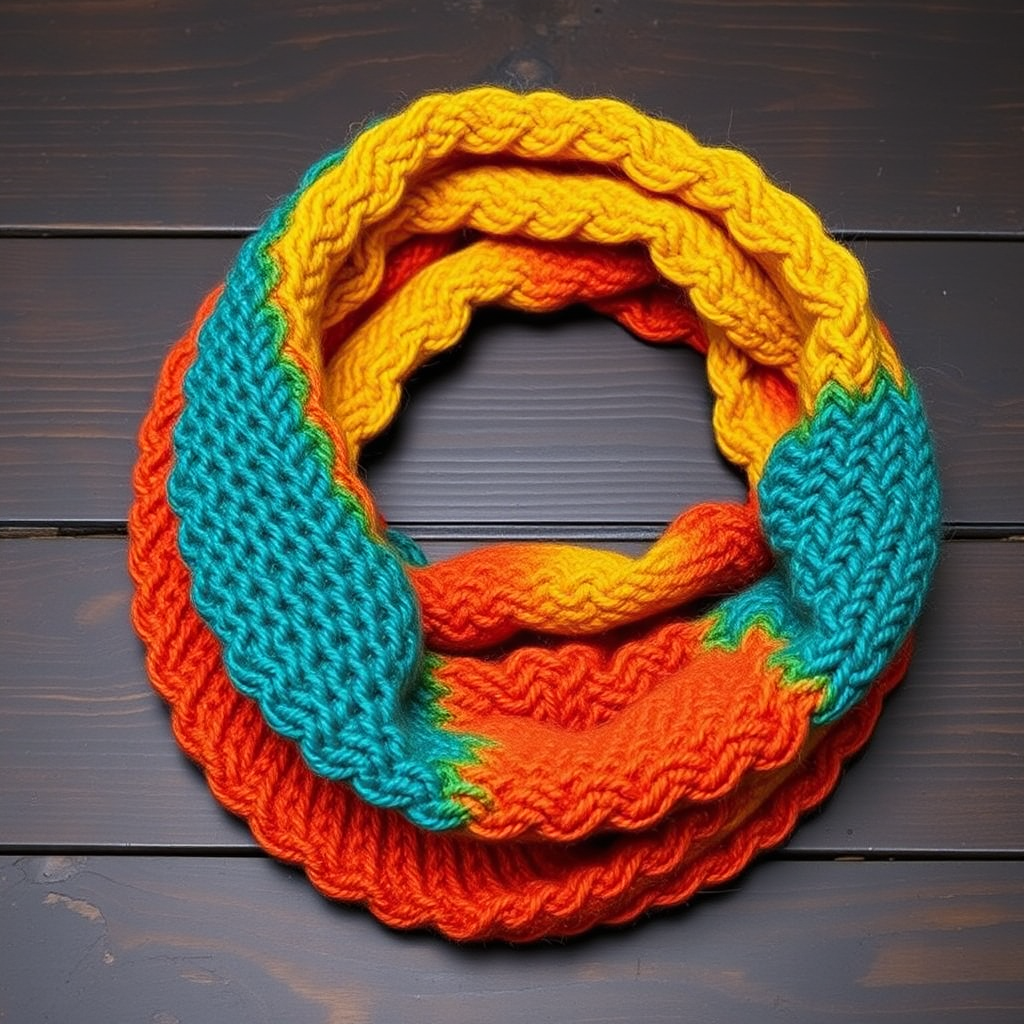
Mossy Fir Stitch Cowl Free Pattern – A Knitted Woodland Neck Warmer

Mossy Fir Stitch Cowl Free Pattern – A Knitted Woodland Neck Warmer
Wrap yourself in the quiet hush of a Northwest forest with this deeply textured cowl, worked in a rhythmic stitch that mimics layered moss and fir needles. The generous drape and earthy palette make it a cozy companion for crisp autumn walks or fireside reading. This free knitting pattern is perfect for intermediate beginners looking to expand their stitch repertoire while creating a stunning, wearable piece.
This seamless, circular cowl features a beautiful repeating pattern of small raised bumps and vertical columns, reminiscent of a mossy forest floor. The three-color striping—deep forest green, mossy olive, and soft heather gray—adds visual interest and depth, while the ribbed top and bottom edges provide a polished, snug fit. Best of all, it's worked entirely in the round, meaning no seaming is required!
Materials Needed
Before you begin, gather the following supplies. All materials are readily available at your local yarn shop or online retailer.
Yarn
- Worsted weight yarn in 3 colors (approx. 220 yds each):
- Color A: Deep forest green (for cast-on, ribbing, and final band)
- Color B: Mossy olive (for middle band)
- Color C: Soft heather gray (for center band)
Tip: Choose a wool or wool-blend yarn with a matte finish to best showcase the textured stitch pattern. The sample uses a slightly woolly, non-shiny yarn for that rustic, woodland feel.
Tools & Notions
- US 8 (5 mm) 16-inch circular knitting needle – The short cable is essential for working in the round comfortably.
- Stitch marker – To mark the beginning of your round.
- Tapestry needle – For weaving in ends and blocking.
Gauge
18 stitches and 24 rows = 4 inches in stockinette stitch (blocked). Always knit a gauge swatch to ensure your finished cowl matches the intended size. If your gauge is off, adjust your needle size accordingly.
Step-by-Step Instructions
This pattern is worked in the round, creating a seamless tube. The stitch pattern is a multiple of 4 stitches, and we'll cast on 108 stitches for a comfortable, stretchy fit.
Finished Size
24 inches circumference x 10 inches tall (stretchy, fits most adults). The ribbing allows for a snug yet comfortable fit.
Stitch Pattern: Mossy Fir Stitch (Worked in the Round)
This is the heart of the pattern. It's a simple 8-round repeat that creates a gorgeous, dimensional texture. Read each round carefully, as the pattern shifts to create the mossy effect.
- Rnd 1: *K2, P2; repeat from * to end.
- Rnd 2: *P2, K2; repeat from * to end.
- Rnd 3: *K1, P2, K1; repeat from * to end.
- Rnd 4: *P1, K2, P1; repeat from * to end.
- Rnd 5: *K2, P2; repeat from * to end.
- Rnd 6: *P2, K2; repeat from * to end.
- Rnd 7: *P1, K2, P1; repeat from * to end.
- Rnd 8: *K1, P2, K1; repeat from * to end.
Note: Rounds 1-2 and 5-6 are identical, creating the "fir needle" columns. Rounds 3-4 and 7-8 are offset, creating the "mossy" bumps. The combination produces the beautiful, organic texture.
Knitting the Cowl
Step 1: Cast On & Join
With Color A (deep forest green), cast on 108 stitches using your preferred method (long-tail cast-on works well). Place a stitch marker on your right needle to mark the beginning of the round. Carefully join in the round, being extremely cautious not to twist your stitches. Slide the stitches close together on the needle and double-check that the cast-on edge is not twisted before you begin knitting.
Step 2: Bottom Ribbing
Work the ribbing for the bottom edge. This creates a neat, stretchy border that will frame the textured body.
- Work *K2, P2* ribbing for 1.5 inches (approximately 8 rounds).
Keep your tension even. This ribbing will form the bottom of the cowl and should be firm but not tight.
Step 3: Body – Color Sequence & Pattern
Now you'll begin the Mossy Fir Stitch pattern, following the color sequence below. This is where the magic happens! The color changes create distinct bands that highlight the texture.
- Color A (Forest Green): Work Rounds 1–8 of the Mossy Fir Stitch pattern once (8 rounds total).
- Color B (Mossy Olive): Switch to Color B. Work Rounds 1–8 of the pattern twice (16 rounds total).
- Color C (Heather Gray): Switch to Color C. Work Rounds 1–8 of the pattern twice (16 rounds total).
- Color B (Mossy Olive): Switch back to Color B. Work Rounds 1–8 of the pattern once (8 rounds total).
- Color A (Forest Green): Switch back to Color A. Work Rounds 1–8 of the pattern once (8 rounds total).
Pro Tip: When changing colors, knit the first stitch of the new color firmly to avoid gaps. You can carry the unused yarn up the inside of the work, or simply cut and weave in ends later. For a cleaner finish, cut the yarn leaving a 6-inch tail and weave in ends at the end.
Step 4: Top Ribbing
With Color A still attached, work the top ribbing to mirror the bottom edge.
- Work *K2, P2* ribbing for 1.5 inches (approximately 8 rounds).
Step 5: Bind Off
Bind off loosely in pattern. This is crucial to maintain the stretchiness of the ribbing. To bind off in pattern: K2, then pass the first stitch over the second (like a standard bind-off). Then, P1, pass the previous stitch over. Continue alternating knit and purl bind-offs to match the K2, P2 ribbing. If your bind-off is too tight, use a needle one size larger for this step.
Step 6: Finishing
Cut your yarn, leaving a generous tail (at least 8 inches). Thread the tail onto your tapestry needle and pull it through the last loop to secure. Weave in all loose ends carefully on the inside of the cowl, using a tapestry needle to follow the path of the stitches for a few inches. Trim any excess yarn.
Step 7: Blocking
Blocking is essential to open up the stitch texture and even out your tension. Soak the cowl in lukewarm water with a gentle wool wash for 15-20 minutes. Gently squeeze out excess water (do not wring). Lay the cowl flat on a clean towel, roll it up to remove more water, then shape it to its final dimensions (24 inches circumference x 10 inches tall). Allow it to dry completely. The stitch pattern will relax and become more defined after blocking.
Your Mossy Fir Stitch Cowl is complete! Slip it on and enjoy the cozy, woodland warmth. The textured stitch and earthy colors make it a versatile accessory that pairs beautifully with autumn jackets, chunky sweaters, and casual scarves. Happy knitting!