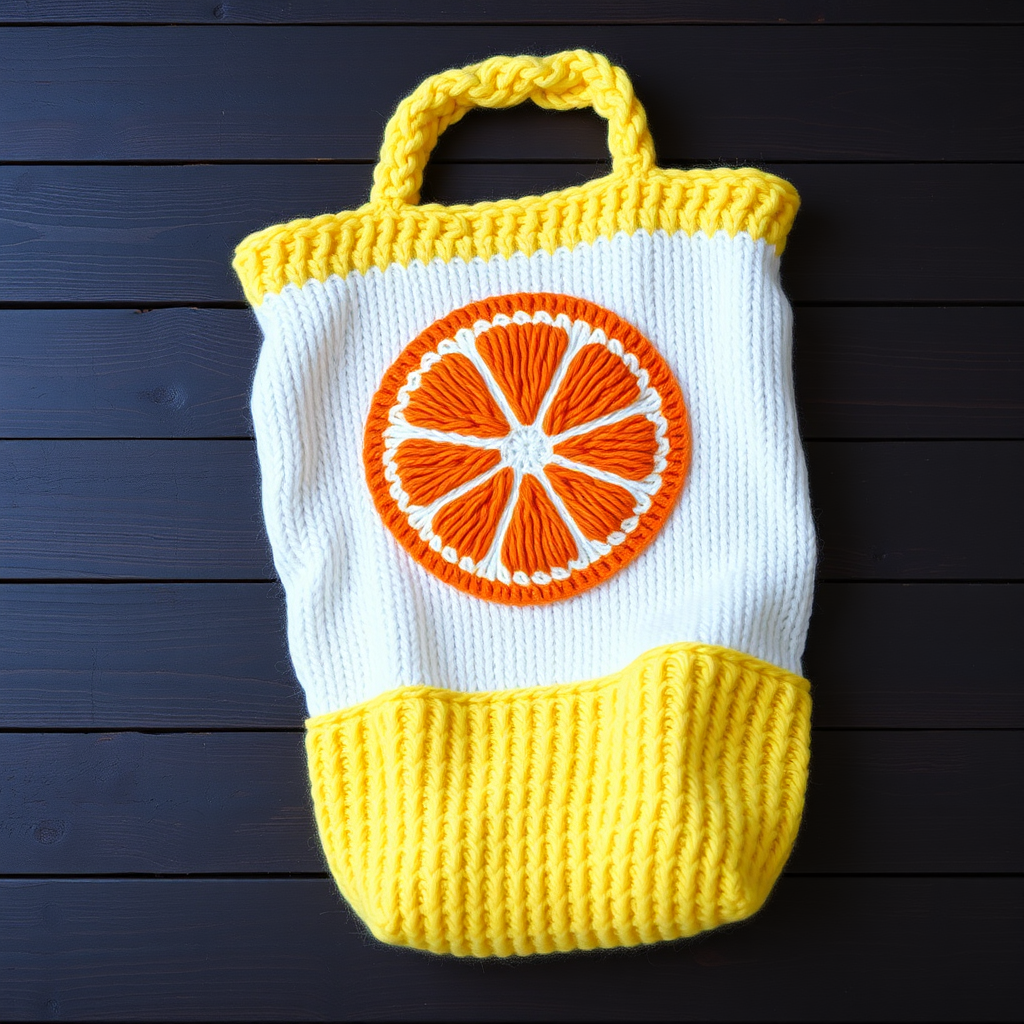
Meadow Bloom Market Tote Free Pattern – Textured Knit with Floral Motifs

Meadow Bloom Market Tote Free Pattern – Textured Knit with Floral Motifs
Carry a piece of spring with this charming knitted tote, featuring a dense seed stitch base and delicate crocheted flower accents. Its sturdy cotton construction and roomy shape make it perfect for farmers' markets or library trips. This pattern is beginner-friendly, combining simple knit-and-purl techniques with a touch of crochet for a delightful floral finish. The natural, rustic aesthetic—soft sage green with cream, blush pink, and butter yellow blossoms—brings a cozy, handmade feel to any outing.
Whether you're a seasoned knitter looking for a quick weekend project or a beginner eager to expand your skills, this tote is a rewarding make. The seed stitch creates a thick, durable fabric that holds its shape beautifully, while the crocheted flowers add a whimsical, personalized touch. Let's dive into the materials and step-by-step instructions to create your very own Meadow Bloom Market Tote.
Materials Needed
Before you begin, gather the following supplies. All items are readily available at craft stores or online. The worsted weight cotton yarn ensures durability and stitch definition, making it ideal for a market bag.
Yarn
- Main Color (MC): Worsted weight cotton yarn (e.g., Lion Brand 24/7 Cotton) in Sage Green – approximately 300 yards (2 skeins)
- Contrast Color 1 (CC1): Cream – small amount for flowers (approx. 20 yards)
- Contrast Color 2 (CC2): Blush Pink – small amount for flowers (approx. 20 yards)
- Contrast Color 3 (CC3): Butter Yellow – small amount for flowers (approx. 20 yards)
Needles & Hooks
- Knitting Needles: US 7 (4.5 mm) – straight or circular (for flat knitting)
- Crochet Hook: US G/6 (4.0 mm) – for making the flowers
- Yarn Needle: For seaming and weaving in ends
Additional Supplies
- Scissors
- Stitch markers (optional, for counting rows)
- Measuring tape or ruler
- Blocking mats and pins (optional, for finishing)
Gauge
20 stitches and 28 rows = 4 inches in seed stitch (blocked). Always knit a gauge swatch to ensure your finished bag matches the intended size. If your gauge is off, adjust your needle size accordingly.
Step-by-Step Instructions
This pattern is worked in three main parts: the bag body (knitted flat), the straps (knitted separately), and the crocheted flowers. Follow each section carefully, and you'll have a beautiful, functional tote in no time.
Part 1: Bag Body (Knitted, Worked Flat in One Piece Then Seamed)
The bag body is a simple rectangle worked in seed stitch. This stitch creates a dense, textured fabric that's perfect for carrying groceries or books. The piece is knit flat from the bottom up, then folded and seamed at the sides.
Foundation
With MC yarn and US 7 (4.5 mm) needles, cast on 60 stitches. Leave a tail of about 6 inches for weaving in later.
Seed Stitch Pattern
Work the following two rows repeatedly until the piece measures 14 inches from the cast-on edge.
- Row 1: *K1, P1* repeat from * to end of row. (60 stitches)
- Row 2: *P1, K1* repeat from * to end of row. (60 stitches)
Note: The seed stitch is created by alternating knit and purl stitches, with the pattern offsetting on every row. This produces a bumpy, textured surface. Keep your tension even for a neat finish.
Continue repeating Rows 1 and 2 until your work measures 14 inches in length. To check, lay the piece flat and measure from the cast-on edge to your knitting needle. Bind off loosely (knitwise) to prevent the top edge from being too tight.
Seaming the Bag
- Fold the rectangle in half with right sides together, matching the cast-on and bind-off edges. The fold will become the bottom of the bag.
- Using a yarn needle and a length of MC yarn, sew the side seams using the mattress stitch. Start at the bottom fold and work up to the top edge. Leave the top open.
- Turn the bag right side out. The seed stitch texture should be facing outward.
Tip: The mattress stitch creates an invisible seam on the right side. If you're new to this technique, practice on a small swatch first. Alternatively, you can use a simple whip stitch, though it will be visible on the inside.
Part 2: Straps (Knitted)
You'll make two identical straps. These are worked in garter stitch (knit every row), which creates a sturdy, non-curling fabric ideal for handles.
Make Two Straps
- With MC yarn, cast on 8 stitches.
- Knit every row (garter stitch) until the strap measures 18 inches long.
- Bind off loosely. Leave a tail of about 8 inches for sewing.
Attaching the Straps
- Lay the bag flat with the front facing you. Identify the side seams—these are your reference points.
- Place one strap on the inside of the bag, positioning it 3 inches from the side seam. The strap should be centered on the top edge, with the ends overlapping the inside of the bag by about 1 inch.
- Using a yarn needle and the tail from the strap, sew the strap securely to the inside of the bag. Use a whip stitch or backstitch, going through both the strap and the bag fabric. Make several passes to ensure it's sturdy.
- Repeat for the second strap on the other side, also 3 inches from the opposite side seam.
Important: Ensure both straps are aligned and not twisted before sewing. Double-check the placement so the bag hangs evenly when carried.
Part 3: Crocheted Flowers (Make 5)
These charming flowers are quick to make and add the signature "Meadow Bloom" touch. You'll use CC1 (Cream), CC2 (Blush Pink), and CC3 (Butter Yellow) to create a variety of colors. Make a total of five flowers, mixing the colors as you like.
Flower Pattern (Worked in the Round)
Using your chosen contrast color and the US G/6 (4.0 mm) crochet hook, follow these steps:
- Magic Ring: Make a magic ring (adjustable loop). If you're unfamiliar with this technique, you can chain 4 and slip stitch to form a ring instead.
- Round 1: Chain 1 (does not count as a stitch), work 6 single crochet (sc) into the ring. Pull the tail to close the ring tightly. Slip stitch (sl st) into the first sc to join. (6 sc total)
- Round 2 (Petals): *Chain 3, work 2 double crochet (dc) into the next sc, chain 3, slip stitch into the next sc.* Repeat from * to * around. You will have 5 petals total.
- Fasten off: Cut the yarn, leaving a tail of about 8 inches for sewing. Pull the tail through the last loop to secure.
Detailed Round 2 Explanation:
- Start with a slip stitch into the first sc of Round 1.
- Chain 3 (this forms the first part of the petal).
- Work 2 double crochet into the same sc (the one you just slip stitched into).
- Chain 3 again.
- Slip stitch into the next sc. This completes one petal.
- Repeat this sequence for each of the remaining 4 sc stitches. You'll end with a slip stitch into the last sc, and the round will be complete.
Repeat this process to make a total of five flowers. Vary the colors—for example, two cream, two blush pink, and one butter yellow—or make them all different for a more eclectic look.
Finishing: Attaching Flowers & Blocking
- Arrange the Flowers: Place the bag flat with the front facing you. Arrange the five flowers in a loose cluster near the upper left corner, as shown in the inspiration image. Play with the placement until you're happy with the composition.
- Sew the Flowers: Using the yarn tail from each flower, sew it securely to the bag. Weave the needle through the back of the flower and into the bag fabric, making several passes. Tie off the yarn on the inside of the bag and weave in the end.
- Weave in All Ends: Use a yarn needle to weave in any remaining loose ends from the cast-on, bind-off, and color changes. Ensure all tails are hidden on the inside of the bag.
- Block the Tote: Lightly block the bag to even out the stitches and give it a professional finish. To block, dampen the bag with a spray bottle, shape it gently, and lay it flat on a towel to dry. You can also use blocking mats and pins to hold the shape. Avoid heavy blocking, as the seed stitch is meant to be dense and textured.
Once dry, your Meadow Bloom Market Tote is ready to use! It's perfect for carrying fresh produce, library books, or knitting projects. The sturdy cotton and dense stitch will hold up to daily use, while the floral accents add a touch of spring to any outfit.
Care Instructions: Hand wash in cold water with mild detergent, lay flat to dry. Do not machine wash or tumble dry, as this may shrink or distort the cotton yarn.
Enjoy your handmade creation! Share your finished tote on social media with the hashtag #MeadowBloomTote to inspire other crafters.