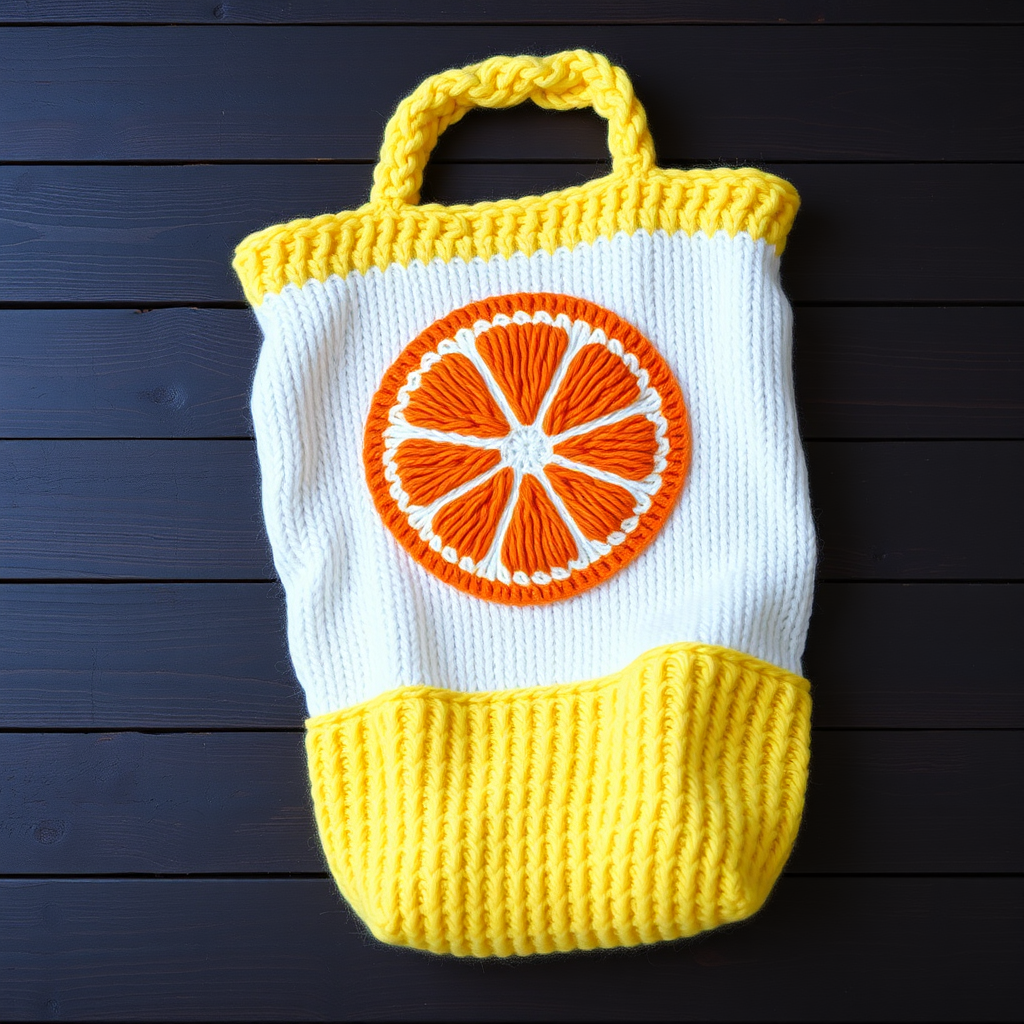
The Sundial Market Tote Free Pattern – A Knitted Patchwork Bag with Woven Leather-Look Straps

The Sundial Market Tote: A Free Knitted Patchwork Bag Pattern
There is something deeply satisfying about knitting a bag that is both beautiful and useful. The Sundial Market Tote is a textured patchwork bag that captures the warm, earthy tones of a late summer afternoon—terracotta, ochre, and cream. This free knitting pattern is perfect for intermediate beginners who want to practice stockinette stitch, seaming, and garter stitch, all while creating a practical accessory for farmers' market hauls, beach days, or everyday errands.
The modular design means you knit 12 individual squares, which makes the project highly portable and easy to manage. You can knit a square on your commute, during a coffee break, or while watching your favorite show. Once the squares are complete, you simply seam them together and add sturdy garter-stitch straps. The result is a boho, handcrafted bag with a flat bottom and a clean, structured shape that stands up on its own.
This pattern uses worsted weight cotton yarn, which gives the bag excellent stitch definition and durability. Cotton is ideal for a market tote because it is strong, washable, and holds its shape well. The smooth stockinette stitch squares create a beautiful contrast with the ridged garter stitch straps, adding visual interest and texture.
Whether you are knitting this for yourself or as a gift, the Sundial Market Tote is a rewarding project that combines practicality with handmade charm. Let’s dive into the materials you will need and the step-by-step instructions to create your own.
Materials Needed
Before you begin, gather the following materials. Having everything ready will make the knitting process smooth and enjoyable.
Yarn
- Worsted weight cotton yarn (e.g., Lion Brand 24/7 Cotton) in 3 colors:
- Color A (Terracotta): approximately 100g
- Color B (Ochre): approximately 100g
- Color C (Cream): approximately 100g
- Total yarn needed: approximately 300g (about 6 balls of 50g each, or 3 balls of 100g each)
Note: If you cannot find these exact colors, choose any three complementary worsted weight cotton yarns. The pattern works beautifully with any color combination.
Needles and Tools
- US 7 (4.5mm) knitting needles – straight or circular (circular needles are helpful if you prefer to knit flat with a longer cable)
- Tapestry needle – for seaming and weaving in ends
- Stitch markers – optional, but helpful for keeping track of rows
- Scissors
- Measuring tape or ruler
- Blocking mats and pins – optional, but recommended for professional-looking squares
Gauge
20 stitches x 28 rows = 4 inches (10 cm) in stockinette stitch (knit on RS, purl on WS).
It is essential to check your gauge before starting. If your gauge is off, your squares will not measure 4x4 inches, and the final bag will not assemble correctly. Knit a small swatch, measure it, and adjust your needle size if necessary. If you have too many stitches per inch, go up a needle size; if you have too few, go down a size.
Step-by-Step Instructions
This bag is knitted in 12 individual squares, then seamed together and finished with a knitted strap. All squares are worked flat in stockinette stitch. Follow these instructions carefully, and you will have a beautiful, functional tote in no time.
Knitting the Squares (Make 12 Total)
You will make 12 squares total: 4 in Color A (Terracotta), 4 in Color B (Ochre), and 4 in Color C (Cream). Each square is identical in construction, so once you master one, you can repeat it 11 more times.
Square Pattern:
- Cast on 20 stitches using your chosen color. Use a long-tail cast-on for a neat, elastic edge.
- Row 1 (Right Side): Knit all stitches.
- Row 2 (Wrong Side): Purl all stitches.
- Rows 3-28: Repeat Rows 1 and 2 (stockinette stitch) until the piece measures 4 inches (10 cm) from the cast-on edge. You should have approximately 28 rows total, but the measurement is more important than the row count. If your gauge is correct, 28 rows will give you exactly 4 inches.
- Bind off loosely in knit on the right side. A loose bind-off is crucial to prevent the edges from pulling. You can use a larger needle to bind off, or bind off in pattern (knit the knit stitches, purl the purl stitches) to maintain elasticity.
- Weave in the ends using a tapestry needle. Weave in the cast-on and bind-off tails on the wrong side of the square, being careful not to distort the stitches.
- Block each square to 4x4 inches. Blocking is essential for this project. It evens out the stitches, sets the dimensions, and makes seaming much easier. To block, soak the squares in lukewarm water with a drop of mild detergent, gently squeeze out excess water (do not wring), lay them flat on blocking mats, and pin them to 4x4 inches. Allow them to dry completely before proceeding.
Pro Tip: Knit all 12 squares before starting assembly. This allows you to arrange them in the most pleasing color pattern and ensures you have all pieces ready for seaming.
Assembling the Bag
Once all 12 squares are knitted, blocked, and dry, it is time to assemble the bag. This is where the magic happens—your individual squares become a cohesive, functional tote.
Step 1: Arrange the Squares
Lay out your 12 squares in a 3x4 grid (3 squares wide, 4 squares tall). This will create a rectangle that is 12 inches wide and 16 inches tall. Arrange the colors in a pleasing pattern. Here is a suggested layout:
| A (Terracotta) | B (Ochre) | C (Cream) |
| C (Cream) | A (Terracotta) | B (Ochre) |
| B (Ochre) | C (Cream) | A (Terracotta) |
| A (Terracotta) | B (Ochre) | C (Cream) |
Feel free to experiment with your own arrangement. The key is to distribute the colors evenly so the bag looks balanced and cohesive.
Step 2: Seam the Squares Together
Using a tapestry needle and a length of matching yarn (use the same color as the squares you are joining, or a contrasting color for a decorative effect), whipstitch the squares together.
- Horizontal seams first: Join the squares in each row. Place two squares right sides together, aligning the edges. Thread your tapestry needle with about 18 inches of yarn. Starting at one corner, whipstitch through the edge stitches, catching one bar of each stitch on both pieces. Work your way across the seam, keeping the tension even. When you reach the end, secure the yarn with a small knot and weave in the end. Repeat for all three rows, so you have three long strips of 3 squares each.
- Vertical seams: Now join the three strips together. Place two strips right sides together, aligning the horizontal seams. Whipstitch along the entire length, just as you did for the horizontal seams. Repeat to attach the third strip. You should now have a single rectangle measuring 12 inches wide by 16 inches tall.
Pro Tip: To ensure your seams are invisible, pick up the "V" of the knit stitches on both edges. This creates a flat, professional-looking seam.
Step 3: Fold and Seam the Sides
Now it is time to shape the bag.
- Fold the rectangle in half with right sides together, matching the bottom corners. The fold will be the bottom of the bag, and the open edges will be the top.
- Seam the two side edges together. Using the whipstitch technique, sew from the bottom fold up to the top edge on both sides. Leave the top open. This creates a bag that is 12 inches wide and 8 inches tall (since the 16-inch height is folded in half).
- Turn the bag right side out. Gently push the corners out from the inside to create a crisp, flat bottom.
Optional: To create a flat, boxed bottom, you can pinch the bottom corners and sew a small diagonal seam across each corner before turning the bag right side out. This will give the bag more depth. However, the pattern as written creates a flat, rectangular bag that lies nicely against your body.
Knitting and Attaching the Straps
The straps are knitted in garter stitch, which is stretchy, durable, and comfortable on the shoulder. You will make two identical straps.
Strap Pattern (Make 2):
- Cast on 8 stitches using Color C (Cream) or a color of your choice. The cream straps beautifully complement the warm tones of the bag.
- Knit every row (garter stitch) until the strap measures 18 inches (46 cm) long. This length is comfortable for carrying over the shoulder or in the hand. If you prefer longer straps, simply knit more rows.
- Bind off loosely in knit.
- Weave in the ends.
- Repeat for the second strap.
Pro Tip: Garter stitch curls at the edges, which is normal. Blocking the straps flat will help them lie nicely. You can also knit the straps in stockinette stitch with a garter border, but the all-garter version is simpler and matches the rustic aesthetic of the bag.
Attaching the Straps:
- Position the straps. Place the bag on a flat surface with the right side facing you. Position each strap on the inside of the bag, 2 inches from the side seams and 1 inch down from the top edge. The straps should be parallel to each other and centered on the front and back panels.
- Sew the straps securely. Using a tapestry needle and matching yarn (or a strong thread), sew each strap to the inside of the bag. Use a whipstitch or backstitch, going through both the strap and the bag fabric. Make sure the stitches are secure and will hold the weight of the bag's contents.
- Reinforce with an X-stitch. For extra durability, sew an "X" shape over the attachment point of each strap. This distributes the weight and prevents the straps from tearing. To do this, bring the needle up through the bag and strap, then down diagonally, creating an X. Repeat several times to make it strong.
Pro Tip: If you are concerned about the straps stretching, you can sew a fabric lining into the bag. This is optional but adds strength and prevents small items from falling through the stitches.
Finishing Touches
Your Sundial Market Tote is almost complete. A few final steps will give it a polished, professional look.
Step 1: Hem the Top Edge
To give the bag a clean, finished edge and prevent stretching, fold the top edge down 1 inch (2.5 cm) to the inside of the bag. Pin it in place. Using a tapestry needle and matching yarn, sew a hem by whipstitching along the folded edge. This creates a neat, sturdy top that will hold its shape.
Alternative: If you prefer a more casual, rolled edge, you can skip the hem and simply weave in all ends. The stockinette stitch will naturally curl slightly, which can be charming.
Step 2: Weave in All Ends
Take a final pass over the entire bag and weave in any remaining yarn tails. Use a tapestry needle to thread the ends through the wrong side of the fabric, being careful not to pull too tightly. Trim any excess yarn.
Step 3: Optional Lining
If you want to add a fabric lining for extra strength and to prevent small items from slipping through the stitches, now is the time. Cut a piece of cotton fabric to fit the inside of the bag (12 inches wide by 8 inches tall, plus seam allowances). Sew the fabric into a bag shape, insert it into the knitted bag, and hand-stitch it to the hem at the top edge. This is an optional step but highly recommended if you plan to carry heavy items like books or groceries.
Step 4: Final Blocking
Give your finished bag a gentle steam block or a light mist with water to even out the seams and set the shape. Lay it flat to dry. This will help the bag look its best and ensure the seams lie flat.
Care Instructions
To keep your Sundial Market Tote looking beautiful for years to come, follow these care guidelines:
- Hand wash in cold water with a mild detergent. Do not wring or twist the bag, as this can distort the shape.
- Reshape and lay flat to dry. Do not hang the bag while wet, as the weight of the water can stretch it.
- Do not machine wash or tumble dry. Cotton yarn can shrink and lose its shape in the dryer.
- Store flat or folded when not in use to maintain the shape.
Customization Ideas
One of the joys of knitting is making a pattern your own. Here are a few ways to customize your Sundial Market Tote:
- Color palette: Swap the terracotta, ochre, and cream for your favorite colors. Pastels, jewel tones, or neutrals all work beautifully.
- Strap length: Knit longer straps for a crossbody bag, or shorter straps for a hand-held tote.
- Square size: Adjust the number of cast-on stitches to make larger or smaller squares. Just remember to maintain your gauge and adjust the total number of squares accordingly.
- Texture: Experiment with different stitch patterns for the squares, such as seed stitch, moss stitch, or a simple cable. This will change the look and feel of the bag.
- Pockets: Knit a small pocket square and attach it to the inside or outsideAlso Check Out: We think you'd love this beautiful pattern on our sister site: Free Pattern: The Nebula Bobble Sweater