Meadow Breeze Slouchy Hat Free Pattern

Meadow Breeze Slouchy Hat: A Free Crochet Pattern for Spring
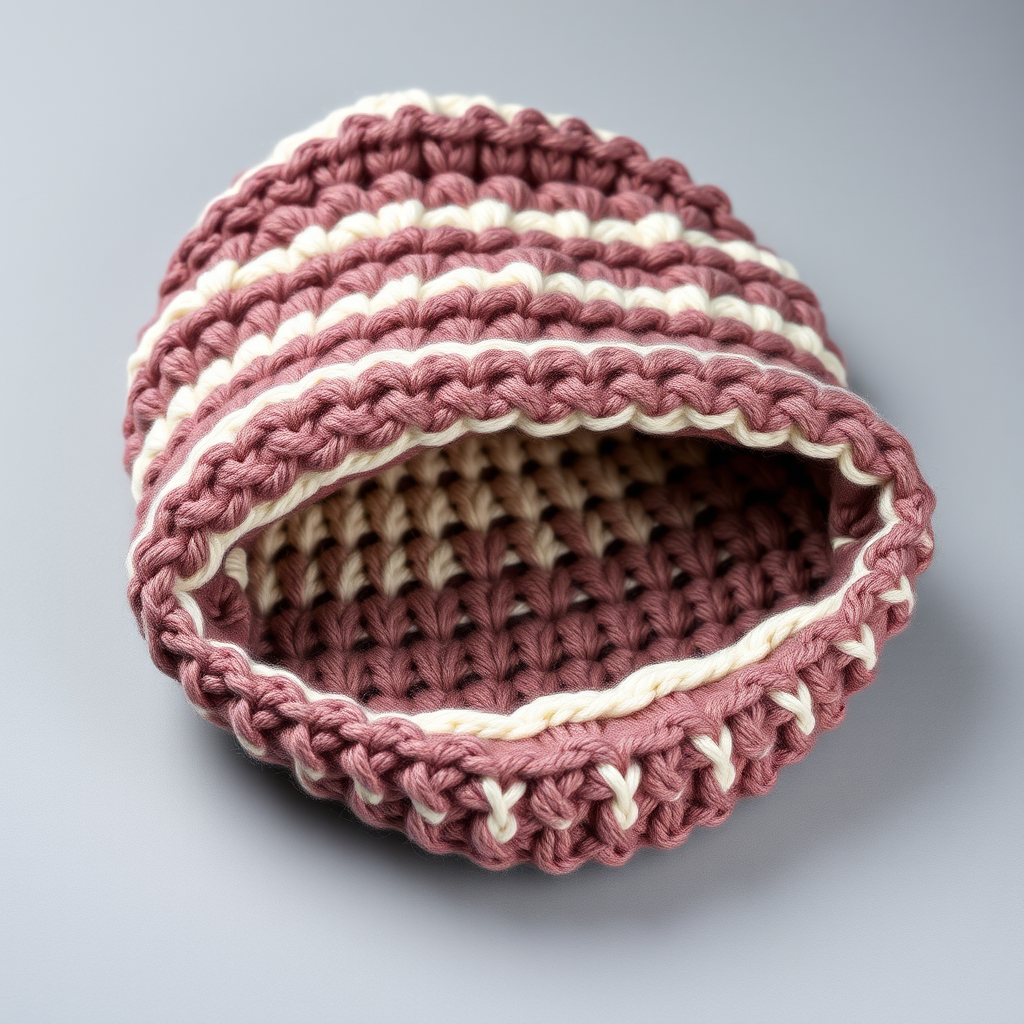
Embrace the gentle transition into spring with the Meadow Breeze Slouchy Hat—a breezy, textured crochet project that combines a delicate shell stitch with a charming blossom accent. This slouchy design is both cozy and stylish, making it a delightful project for crafters of all levels. Whether you're a seasoned hooker or a curious beginner, this pattern offers a satisfying rhythm and a beautiful, wearable result. The soft sage green body, punctuated by a blush pink flower, evokes the feeling of a sun-drenched meadow, perfect for those crisp spring mornings or cool evening strolls.
This free pattern is designed to be approachable, using basic crochet stitches and clear instructions. The result is a relaxed, slouchy hat with a smooth, snug-fitting band that flares into a textured crown. Let's gather your materials and get started on creating your own piece of springtime charm.
Materials Needed
Before you begin, ensure you have all the necessary supplies. This project is wonderfully portable and requires minimal materials.
- Yarn: DK weight yarn in two colors:
- Main Color (MC): Soft sage green (approx. 150-180 yards)
- Accent Color (AC): Blush pink (small amount for the blossom)
- Crochet Hook: 5.5 mm (I/9) crochet hook
- Other: Yarn needle for weaving in ends, stitch marker (optional but recommended), scissors.
Gauge & Sizing
To ensure your hat fits as intended, it's important to check your gauge.
- Gauge: 16 dc x 9 rows = 4 inches (10 cm) in shell stitch pattern.
- Finished Size: This pattern creates an adult medium/large size slouchy hat. The slouchy nature makes it quite forgiving in fit.
Tip: If your gauge is off, adjust your hook size accordingly. A smaller hook will create a tighter, smaller hat, while a larger hook will make it looser and bigger.
Step-by-Step Instructions
This pattern is worked in continuous rounds for the crown and joined rounds for the body. Pay close attention to the stitch counts at the end of each round to ensure your work stays accurate.
Notes
- Worked in continuous rounds unless otherwise stated. Use a stitch marker to mark the beginning of each round.
- The hat is worked from the top down, starting with a magic ring.
- Stitch abbreviations: sc (single crochet), dc (double crochet), ch (chain), sl st (slip stitch), st(s) (stitch/stitches).
Hat Body: The Crown
We'll begin by creating the flat, circular crown of the hat, which will eventually form the slouchy top.
Round 1: With MC, make a magic ring. Work 6 sc into the ring. Pull tight to close. (6 sts)
Round 2: 2 sc in each st around. (12 sts)
Round 3: *Sc in next st, 2 sc in next st* repeat around. (18 sts)
Round 4: *Sc in next 2 sts, 2 sc in next st* repeat around. (24 sts)
Round 5: *Sc in next 3 sts, 2 sc in next st* repeat around. (30 sts)
Round 6: *Sc in next 4 sts, 2 sc in next st* repeat around. (36 sts)
Round 7: *Sc in next 5 sts, 2 sc in next st* repeat around. (42 sts)
Round 8: *Sc in next 6 sts, 2 sc in next st* repeat around. (48 sts)
Round 9: *Sc in next 7 sts, 2 sc in next st* repeat around. (54 sts)
Round 10: *Sc in next 8 sts, 2 sc in next st* repeat around. (60 sts)
Round 11: *Sc in next 9 sts, 2 sc in next st* repeat around. (66 sts)
Round 12: *Sc in next 10 sts, 2 sc in next st* repeat around. (72 sts)
At this point, your circle should measure approximately 5.5 to 6 inches in diameter. This is the base of your crown.
Rounds 13-20: Sc in each st around. (72 sts)
These rounds create the straight sides of the hat, forming the "bowl" that will become the slouchy part. Do not increase or decrease; simply work one single crochet into each stitch from the previous round.
Begin Shell Stitch Pattern
Now we will add the beautiful, textured shell stitch that gives the hat its signature look. This section creates a delicate, scalloped texture reminiscent of gentle waves.
Round 21: Ch 3 (counts as dc), skip next 2 sts, *shell (2 dc, ch 1, 2 dc) in next st, skip next 2 sts, dc in next st, skip next 2 sts* repeat from * around, ending with shell in last st, skip last 2 sts, join with sl st to top of ch-3. (12 shells)
Detailed Explanation: This round sets up the pattern. A "shell" is a group of stitches worked into the same stitch. Here, it's 2 double crochets, a chain, and 2 more double crochets, all in one stitch. You'll skip stitches between the shells and the single double crochet to create the wave effect.
Round 22: Ch 3 (counts as dc), *shell in ch-1 space of next shell, dc in next dc* repeat from * around, ending with shell in last ch-1 space, join with sl st to top of ch-3. (12 shells)
Detailed Explanation: Now, you will work your shells into the chain-1 spaces of the shells from the previous round. This stacks the shells on top of each other, creating a beautiful vertical wave pattern. The single double crochet from the previous round will be worked into as well.
Round 23: Repeat Round 22.
This adds another layer of shells, giving the hat more length and texture.
Round 24: Ch 1, sc in same st, *sc in each of next 2 dc, sc in ch-1 space, sc in each of next 2 dc, sc in next dc* repeat from * around, ending with sc in last 2 dc, sc in ch-1 space, sc in last 2 dc, join with sl st to first sc. (72 sts)
Detailed Explanation: This round is a "settling" round. You are working single crochets into the tops of the shells and the spaces between them to bring the stitch count back to 72, creating a smooth edge for the band.
Hat Body: The Band
This section creates the snug, comfortable band that will sit around your forehead.
Rounds 25-27: Ch 1, sc in each st around, join with sl st to first sc. (72 sts)
These rounds are simple and repetitive, creating a solid, stretchy band. The joined rounds (rather than continuous) create a neat, seamless finish.
Finish off MC and weave in ends. Use your yarn needle to carefully weave in the loose end from the magic ring and the end from finishing off.
Blossom Accent (Make 1)
Now for the charming finishing touch—a three-dimensional crocheted blossom in blush pink. This simple flower adds a pop of color and a touch of whimsy.
With AC, make a magic ring.
Round 1: Ch 1, work 5 sc into the ring. Pull tight, join with sl st to first sc. (5 sts)
Round 2: Ch 3, 2 dc in same st, ch 3, sl st in same st. *Sl st in next st, ch 3, 2 dc in same st, ch 3, sl st in same st* repeat from * around for a total of 5 petals. Join with sl st to first sl st. Finish off, leaving a long tail for sewing.
Detailed Explanation: Each petal is created by working a slip stitch to anchor it, then a chain-3, two double crochets, another chain-3, and a slip stitch, all into the same single crochet from Round 1. This creates a lovely, rounded petal shape. You will do this 5 times to create a 5-petal flower.
Finishing
This is the final step to bring your hat together.
- Position the Blossom: Sew the blossom accent onto the hat at the center of the shell stitch section, slightly off to one side. This placement is visually appealing and mimics a flower nestled in a meadow.
- Secure the Blossom: Using the long tail left from the blossom, thread it onto your yarn needle. Sew through the back of the flower and into the hat fabric several times to secure it firmly. Weave the end in on the inside of the hat.
- Weave in All Ends: Double-check that all loose ends from the hat body and the blossom are securely woven in. This ensures your hat will be durable and look professional.
- Block Lightly (Optional): If desired, you can lightly block your hat to even out the stitches and give it a more polished shape. To do this, gently mist the hat with water and shape it, then allow it to dry completely.
Congratulations! You've completed your very own Meadow Breeze Slouchy Hat. This beautiful accessory is perfect for adding a touch of handmade charm to your spring wardrobe. The combination of the soft sage green and the delicate shell stitch creates a timeless piece that you'll love to wear and gift. Enjoy your new creation!