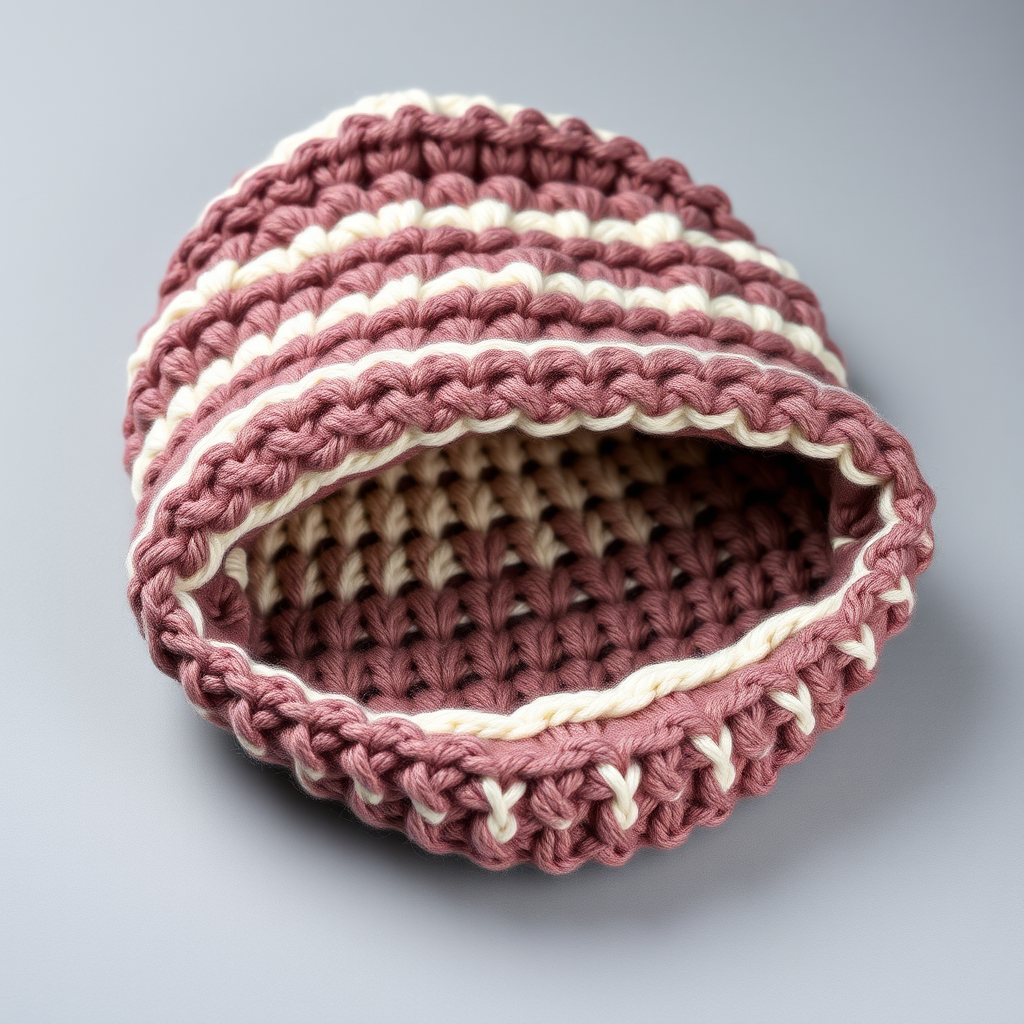
Whimsical Woodland Fox Beanie Free Pattern
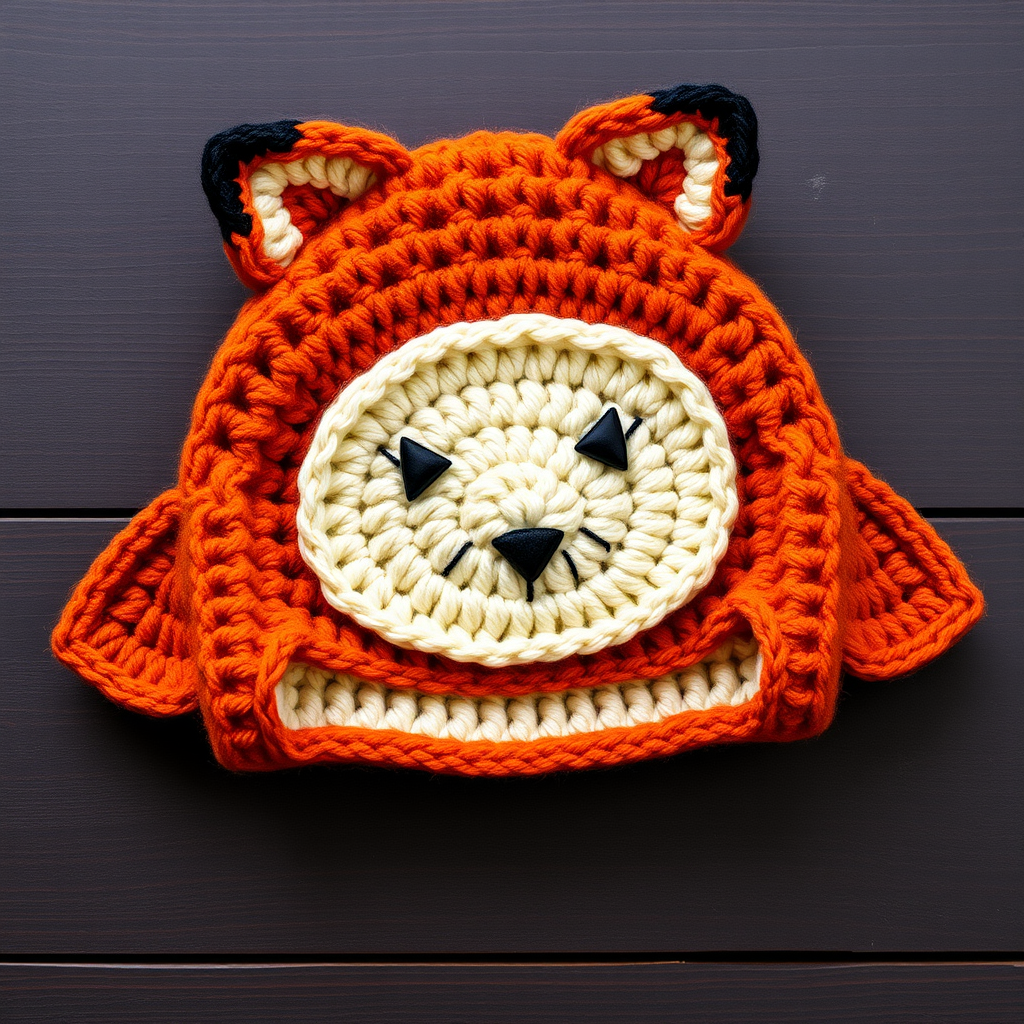
Whimsical Woodland Fox Beanie: A Free Crochet Pattern for Cozy Winter Fun
Are you ready to add a touch of woodland whimsy to your winter wardrobe? This charming fox-inspired beanie is the perfect project for crocheters looking to create something both playful and practical. Featuring a rich, textured half-double crochet fabric, adorable ear flaps, and a sweet embroidered face, this hat is sure to become your new cold-weather favorite. Whether you're crafting for yourself or gifting to a loved one, this free pattern is designed to guide you through every step with clarity and ease.
With its burnt orange hue, cream face panel, and pointed fox ears, this beanie captures the spirit of the forest while keeping you toasty warm. The dense, plush stitch pattern provides excellent insulation, making it ideal for brisk autumn walks or snowy winter adventures. Let's dive into this delightful project and create a hat that's as fun to make as it is to wear!
Materials Needed
Before we begin, gather the following supplies to ensure a smooth crocheting experience:
- Yarn: Worsted weight yarn in three colors:
- Burnt orange (approximately 200g / 400 yards)
- Cream (approximately 50g / 100 yards)
- Black (approximately 20g / 40 yards)
- Crochet Hook: J/10 (6.0 mm) hook
- Stitch markers (to mark the beginning of rounds)
- Yarn needle for weaving in ends and assembly
- Scissors
- Optional: Faux fur pom-pom for extra flair
Gauge: 14 half double crochet (hdc) stitches x 11 rows = 4 inches. Be sure to check your gauge to achieve the correct finished size.
Finished Size: Adult (21-23 inch head circumference)
Abbreviations and Pattern Notes
Abbreviations:
- ch = chain
- sl st = slip stitch
- hdc = half double crochet
- dc = double crochet
- fpdc = front post double crochet
- bpdc = back post double crochet
- sc = single crochet
- inc = increase (2 hdc in same stitch)
- dec = decrease (hdc2tog)
Pattern Notes: The hat body is worked in continuous rounds unless otherwise stated. Use a stitch marker to mark the beginning of each round. The ear flaps are worked back and forth in rows, while the fox face and ears are worked in the round.
Step-by-Step Instructions
Hat Body
With burnt orange yarn, make a magic ring.
Round 1: Ch 2 (counts as hdc here and throughout), 11 hdc into ring. Join with sl st to top of ch-2. (12 hdc)
Round 2: Ch 2, hdc in same st, 2 hdc in each st around. Join. (24 hdc)
Round 3: Ch 2, hdc in same st, hdc in next st, *2 hdc in next st, hdc in next st* repeat from * to * around. Join. (36 hdc)
Round 4: Ch 2, hdc in same st, hdc in next 2 sts, *2 hdc in next st, hdc in next 2 sts* repeat from * to * around. Join. (48 hdc)
Round 5: Ch 2, hdc in same st, hdc in next 3 sts, *2 hdc in next st, hdc in next 3 sts* repeat from * to * around. Join. (60 hdc)
Rounds 6-14: Ch 2, hdc in each st around. Join. (60 hdc) – Do not fasten off.
Your hat body should now measure approximately 7-8 inches from the crown, creating a comfortable depth that covers the ears. The increases in Rounds 1-5 create a flat circle that forms the crown, while Rounds 6-14 work straight down to create the sides of the beanie.
Ear Flaps (Make 2)
The ear flaps are worked back and forth in rows, starting from the bottom edge of the hat. You'll need to position them correctly: count 13 stitches from the front center of the hat (where you'll later attach the face), then begin the first ear flap there.
Row 1: Ch 2, hdc in next 12 sts. Turn. (13 hdc)
Row 2: Ch 2, hdc2tog over first 2 sts, hdc in next 9 sts, hdc2tog over last 2 sts. Turn. (11 hdc)
Row 3: Ch 2, hdc2tog, hdc in next 7 sts, hdc2tog. Turn. (9 hdc)
Row 4: Ch 2, hdc2tog, hdc in next 5 sts, hdc2tog. Turn. (7 hdc)
Row 5: Ch 2, hdc2tog, hdc in next 3 sts, hdc2tog. Turn. (5 hdc)
Row 6: Ch 2, hdc2tog, hdc in next 1 st, hdc2tog. Turn. (3 hdc)
Row 7: Ch 2, hdc2tog over all 3 sts. Fasten off. (1 hdc)
Repeat for the second ear flap on the opposite side of the hat, leaving 18 stitches between the front of the hat and the ear flaps. This ensures the ear flaps sit symmetrically on either side of your face.
Fox Face (Worked Separately)
With cream yarn, make a magic ring.
Round 1: Ch 1, 6 sc into ring. Join with sl st. (6 sc)
Round 2: Ch 1, 2 sc in each st around. Join. (12 sc)
Round 3: Ch 1, *2 sc in next st, sc in next st* repeat from * to * around. Join. (18 sc)
Round 4: Ch 1, *2 sc in next st, sc in next 2 sts* repeat from * to * around. Join. (24 sc)
Round 5: Ch 1, *2 sc in next st, sc in next 3 sts* repeat from * to * around. Join. (30 sc)
Round 6: Ch 1, *2 sc in next st, sc in next 4 sts* repeat from * to * around. Join. (36 sc)
Fasten off, leaving a long tail for sewing. This creates a flat, oval-shaped piece that will become the fox's face panel.
Fox Ears (Make 2)
With burnt orange yarn, make a magic ring.
Round 1: Ch 1, 6 sc into ring. Join. (6 sc)
Round 2: Ch 1, 2 sc in each st around. Join. (12 sc)
Round 3: Ch 1, *2 sc in next st, sc in next st* repeat from * to * around. Join. (18 sc)
Round 4: Ch 1, sc in each st around. Join. (18 sc)
Switch to black yarn.
Round 5: Ch 1, sc in each st around. Join. (18 sc)
Round 6: Ch 1, sc2tog, sc in next 7 sts, sc2tog, sc in next 7 sts. Join. (16 sc)
Round 7: Ch 1, sc2tog, sc in next 6 sts, sc2tog, sc in next 6 sts. Join. (14 sc)
Round 8: Ch 1, sc2tog, sc in next 5 sts, sc2tog, sc in next 5 sts. Join. (12 sc)
Round 9: Ch 1, sc2tog, sc in next 4 sts, sc2tog, sc in next 4 sts. Join. (10 sc)
Fasten off, leaving a long tail. Fold the ear flat and sew the bottom edge closed. This creates a triangular-shaped ear with an orange base and black tip, mimicking a fox's distinctive coloring.
Assembly
Now comes the fun part – bringing your fox to life! Follow these steps carefully to assemble all the pieces:
- Sew the cream face oval onto the front of the hat, centered between the ear flaps, about 2 inches up from the bottom edge. Use the long tail left from the face piece and a yarn needle to secure it firmly with small, invisible stitches around the entire perimeter.
- Attach the black nose onto the bottom center of the cream face using black yarn. Create a small triangle or oval shape by stitching back and forth in a compact area. The nose should sit approximately 1 inch from the bottom edge of the cream oval.
- Sew the fox ears onto the top of the hat, slightly angled outward, about 1 inch apart. Position them so they sit naturally on either side of the crown, with the black tips pointing upward. Use the long tails from the ears to secure them firmly.
- Embroider the eyes using black yarn. Place two small eyes on the cream face, positioned above the nose and spaced about 1.5 inches apart. Create small, circular stitches or use a satin stitch to form compact dots. For a friendlier expression, place them slightly higher on the face.
- Weave in all ends carefully using your yarn needle, making sure no loose threads are visible on the outside of the hat.
Finishing Touches
Your Whimsical Woodland Fox Beanie is now complete! For an extra touch of flair, consider adding a faux fur pom-pom to the top of the hat between the ears. This adds a playful, cozy element that complements the fox theme beautifully.
To care for your handmade creation, hand wash in cold water with a gentle wool wash, then lay flat to dry. Reshape while damp to maintain the hat's structure and fit.
This pattern is perfect for intermediate beginners who have mastered basic crochet stitches and are ready to tackle their first multi-piece project. The repetitive rounds of the hat body make it a relaxing, meditative project, while the assembly process allows you to exercise your creative eye.
We'd love to see your finished fox beanie! Share your creation on social media using the hashtag #WoodlandFoxBeanie and tag us so we can admire your handiwork. Happy crocheting, and stay cozy out there in the woodland wilds!