Cinder & Sage Slouchy Beanie Free Pattern – Crochet a Misty Mountain Layer

Wrap Yourself in Cozy: The Cinder & Sage Slouchy Beanie
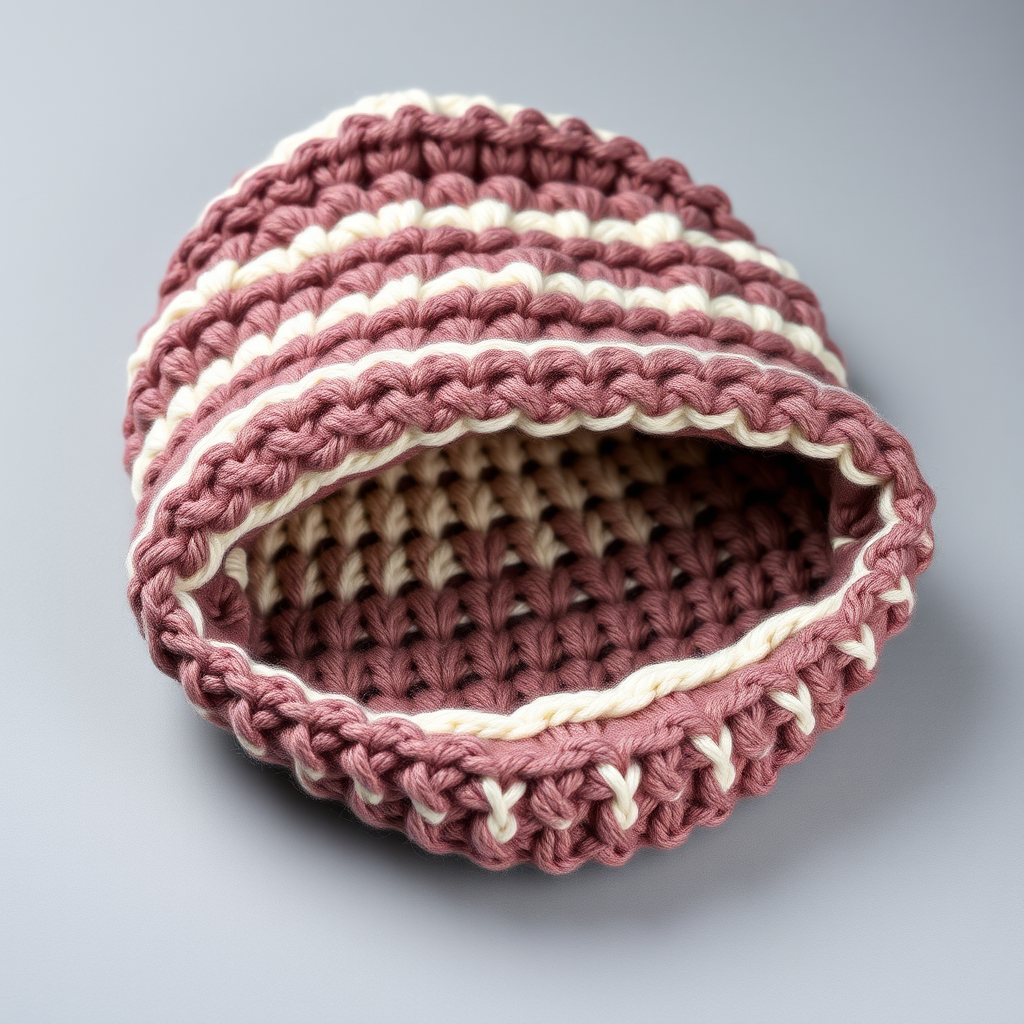
There’s something deeply satisfying about creating a garment that feels both luxurious and practical. The Cinder & Sage Slouchy Beanie is exactly that—a hand-crocheted masterpiece that combines the quiet elegance of a muted sage green with the grounding depth of charcoal heather. The subtle herringbone stitch creates a beautiful, diagonal texture that catches the light like morning frost on pine needles, making this beanie a perfect companion for crisp woodland walks or cozy evenings by the fire.
This free pattern is designed to be a meditative escape. Whether you're a seasoned crocheter looking for a new texture or a beginner ready to tackle a slightly more advanced stitch, this slouchy beanie is a rewarding project. The dense, warm fabric it produces is not only stylish but also incredibly functional for the colder months. Let's dive into creating your own misty mountain layer.
Materials Needed: Gathering Your Tools
Before you begin, ensure you have all the necessary materials on hand. This project uses worsted weight yarn, which is perfect for creating a thick, warm, and durable fabric.
Yarn & Notions
- Main Color (MC): Worsted weight yarn in Sage Green (approx. 220 yards).
- Contrast Color (CC): Worsted weight yarn in Charcoal Heather (approx. 80 yards).
- Crochet Hook: US Size I/9 (5.5 mm) or size needed to obtain gauge.
- Other: Yarn needle for weaving in ends, scissors.
Gauge & Sizing
Getting the right gauge is crucial for a perfect fit. The pattern calls for a specific tension to ensure the beanie has the correct slouchy drape and fits comfortably.
- Gauge: 14 hdc x 11 rows = 4 inches in herringbone half double crochet.
- Finished Size: This pattern creates a relaxed, slouchy fit. The brim is designed to fit a typical adult head circumference with negative ease for a snug, secure hold.
Step-by-Step Instructions: Crafting Your Beanie
This slouchy beanie is worked from the brim up in joined rounds. The herringbone half double crochet (hbhdc) is the star of the show, creating a dense, warm fabric with a beautiful diagonal texture. Follow these detailed instructions carefully to achieve the perfect result.
Abbreviations
- ch = chain
- sl st = slip stitch
- hdc = half double crochet
- hbhdc = herringbone half double crochet (yarn over, insert hook into next st, pull up a loop, yarn over, pull through first loop on hook, yarn over, pull through all 3 loops on hook)
- sc = single crochet
- BLO = back loop only
- hbhdc2tog = herringbone half double crochet 2 together (decrease)
Part 1: The Ribbed Brim (Worked Flat, Then Joined)
The brim is created by crocheting a flat rectangle in the back loop only, which creates a stretchy, ribbed fabric. This is then joined into a ring to form the base of the hat.
- Foundation: With MC, ch 11.
- Row 1: Sc in the 2nd ch from the hook and in each ch across. (10 sc)
- Row 2: Ch 1, turn, sc in the BLO of each st across. (10 sc)
- Repeat: Repeat Row 2 until the brim measures 20 inches unstretched (or your desired head circumference minus 1 inch for negative ease). Do not fasten off.
- Join: Fold the brim in half so the short ends meet. Sl st the ends together to form a ring. Turn the brim right side out.
Part 2: The Beanie Body (Worked in Joined Rounds)
Now we will work in continuous rounds from the top edge of the brim. The herringbone stitch is worked into each stitch around, creating the beautiful textured body of the hat.
- Round 1: With the right side facing, ch 1. Work 72 hdc evenly around the top edge of the brim (approximately 1 hdc per row of brim). Join with a sl st to the first hdc. (72 hdc)
- Round 2: Ch 2 (does not count as a stitch). Work 1 hbhdc in each hdc around. Join with a sl st to the first hbhdc. (72 hbhdc)
- Rounds 3-10: Repeat Round 2. (72 hbhdc each round)
Part 3: Shaping the Crown (Decreases)
To shape the top of the beanie, we will begin decreasing. The hbhdc2tog stitch is worked by combining two stitches into one, which gently tapers the hat to a close.
- Round 11: Ch 2. Work hbhdc in each of the next 10 sts, then hbhdc2tog (yarn over, insert hook into next st, pull up a loop, yarn over, pull through first loop, yarn over, insert hook into next st, pull up a loop, yarn over, pull through first loop, yarn over, pull through all 5 loops on hook). Repeat this decrease pattern around. (66 hbhdc)
- Round 12: Ch 2. Work hbhdc in each of the next 9 sts, hbhdc2tog. Repeat around. (60 hbhdc)
- Round 13: Ch 2. Work hbhdc in each of the next 8 sts, hbhdc2tog. Repeat around. (54 hbhdc)
- Round 14: Ch 2. Work hbhdc in each of the next 7 sts, hbhdc2tog. Repeat around. (48 hbhdc)
- Round 15: Ch 2. Work hbhdc in each of the next 6 sts, hbhdc2tog. Repeat around. (42 hbhdc)
- Round 16: Ch 2. Work hbhdc in each of the next 5 sts, hbhdc2tog. Repeat around. (36 hbhdc)
- Round 17: Ch 2. Work hbhdc in each of the next 4 sts, hbhdc2tog. Repeat around. (30 hbhdc)
- Round 18: Ch 2. Work hbhdc in each of the next 3 sts, hbhdc2tog. Repeat around. (24 hbhdc)
- Round 19: Ch 2. Work hbhdc in each of the next 2 sts, hbhdc2tog. Repeat around. (18 hbhdc)
- Round 20: Ch 2. Work hbhdc in the next 1 st, hbhdc2tog. Repeat around. (12 hbhdc)
- Round 21: Ch 2. hbhdc2tog around. (6 hbhdc)
Finishing Touches
- Fasten Off: Fasten off, leaving a long tail (approx. 12 inches).
- Close the Top: Thread the tail through a yarn needle. Weave the needle through the remaining 6 stitches, then pull tight to close the hole securely.
- Weave in Ends: Weave in all loose ends neatly on the inside of the beanie.
Optional: Adding a Pom Pom
For a classic, playful finish, you can add a pom pom. Using your CC (Charcoal Heather) yarn, make a 3-inch pom pom. Attach it securely to the very top of the beanie, where you closed the hole. This adds a beautiful contrast and completes the look.
Your Cinder & Sage Slouchy Beanie is now complete! This cozy, textured hat is perfect for adding a touch of handmade warmth to any winter outfit. Enjoy the meditative process and the beautiful, functional result.