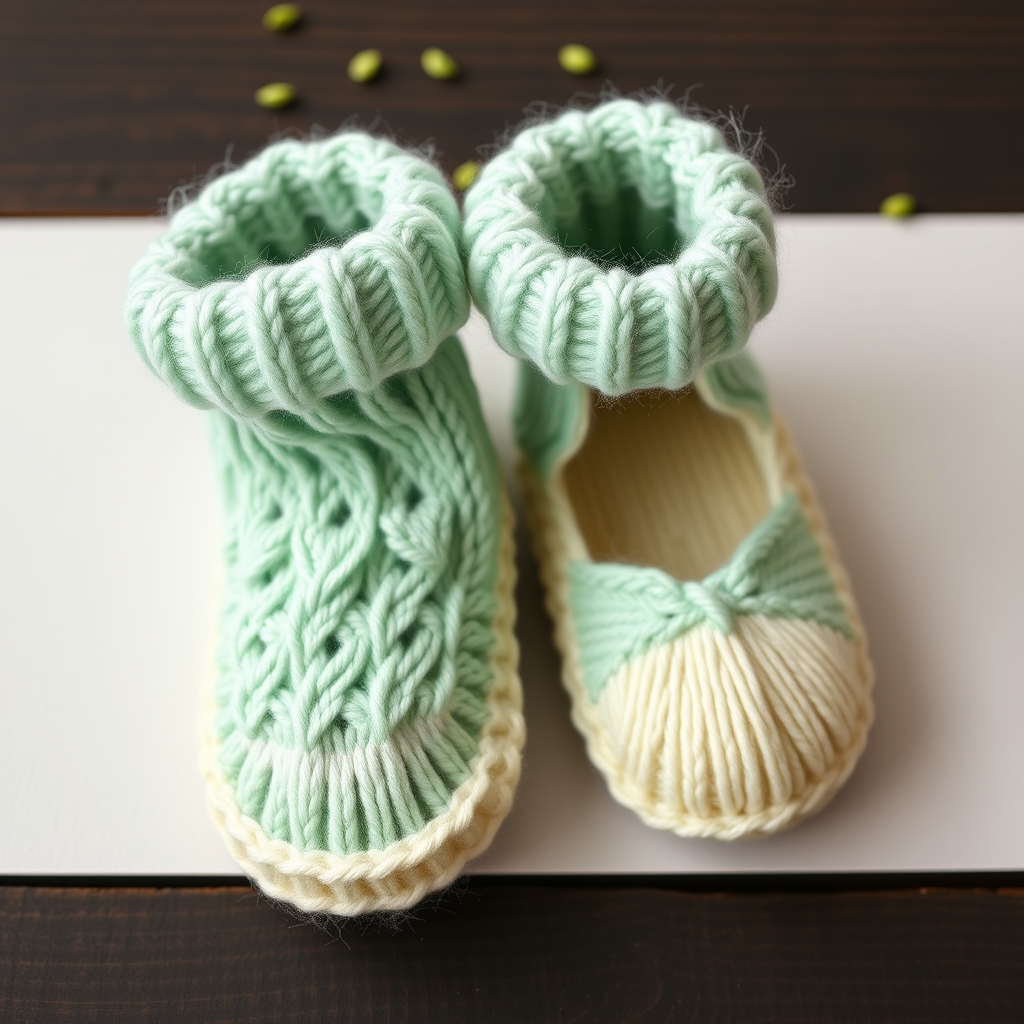
Ribbed Cuff Baby Booties Free Pattern – Knit Cozy Heirloom Slippers

Ribbed Cuff Baby Booties: A Timeless Heirloom Knitting Project
There's something truly magical about creating a handmade gift for a new arrival. These Ribbed Cuff Baby Booties are the perfect blend of classic charm and modern comfort, designed to wrap tiny toes in softness. Knitted with a luxurious merino blend, this free pattern is ideal for baby showers, first birthdays, or simply as a heartfelt heirloom piece that will be treasured for generations. Whether you're a seasoned knitter or a confident beginner looking for a rewarding project, these booties are a joy to create and an even greater joy to gift.
With their fold-over ribbed cuffs, smooth stockinette foot, and rounded toe, these booties offer both style and practicality. The pattern includes sizes for newborns (0-3 months) and infants (3-6 months), making it versatile for any baby. Let's dive into this delightful knitting adventure!
Materials Needed
Before you begin, gather the following materials to ensure a smooth and enjoyable knitting experience:
- Yarn: Worsted weight yarn (e.g., Cascade 220 Superwash) in two colors: soft cream for the foot and dusty blue for the cuff. Approximately 50-75 yards of each color will suffice for a pair.
- Knitting Needles: US 6 (4.0 mm) knitting needles. Straight needles work well, or you can use circular needles for the magic loop technique if you prefer.
- Stitch Markers: 4 stitch markers (locking or split-ring markers are easiest).
- Tapestry Needle: For weaving in ends and seaming.
- Scissors: For cutting yarn.
- Measuring Tape: To check gauge and sole length.
Gauge: 20 stitches and 28 rows = 4 inches in stockinette stitch. Always knit a gauge swatch to ensure your finished booties match the intended size.
Step-by-Step Instructions
Follow these detailed instructions to create a pair of adorable Ribbed Cuff Baby Booties. The pattern is written for two sizes: Newborn (0-3 months) with a sole length of 3.5 inches, and 3-6 months with a sole length of 4 inches. Instructions for the larger size are shown in parentheses.
Abbreviations
Before starting, familiarize yourself with these standard knitting abbreviations:
- k = knit
- p = purl
- k2tog = knit two stitches together (decrease)
- ssk = slip, slip, knit (decrease)
- yo = yarn over (increase)
- st(s) = stitch(es)
- pm = place marker
- sm = slip marker
- M1L = make one left (increase)
- M1R = make one right (increase)
Instructions (Make 2 identical booties)
Step 1: Knit the Cuff
Using the dusty blue yarn, cast on 30 (34) stitches. Work in a k2, p2 ribbing pattern for 1.5 (2) inches, ending with a wrong-side row. The ribbing creates a stretchy, fold-over cuff that will keep the bootie snug on the baby's ankle.
Pro Tip: Keep your ribbing tension consistent for a neat, professional finish.
Step 2: Shape the Foot
Switch to the soft cream yarn. You will now work increases to shape the foot of the bootie.
Row 1 (Right Side): K1, pm, k14 (16), pm, k1, pm, k14 (16), pm, k1. You should have 30 (34) stitches on your needle with 4 markers placed.
Row 2 (Wrong Side): Purl all stitches.
Row 3 (Right Side): Knit to 1 stitch before the first marker, M1L, k1, sm, knit to 1 stitch before the second marker, M1R, k1, sm, knit to 1 stitch before the third marker, M1L, k1, sm, knit to 1 stitch before the fourth marker, M1R, k1, knit to end. You now have 34 (38) stitches.
Row 4 (Wrong Side): Purl all stitches.
Repeat Rows 3 and 4 two more times. After completing these repeats, you will have 42 (46) stitches on your needle. The increases create the rounded shape of the foot.
Step 3: Shape the Instep
Now you'll work decreases to shape the top of the foot (instep) while maintaining the sole width.
Row 1 (Right Side): Knit to 2 stitches before the second marker, ssk, k1, sm, knit to 1 stitch before the third marker, k1, k2tog, knit to end. You now have 40 (44) stitches.
Row 2 (Wrong Side): Purl all stitches.
Repeat Rows 1 and 2 three more times. After completing these repeats, you will have 34 (38) stitches remaining. The instep shaping creates a comfortable fit over the top of the baby's foot.
Step 4: Shape the Toe
Continue decreasing to round off the toe area.
Row 1 (Right Side): K1, ssk, knit to 3 stitches before the end, k2tog, k1. You now have 32 (36) stitches.
Row 2 (Wrong Side): Purl all stitches.
Repeat Rows 1 and 2 two more times. After completing these repeats, you will have 28 (32) stitches remaining.
Step 5: Finishing Touches
Cut the yarn, leaving a generous 12-inch tail. Thread the tail through a tapestry needle and pass it through the remaining stitches on your knitting needle. Slide the stitches off the needle and pull the yarn tight to gather the toe closed.
Using the same tail, sew the seam from the toe all the way up to the cuff. Use a mattress stitch or whip stitch for a neat, invisible seam. Weave in all loose ends securely.
Repeat the entire process to create the second bootie.
Optional Decorative Touches
For an extra-special finish, consider adding a knitted i-cord tie or a small pom-pom at the cuff. A simple i-cord can be made by casting on 3 stitches and knitting them in stockinette until the cord reaches the desired length, then binding off. Attach it to the cuff for a charming, functional detail.
Final Thoughts
These Ribbed Cuff Baby Booties are more than just a knitting project—they're a labor of love. The soft merino blend ensures the booties are gentle against delicate skin, while the classic design makes them a timeless addition to any baby's wardrobe. Whether you're knitting for your own little one or as a heartfelt gift, these booties are sure to be cherished.
Happy knitting, and enjoy creating these cozy heirloom slippers!