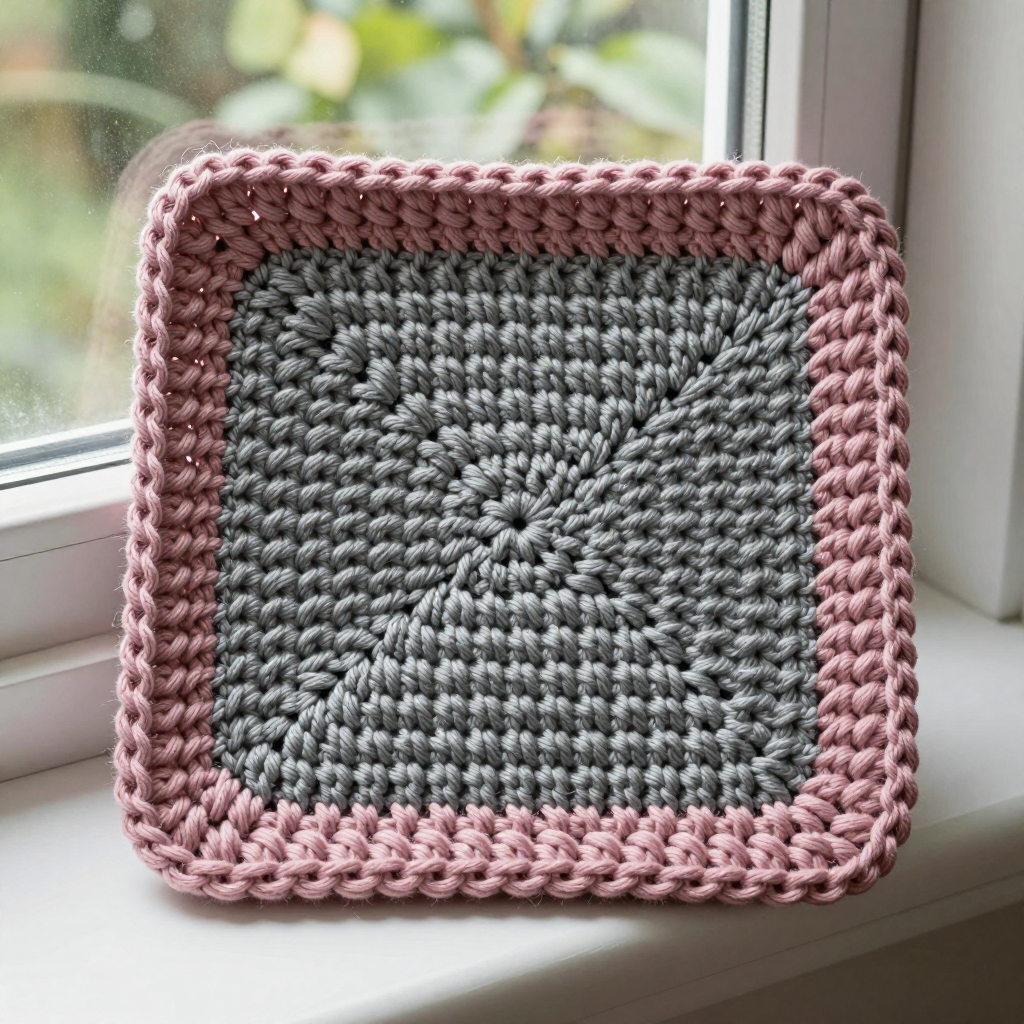
Solar Corona Hexagon Coasters Free Pattern: Sunset Ombre Crochet Set of Six

Solar Corona Hexagon Coasters: A Sunset You Can Set Your Mug On
If you have never held a crochet hook before, this is the perfect first project to fall in love with. These six little hexagon coasters are worked from the middle outward in joined rounds, so you are never juggling a big piece of fabric or counting to a hundred. Each one is a miniature sunset, starting in deep plum and melting through magenta, coral, and tangerine into gold, then finished with a tiny gold "solar ring" appliqué sewn right in the center. The finished coasters are flat, firm, and about the size of your palm, with crisp six-pointed corners and a smooth cotton texture that feels cool and slightly nubby under a glass. Stacked in order, the set reads like a row of setting suns, and because each coaster takes under an hour, you get six satisfying little wins instead of one long slog.
Materials Needed
- Yarn: DK weight (Category 3) cotton or cotton-blend yarn, about 21–24 stitches per 4 in (10 cm). Use a sunset-ombre gradient set of 6 mini-skeins, or one 50 g gradient cake, progressing from deep plum through magenta, coral, tangerine, and gold. Total for all six coasters: approx. 12–15 g (30–38 yd / 27–35 m).
- Appliqué yarn: A small amount of metallic or bright gold DK, approx. 1 yd (1 m) per coaster.
- Hook: E/4 (3.5 mm) crochet hook, or the size needed to obtain gauge.
- Stitch marker: One, to mark the first stitch of each round.
- Tapestry needle: A blunt-tipped needle with a large eye, for sewing on the rings and weaving in ends.
- Scissors: Any small sharp pair.
- For pressing: A spray bottle of water, rust-proof pins, and a padded surface (a towel or ironing board works).
- Finished size: Each hexagon is 4 in (10 cm) point-to-point and 3.5 in (9 cm) flat-to-flat. The solar ring is about 0.75 in (2 cm) across.
Abbreviations and Beginner Glossary
Every pattern is written in shorthand. Here is every abbreviation used in this pattern, explained as if you have never crocheted a stitch. All terms are US crochet terms.
- ch – chain: yarn over the hook, pull that loop through the loop already on your hook. This makes one chain.
- sl st – slip stitch: insert hook into the stitch, yarn over, and pull through both the stitch and the loop on your hook at once. It makes an almost invisible join.
- sc – single crochet: insert hook into stitch, yarn over, pull up a loop (2 loops on hook), yarn over, pull through both loops. The shortest, tightest stitch.
- hdc – half double crochet: yarn over first, insert hook into stitch, yarn over, pull up a loop (3 loops on hook), yarn over, pull through all 3 loops at once.
- dc – double crochet: yarn over, insert hook into stitch, yarn over, pull up a loop (3 loops on hook), yarn over, pull through 2 loops, yarn over, pull through remaining 2 loops.
- tr – treble crochet: yarn over twice, insert hook into stitch, yarn over, pull up a loop (4 loops on hook), then yarn over and pull through 2 loops three times. The tallest stitch in this pattern.
- sp – space: the gap between stitches, usually under a chain.
- st / sts – stitch / stitches.
- beg – beginning.
- rep – repeat: do the instruction again.
- * – the asterisk marks the start of a repeat. Work the instructions after it, then go back to the asterisk as many times as told.
- MR – magic ring: an adjustable loop of yarn you crochet into, then pull tight so the center closes with no hole. If you have never made one, chain 4 and join with a sl st into a ring instead; it works just as well here.
- corner – a stitch where you work 2 stitches into the same stitch to make the hexagon point.
Gauge
Gauge: the first 3 rounds of the hexagon measure 2 in (5 cm) across, flat-to-flat. The finished hexagon measures 4 in (10 cm) point-to-point and 3.5 in (9 cm) flat-to-flat.
Gauge means how big your stitches come out. It matters here because a coaster that is too loose will curl and let heat through, and one that is too tight will cup upward instead of lying flat. To check, work Rounds 1–3 of the pattern exactly as written, lay the piece flat, and measure straight across from flat edge to flat edge. If it is bigger than 2 in, switch to a smaller hook (like a 3.25 mm); if smaller, go up to a 3.75 mm. Gauge is not critical for a coaster, but a tight, even fabric keeps the motif flat, so do not be afraid to go down a hook size.
Beginner Tips Before You Start
- Use a stitch marker. Place it in the very first stitch of each round. Because you join every round with a slip stitch, it is easy to lose track of where a round began. Move the marker up each round.
- Do not pull your yarn too tight. Beginners tend to choke the hook. Keep your loops relaxed and let the yarn feed smoothly; tight tension is the number one cause of curling coasters.
- Count every round. The stitch count in parentheses at the end of each round is your safety net. If your count is off, fix it before moving on, because every round builds on the last.
- Change colors at the join. When a round says "change to shade 2," finish the round, fasten off, and join the new shade with a sl st in the same stitch you joined into. This keeps the ombre crisp.
- Keep your corners stacked. Each corner is made by working 2 stitches into one stitch. Make sure each new corner sits directly above the corner below it, or your hexagon will twist.
- Work six separate coasters, not one long strip. Each coaster is its own piece. Give yourself permission to make one, press it, and admire it before starting the next.
Step-by-Step Instructions
Note on construction: Each coaster is one continuous hexagon worked in joined rounds from the center out, with six evenly spaced corners. The color changes every 1–2 rounds to create the ombre. The solar-ring appliqué is made separately as a tiny ring and sewn to the center. Make 6 coasters, shifting the starting shade by one step each time (see the color sequence at the end of this section) so the set forms a complete gradient.
Hexagon Coaster (make 6)
Set-up: With shade 1 (deep plum), make a magic ring.
Round 1: Ch 1 (does not count as a st). Work 6 sc into the MR. Join with sl st to first sc. (6 sc)
Round 2: Ch 1. Work 2 sc in each st around. Join with sl st to first sc. (12 sc)
Round 3: Ch 2 (counts as first hdc here and throughout). Hdc in same st. *Hdc in next st, 2 hdc in next st; rep from * around, ending with hdc in last st. Join with sl st to top of beg ch-2. (18 hdc) Change to shade 2.
Round 4: Ch 2. Hdc in same st. Hdc in next 2 sts, 2 hdc in next st. *Hdc in next 2 sts, 2 hdc in next st; rep from * around. Join with sl st to top of beg ch-2. (24 hdc) Change to shade 3.
Round 5 (corner round): Ch 3 (counts as first dc). Dc in same st. Dc in next 3 sts. *2 dc in next st (corner), dc in next 3 sts; rep from * around, ending with dc in last 2 sts. Join with sl st to top of beg ch-3. (30 dc) Change to shade 4.
Round 6: Ch 3. Dc in same st. Dc in next 4 sts. *2 dc in next st (corner), dc in next 4 sts; rep from * around, ending with dc in last 3 sts. Join with sl st to top of beg ch-3. (36 dc) Change to shade 5.
Round 7 (final corner round): Ch 4 (counts as first tr). Tr in same st. Dc in next 2 sts, hdc in next 2 sts, sc in next 2 sts. *In next st work (sc, hdc, dc, tr) for corner point; then sc in next 2 sts, hdc in next 2 sts, dc in next 2 sts; rep from * around, ending with sc in last st. Join with sl st to top of beg ch-4. Fasten off shade 5. (approx. 48 sts)
Round 8 (edging): Join shade 6 (gold) with sl st in any corner tr. Ch 1. Sc evenly around, working 3 sc in each corner point and 1 sc in each st along the sides. Join with sl st to first sc. Fasten off and weave in ends. (approx. 60 sc)
Solar-Ring Appliqué (make 6)
Ring: With gold yarn, ch 12, join with sl st to form a ring (do not twist). Ch 1, work 18 sc around the ring, join with sl st to first sc. Fasten off, leaving a 6 in (15 cm) tail. (18 sc)
Color Sequence for the Set
Work each coaster exactly as above, but start with a different shade so the whole set forms one continuous sunset. The six shades are: 1 = deep plum, 2 = magenta, 3 = coral, 4 = tangerine, 5 = gold, 6 = gold (edging).
- Coaster 1: start plum, end gold.
- Coaster 2: start magenta, end gold.
- Coaster 3: start coral, end gold.
- Coaster 4: start tangerine, end gold.
- Coaster 5: start gold, end plum.
- Coaster 6: start gold, end magenta.
This shifts the ombre so the set reads as a continuous sunset when stacked.
Assembly and Finishing
1. Press each hexagon. Pin each hexagon right side up on a padded surface, mist lightly with water, and press flat with a warm iron held just above the fabric. Do not press the iron directly on the stitches or you will flatten the texture. Let dry completely.
2. Sew on the solar rings. Center one solar ring on each coaster. Thread the 6 in tail onto your tapestry needle and sew the ring in place, catching only the back loops of the ring so the front stays crisp. Work small stitches all the way around, then bring the needle to the back and weave the tail into the coaster.
3. Weave in all ends. Thread each loose end onto the tapestry needle and run it through the back of several stitches, changing direction once so it cannot work loose. Trim close to the fabric.
4. Block and stack. Give the finished coasters a final light mist and let them dry flat. Stack the six coasters in gradient order from plum to gold for display.
Pro Tips and Variations
- Change the colorway. Swap the sunset gradient for a cool "moonrise" set: deep navy through indigo, lavender, and pale silver, with a silver appliqué ring. The pattern stays exactly the same.
- Make them bigger or smaller. To make a larger coaster, simply add another dc round (ch 3, dc in same st, dc in next 5 sts, *2 dc in next st, dc in next 5 sts; rep around). To make a smaller one, stop after Round 6 and work the edging.
- Substitute yarn. Any DK cotton or cotton-blend works. Avoid acrylic for coasters, since it can melt under a hot mug; cotton handles heat and absorbs condensation.
- Skip the appliqué. If you want a faster set, leave the solar rings off entirely. The hexagons are beautiful on their own, and you can use the saved gold yarn for a contrasting edging instead.