The Ember & Ash Crescent Shawl: A Free Knitting Pattern for a Textured, Gradient Wrap

Wrap Yourself in Sunset: Introducing the Ember & Ash Crescent Shawl
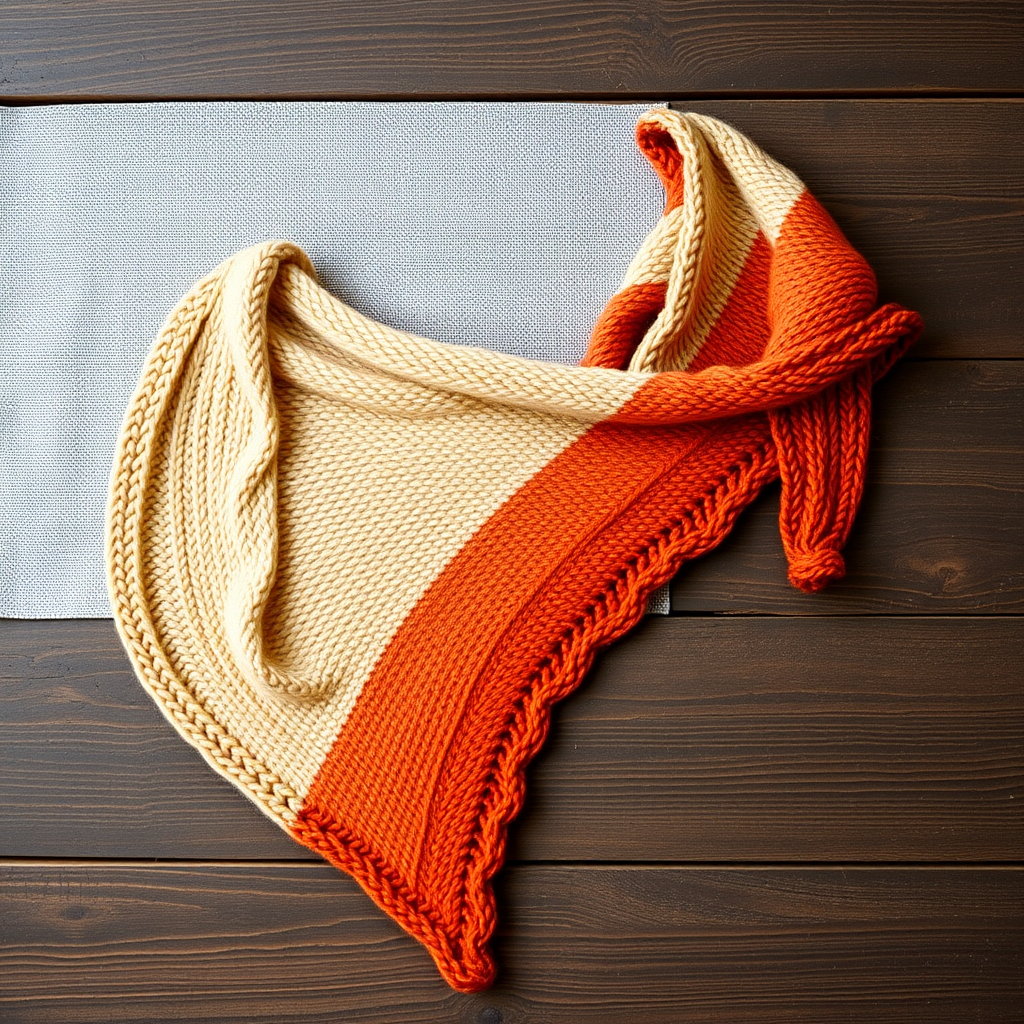
There’s something magical about a hand-knit shawl that captures the fleeting beauty of a fading sunset. The Ember & Ash Crescent Shawl is designed to do just that. This free knitting pattern guides you through creating a mesmerizing, crescent-shaped wrap that transitions from deep, charcoal gray to a vibrant, glowing burnt orange. The fabric itself is a joy to knit, combining the simplicity of garter stitch with the subtle texture of slipped stitches and delicate lace. The result is a cozy, visually stunning accessory that drapes beautifully over your shoulders—perfect for crisp autumn evenings or cozy winter days. Whether you're a confident beginner looking for a rewarding project or an experienced knitter seeking a meditative knit, this pattern offers a satisfying journey from cast-on to bind-off.
Materials Needed
Before you begin, gather the following materials. The pattern uses fingering-weight yarn to create a lightweight yet warm fabric with excellent drape.
- Yarn: Fingering weight yarn in two colors:
- Color A (Charcoal): 400 yards
- Color B (Burnt Orange): 400 yards
- Needles: US 6 (4.0 mm) circular needle, 32 inches or longer. The long circular needle is essential to accommodate the increasing number of stitches as the shawl grows.
- Notions: Stitch markers (optional, but helpful for tracking pattern repeats), tapestry needle for weaving in ends, blocking pins and mats.
Gauge & Sizing
Gauge: 20 stitches and 36 rows = 4 inches in garter stitch (blocked). Gauge is important for achieving the correct fabric density and drape. Always knit a swatch and block it before measuring.
Finished Size: The shawl measures approximately 30 inches from the cast-on edge to the points, with a wingspan of about 50-60 inches, depending on how many pattern repeats you work. You can easily adjust the size by working more or fewer repeats of the main pattern.
Step-by-Step Instructions
This shawl is knit from the top center outwards, increasing on each side to form a crescent shape. Follow these detailed instructions carefully, and you'll create a beautiful, professional-looking wrap.
Abbreviations
- k = knit
- p = purl
- k2tog = knit two together (right-leaning decrease)
- yo = yarn over (increase)
- sl1 wyif = slip 1 stitch purlwise with yarn in front
- sl1 wyib = slip 1 stitch purlwise with yarn in back
Setup Section
With Color A (Charcoal), cast on 5 stitches using your preferred method (long-tail cast-on works well).
- Row 1 (RS): k2, yo, k1, yo, k2. (7 stitches)
- Row 2 (WS): k2, p3, k2.
- Row 3: k2, yo, k1, yo, k1, yo, k1, yo, k2. (11 stitches)
- Row 4: k2, p7, k2.
- Row 5: k2, yo, k3, yo, k1, yo, k3, yo, k2. (15 stitches)
- Row 6: k2, p11, k2.
You now have 15 stitches on your needle. This is the foundation for the main pattern.
Main Pattern (Worked over 15 stitches + increases)
The main pattern consists of a 4-row repeat. Rows 7 and 9 are increase rows where you add 2 stitches (one at each end) via yarn overs. Rows 8 and 10 are plain wrong-side rows. The slipped stitches create a subtle, textured fabric.
- Row 7 (RS - Increase Row): k2, yo, *k1, sl1 wyif, k1, yo, k2tog, yo* repeat from * to * until last 2 stitches, yo, k2. (Increase 2 stitches: one at each end)
- Row 8 (WS): k2, purl to last 2 stitches, k2.
- Row 9 (RS - Increase Row): k2, yo, *sl1 wyif, k1, yo, k2tog, yo, k1* repeat from * to * until last 2 stitches, yo, k2. (Increase 2 stitches)
- Row 10 (WS): k2, purl to last 2 stitches, k2.
Repeat Rows 7-10 until the shawl measures approximately 15 inches from the cast-on edge, ending after a WS row (Row 8 or 10). At this point, you will have approximately 150-200 stitches on the needle, depending on your desired size. The exact number isn't critical, as the pattern repeats are flexible.
Color Transition
Now it's time to introduce Color B (Burnt Orange). For a gradual fade, work the next RS row as follows:
- Next RS row: Knit across, using Color B for the last 10 stitches (or as desired for a gradual fade).
Continue working the Main Pattern (Rows 7-10), but each RS row, knit 10 more stitches with Color B until the entire shawl is in Color B. For a more defined stripe, you can simply switch colors completely at the halfway point. The choice is yours!
Continue in Color B
Work the Main Pattern (Rows 7-10) in Color B until the shawl measures approximately 30 inches from the cast-on edge, or until you have about 20 yards of yarn remaining. This ensures you have enough yarn for the edging.
Edging
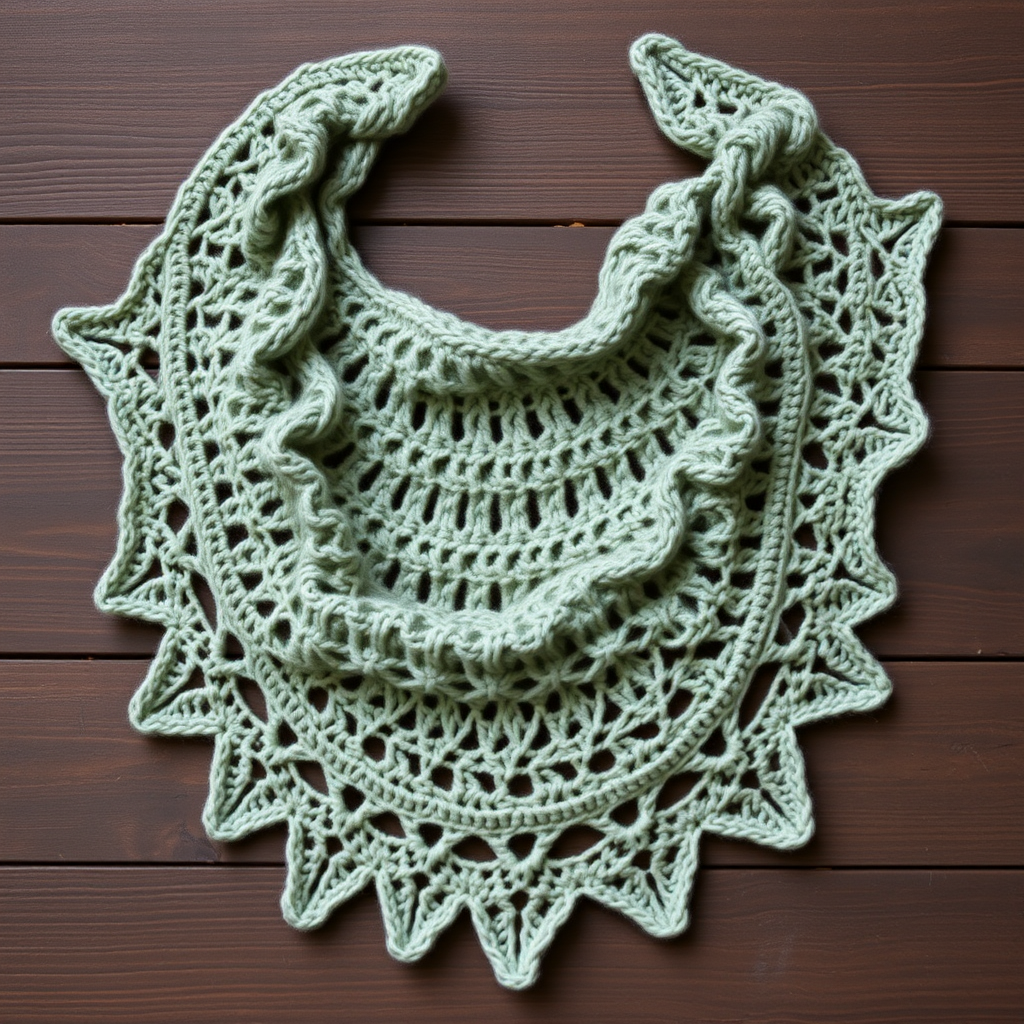
The edging is a simple, scalloped lace border that adds a beautiful finish to your shawl.
- Row 1 (RS): k2, yo, *k2tog, yo* repeat from * to * until last 2 stitches, yo, k2.
- Row 2 (WS): k2, purl to last 2 stitches, k2.
- Row 3: k2, yo, *k1, yo, k2tog* repeat from * to * until last 2 stitches, yo, k2.
- Row 4: Bind off loosely knitwise. A loose bind-off is crucial to maintain the stretch and drape of the lace edge. Consider using a larger needle or a stretchy bind-off method like the Jenny's Surprisingly Stretchy Bind-Off.
Finishing
Weave in all ends using a tapestry needle. Block the shawl to shape: soak it in lukewarm water with a gentle wool wash, gently squeeze out excess water (do not wring), and lay it flat on a blocking mat. Pin out the points of the lace edging to define the scallops. Allow to dry completely before unpinning. This step is essential for the lace to open up and the shawl to achieve its full, beautiful drape.
Congratulations! You've completed the Ember & Ash Crescent Shawl. Wrap yourself in the warmth of a fading sunset and enjoy the compliments that are sure to come your way.