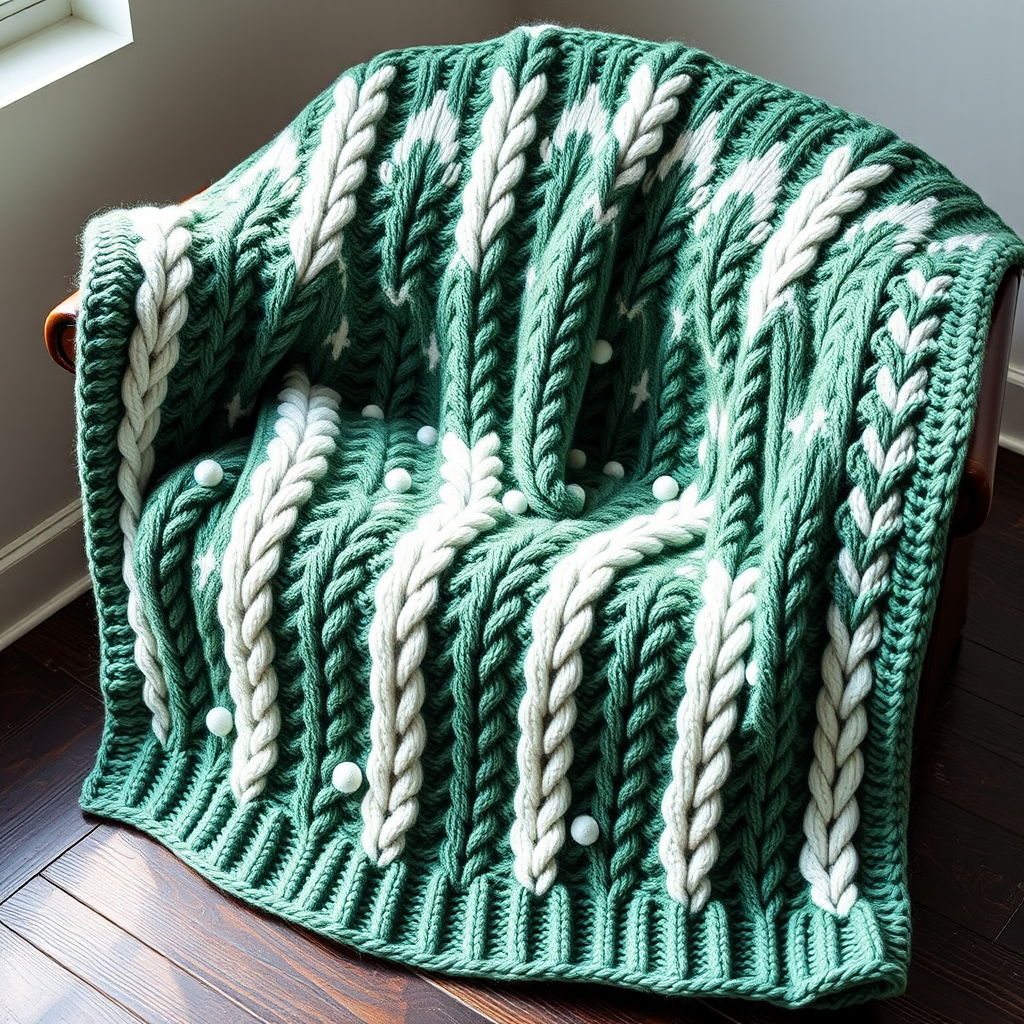
The Ember Glow Mosaic Throw: A Free Knitting Pattern for a Geometric, Two-Tone Blanket

Introduction: The Ember Glow Mosaic Throw
Welcome to your next cozy project! The Ember Glow Mosaic Throw is a stunning, modern blanket that uses a simple slipped stitch technique to create a bold geometric diamond pattern. Despite its intricate look, this pattern is surprisingly beginner-friendly and works up quickly using two contrasting colors of worsted-weight yarn. Knit flat in rows, this throw is a perfect statement piece for any living space—whether draped over a sofa, folded at the foot of a bed, or used as a warm lap blanket. The mosaic technique means you only work with one color per row, making it easy to manage and ideal for learning a new skill. Let's get started!
Materials Needed
Before you begin, gather the following materials. The pattern uses a simple two-color palette, so choose contrasting shades that speak to your style.
- Yarn: Worsted weight (#4) yarn in two contrasting colors:
- Color A (Main): 5 skeins (approximately 875 yards). Sample uses Lion Brand Wool-Ease in 'Oatmeal'.
- Color B (Contrast): 4 skeins (approximately 700 yards). Sample uses Lion Brand Wool-Ease in 'Fisherman'.
- Needles: US Size 8 (5.0 mm) knitting needles (or size to obtain gauge).
- Other: Tapestry needle for weaving in ends, scissors, and a tape measure.
Gauge: 18 stitches and 24 rows = 4 inches in Stockinette stitch, blocked. Gauge is not critical for this pattern, but consistency is important for the mosaic pattern to align properly.
Step-by-Step Instructions
Follow these detailed instructions carefully. The throw is worked flat, back and forth in rows. Remember, mosaic knitting uses slipped stitches and two colors—you will only ever work with one color per row. Slip stitches purlwise with yarn in back (wyib) on right-side rows, and with yarn in front (wyif) on wrong-side rows. The pattern is a 12-row repeat.
Cast On and Setup Rows (Garter Border)
Begin with a long-tail cast on using Color A.
- Cast On: With Color A, cast on 120 stitches.
- Row 1 (RS): With A, knit all stitches.
- Row 2 (WS): With A, knit all stitches.
- Row 3 (RS): With B, knit all stitches.
- Row 4 (WS): With B, knit all stitches.
Mosaic Pattern (12-Row Repeat)
Now you will begin the main mosaic pattern. Repeat these 12 rows until the throw measures approximately 55 inches from the cast-on edge, ending after a Row 12 (WS) of the pattern.
- Row 5 (RS): With A, k3 (border), *k1, sl1 wyib, k1, sl1 wyib, k1, sl1 wyib, k1, sl1 wyib, k1, sl1 wyib, k1, sl1 wyib* repeat from * to * until last 3 stitches, k3 (border).
- Row 6 (WS): With A, k3, *p1, sl1 wyif, p1, sl1 wyif, p1, sl1 wyif, p1, sl1 wyif, p1, sl1 wyif, p1, sl1 wyif* repeat from * to * until last 3 stitches, k3.
- Row 7 (RS): With B, k3, *sl1 wyib, k1, sl1 wyib, k1, sl1 wyib, k1, sl1 wyib, k1, sl1 wyib, k1, sl1 wyib, k1* repeat from * to * until last 3 stitches, k3.
- Row 8 (WS): With B, k3, *sl1 wyif, p1, sl1 wyif, p1, sl1 wyif, p1, sl1 wyif, p1, sl1 wyif, p1, sl1 wyif, p1* repeat from * to * until last 3 stitches, k3.
- Row 9 (RS): With A, k3, *k1, sl1 wyib, k1, sl1 wyib, k1, sl1 wyib, k1, sl1 wyib, k1, sl1 wyib, k1, sl1 wyib* repeat from * to * until last 3 stitches, k3.
- Row 10 (WS): With A, k3, *p1, sl1 wyif, p1, sl1 wyif, p1, sl1 wyif, p1, sl1 wyif, p1, sl1 wyif, p1, sl1 wyif* repeat from * to * until last 3 stitches, k3.
- Row 11 (RS): With B, k3, *sl1 wyib, k1, sl1 wyib, k1, sl1 wyib, k1, sl1 wyib, k1, sl1 wyib, k1, sl1 wyib, k1* repeat from * to * until last 3 stitches, k3.
- Row 12 (WS): With B, k3, *sl1 wyif, p1, sl1 wyif, p1, sl1 wyif, p1, sl1 wyif, p1, sl1 wyif, p1, sl1 wyif, p1* repeat from * to * until last 3 stitches, k3.
Important: When slipping stitches, always slip them purlwise. On RS rows, hold the yarn to the back (wyib) when slipping. On WS rows, hold the yarn to the front (wyif) when slipping. This creates the mosaic effect.
Final Garter Border
Once you have reached the desired length (approximately 55 inches), finish with a garter border to match the beginning.
- Row 1 (RS): With A, knit all stitches.
- Row 2 (WS): With A, knit all stitches.
- Row 3 (RS): With B, knit all stitches.
- Row 4 (WS): With B, knit all stitches.
Bind Off and Finishing
- Bind Off: With Color A, bind off all stitches knitwise. Cut yarn, leaving a 6-inch tail, and pull through the last loop.
- Weave in Ends: Using a tapestry needle, weave in all ends on the wrong side of the blanket. Be sure to secure them well so they don't come loose with use.
- Blocking: Block the throw to size to even out the stitches and open up the mosaic pattern. Wet block or steam block according to your yarn's care instructions. Lay flat to dry, gently shaping to the desired dimensions (approximately 50 inches wide and 60 inches long).
Your Ember Glow Mosaic Throw is now complete! Enjoy your beautiful, modern, two-tone blanket that adds warmth and style to any room.