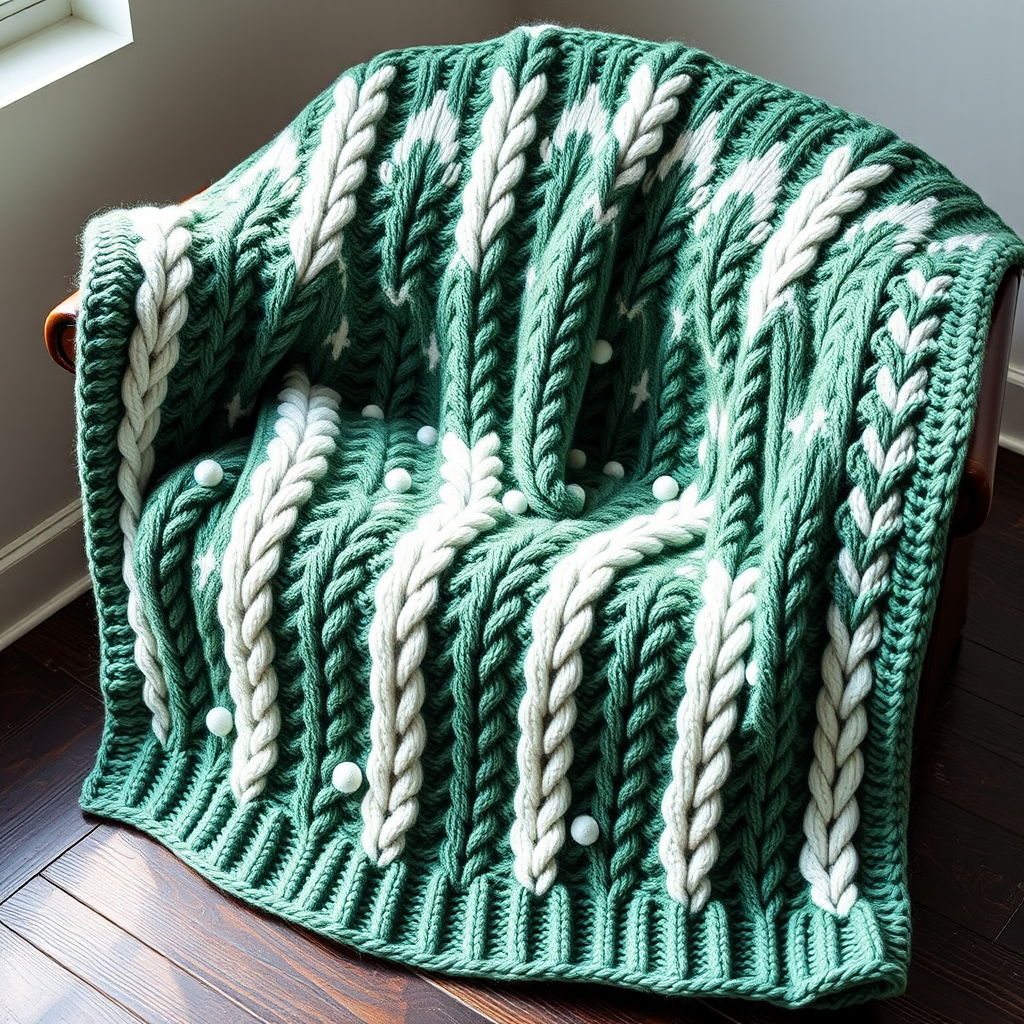
The Mosaic Driftwood Throw: A Scrap Yarn Knit Free Pattern

Introduction: The Art of the Mosaic Driftwood Throw
There is a quiet magic in turning leftover yarn into something beautiful. The Mosaic Driftwood Throw is more than just a blanket—it is a meditation on color, texture, and the slow, satisfying rhythm of the needles. Designed to celebrate your scrap yarn collection, this modern mosaic knit blanket uses slipped stitches to create subtle geometric diamonds and zigzags that shift and shimmer with every stripe. Each stripe tells its own story, and together they form a cozy, modern heirloom that feels both organic and intentional—like a piece of driftwood smoothed by the sea.
Whether you are a seasoned knitter looking for a mindful project or a beginner ready to try mosaic knitting for the first time, this pattern is designed to be clear, forgiving, and deeply rewarding. The finished blanket is dense, squishy, and perfectly sized for draping over a chair or curling up on the couch. Let’s begin.
Materials Needed
To create your own Mosaic Driftwood Throw, gather the following materials. The exact yardage will depend on your blanket size, but the estimates below are for a generous throw (approximately 40 inches wide by 60 inches long).
Yarn
- Weight: Worsted weight yarn (Category 4)
- Total Yardage: Approximately 2000–2500 yards
- Colors (at least 5 contrasting colors suggested):
- Color A (Cream) – approx. 500–600 yards
- Color B (Charcoal) – approx. 400–500 yards
- Color C (Dusty Rose) – approx. 400–500 yards
- Color D (Sage Green) – approx. 400–500 yards
- Color E (Ochre) – approx. 400–500 yards
- Note: You can use any combination of colors you love. The mosaic pattern works best with high contrast between the two colors used in each stripe.
Needles & Notions
- Knitting Needles: US Size 8 (5mm) – a circular needle (at least 32 inches long) is highly recommended to accommodate the large number of stitches.
- Gauge: 18 stitches x 24 rows = 4 inches in Stockinette stitch. Gauge is critical for mosaic patterns to ensure the slipped stitches align correctly.
- Other: Tapestry needle for weaving in ends, scissors, stitch markers (optional, for counting repeats).
Step-by-Step Instructions
This blanket is worked flat in rows from side to side. The mosaic pattern is created by slipping stitches and working with two colors per row. Always carry the unused color loosely along the side—do not cut yarn between stripes unless specified.
Abbreviations
- CO: Cast on
- K: Knit
- P: Purl
- Sl: Slip stitch purlwise with yarn in back (wyib) on RS rows, with yarn in front (wyif) on WS rows
- St(s): Stitch(es)
- Rep: Repeat
Getting Started: Foundation Rows
- Cast on: With Color A (Cream), CO 180 stitches. Use a long-tail cast on or your preferred method. A circular needle will make this easier.
- Row 1 (RS): With Color A, K across all 180 stitches.
- Row 2 (WS): With Color A, P across all 180 stitches.
Mosaic Stripe 1 (Colors A & B – Cream & Charcoal)
Work the following 8-row repeat. Always slip stitches purlwise. On RS rows, slip with yarn in back (wyib). On WS rows, slip with yarn in front (wyif).
- Row 3 (RS): With Color B (Charcoal), K1, *Sl1, K3; rep from * to last 3 sts, Sl1, K2.
- Row 4 (WS): With Color B, P1, *Sl1 wyif, P3; rep from * to last 3 sts, Sl1 wyif, P2.
- Row 5 (RS): With Color A (Cream), K1, *K1, Sl1, K2; rep from * to last 3 sts, K1, Sl1, K1.
- Row 6 (WS): With Color A, P1, *P1, Sl1 wyif, P2; rep from * to last 3 sts, P1, Sl1 wyif, P1.
- Row 7 (RS): With Color B, K1, *K2, Sl1, K1; rep from * to last 3 sts, K2, Sl1.
- Row 8 (WS): With Color B, P1, *P2, Sl1 wyif, P1; rep from * to last 3 sts, P2, Sl1 wyif.
- Row 9 (RS): With Color A, K1, *K3, Sl1; rep from * to last 3 sts, K3.
- Row 10 (WS): With Color A, P1, *P3, Sl1 wyif; rep from * to last 3 sts, P3.
Stripe 1 complete. Cut Color B, leaving a 6-inch tail. Do not cut Color A.
Mosaic Stripe 2 (Colors C & D – Dusty Rose & Sage Green)
Repeat Rows 3–10 exactly, but substitute Color C (Dusty Rose) for Color B and Color D (Sage Green) for Color A. Note: In this stripe, Color C acts as the “pattern” color and Color D as the “background” color.
- Row 3 (RS): With Color C, K1, *Sl1, K3; rep from * to last 3 sts, Sl1, K2.
- Row 4 (WS): With Color C, P1, *Sl1 wyif, P3; rep from * to last 3 sts, Sl1 wyif, P2.
- Row 5 (RS): With Color D, K1, *K1, Sl1, K2; rep from * to last 3 sts, K1, Sl1, K1.
- Row 6 (WS): With Color D, P1, *P1, Sl1 wyif, P2; rep from * to last 3 sts, P1, Sl1 wyif, P1.
- Row 7 (RS): With Color C, K1, *K2, Sl1, K1; rep from * to last 3 sts, K2, Sl1.
- Row 8 (WS): With Color C, P1, *P2, Sl1 wyif, P1; rep from * to last 3 sts, P2, Sl1 wyif.
- Row 9 (RS): With Color D, K1, *K3, Sl1; rep from * to last 3 sts, K3.
- Row 10 (WS): With Color D, P1, *P3, Sl1 wyif; rep from * to last 3 sts, P3.
Stripe 2 complete. Cut Color C, leave a 6-inch tail. Keep Color D attached.
Mosaic Stripe 3 (Colors E & A – Ochre & Cream)
Repeat Rows 3–10 using Color E (Ochre) as the pattern color and Color A (Cream) as the background color. Follow the same stitch pattern as Stripe 1 and 2.
Stripe 3 complete. Cut Color E, leave a 6-inch tail. Keep Color A attached.
Mosaic Stripe 4 (Colors B & C – Charcoal & Dusty Rose)
Repeat Rows 3–10 using Color B (Charcoal) as the pattern color and Color C (Dusty Rose) as the background color.
Stripe 4 complete. Cut Color B, leave a 6-inch tail. Keep Color C attached.
Mosaic Stripe 5 (Colors D & E – Sage Green & Ochre)
Repeat Rows 3–10 using Color D (Sage Green) as the pattern color and Color E (Ochre) as the background color.
Stripe 5 complete. Cut Color D, leave a 6-inch tail. Keep Color E attached.
Continuing the Blanket
Continue alternating stripes in any order you like, or repeat the sequence above (Stripes 1–5) until the blanket measures approximately 60 inches in length from the cast-on edge. End with a full stripe (i.e., after completing Row 10 of any stripe).
Final Border
- With Color A (Cream), work 6 rows of Garter stitch (knit every row). This will create a clean, crisp edge that frames the mosaic pattern beautifully.
- Bind off loosely on the next RS row. Use a stretchy bind-off (such as the knitted bind-off or Jeny’s surprisingly stretchy bind-off) to ensure the edge does not pull in.
Finishing
- Weave in all ends using a tapestry needle. Take care to weave ends into the same color yarn as much as possible to hide them.
- Block the blanket gently to open up the mosaic pattern and even out the stitches. Lay flat to dry.
Your Mosaic Driftwood Throw is now complete. Enjoy the warmth, texture, and story of every stripe. This blanket is a true scrap-busting treasure—each one will be uniquely yours.