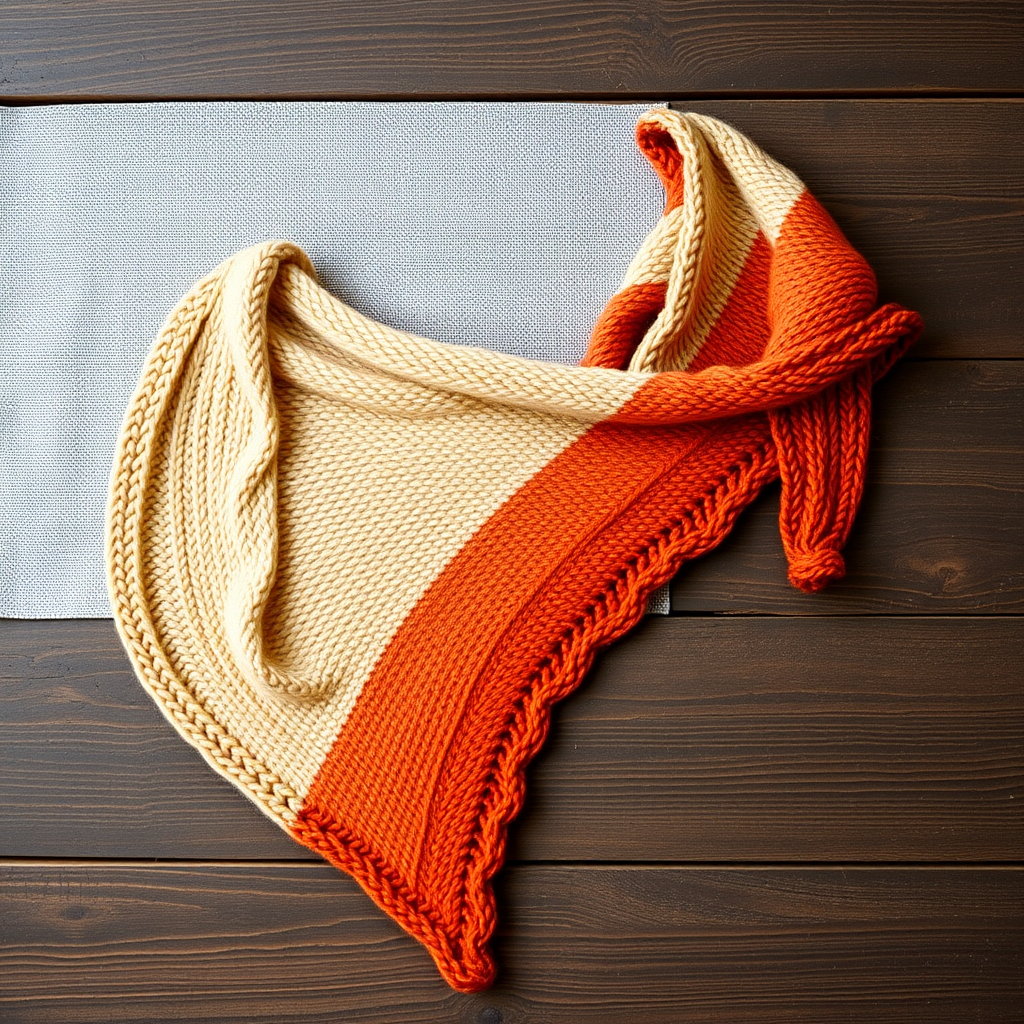
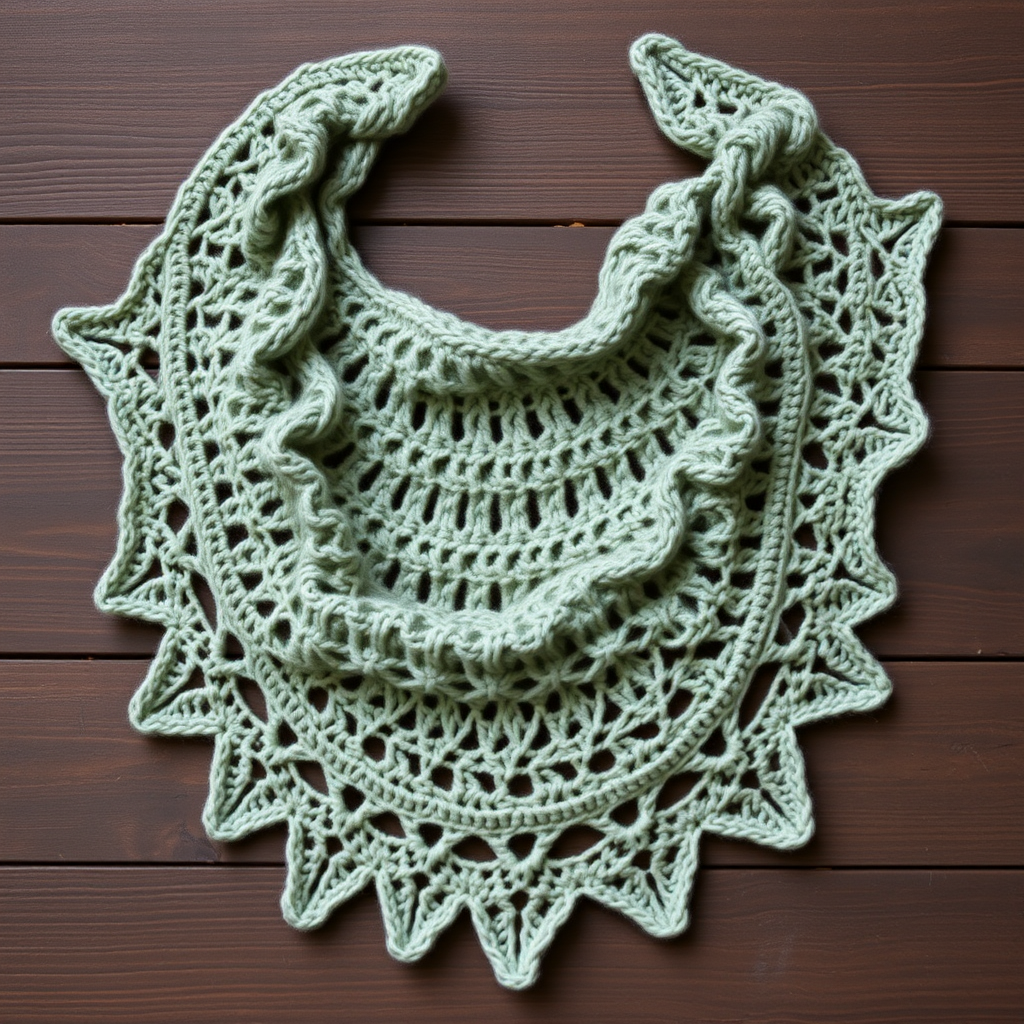
The Gilded Leaf Shawl: A Free Knitting Pattern for a Textured, Asymmetrical Wrap with Beaded Edges

Wrap Yourself in Autumn's Glow: The Gilded Leaf Shawl
Imagine the warm, golden light of an autumn afternoon captured in a piece of fabric you can wear. The Gilded Leaf Shawl is more than just an accessory; it's a wearable piece of art. This intermediate-level knitting pattern combines the rich texture of cables with the delicate airiness of lace, all culminating in a stunning, asymmetrical shape. The final touch—a shimmering, beaded edge—catches the light with every movement, mimicking morning dew on a fallen leaf. Whether you're a seasoned knitter looking for a satisfying project or an ambitious intermediate ready to expand your skills, this shawl offers a rewarding journey into textured, asymmetrical design. Let's dive into creating this unique wrap that will become a cherished staple in your wardrobe.
Materials Needed
Before you begin, gather the following tools and materials. Using the exact specifications will ensure your shawl matches the sample's drape and texture.
- Yarn: Approximately 600-700 yards of worsted weight yarn. The sample uses Malabrigo Rios in 'Cobre' (a warm, golden-amber colorway). Choose a yarn with good stitch definition to showcase the cables and lace.
- Needles: US Size 7 (4.5 mm) 32-inch circular knitting needle. The long cable is essential for holding the increasing number of stitches.
- Crochet Hook: A small crochet hook, size 6 (4 mm), for attaching beads.
- Beads: Approximately 150-200 small, iridescent gold beads (size 6/0 or similar).
- Notions: Stitch markers (optional, for repeats), tapestry needle for weaving in ends, cable needle, blocking pins and mats.
Step-by-Step Instructions
This shawl is worked from the top down, starting with a garter tab. The body is shaped with increases along one edge, creating an asymmetrical triangle. The leaf motif is created with a combination of yarn overs, decreases, and a central cable twist. The beaded edge is added after the body is complete. Follow each section carefully.
Abbreviations
- CO: Cast on
- K: Knit
- P: Purl
- YO: Yarn over
- K2tog: Knit two together
- SSK: Slip, slip, knit (slip two stitches knitwise, knit them together through the back loop)
- C4F: Cable 4 front (slip 2 stitches to cable needle, hold in front, knit next 2 stitches, then knit stitches from cable needle)
- C4B: Cable 4 back (slip 2 stitches to cable needle, hold in back, knit next 2 stitches, then knit stitches from cable needle)
- MB: Make bead (using crochet hook, slide bead onto stitch before knitting it)
- RS: Right side
- WS: Wrong side
Section 1: Garter Tab Cast-On
This creates a sturdy, invisible foundation for the shawl.
- CO 3 stitches.
- Rows 1-6: Knit all stitches (garter stitch). You will have 6 rows of garter ridges.
- Rotate and Pick Up Stitches: Do not turn your work. Rotate the piece 90 degrees clockwise. Pick up and knit 3 stitches along the side edge (one stitch for every two rows). Rotate again and pick up and knit 3 stitches from the cast-on edge. You now have 9 stitches on the needle.
Section 2: Body Increases
This section establishes the asymmetrical shape.
- Row 1 (RS): K3, YO, K to last 3 stitches, YO, K3. (11 stitches)
- Row 2 (WS): K3, P to last 3 stitches, K3.
- Repeat Rows 1-2 until you have 51 stitches on the needle, ending with a WS row. This creates a garter stitch border on both edges.
Section 3: Leaf Motif Pattern
The leaf motif is worked over a 12-stitch repeat, plus 3 garter stitches on each edge. The increases continue on the RS rows. Repeat Rows 1-8 until the shawl measures approximately 24 inches from the cast-on edge, ending with a WS row. The number of repeats will depend on your desired size.
- Row 1 (RS): K3, YO, *K2, YO, SSK, K4, K2tog, YO, K2*, repeat from * to * until 3 stitches remain, YO, K3. (Increase 2 stitches)
- Row 2 (WS): K3, P to last 3 stitches, K3.
- Row 3 (RS): K3, YO, *K3, YO, SSK, K2, K2tog, YO, K3*, repeat from * to * until 3 stitches remain, YO, K3. (Increase 2 stitches)
- Row 4 (WS): K3, P to last 3 stitches, K3.
- Row 5 (RS): K3, YO, *K4, YO, SSK, K2tog, YO, K4*, repeat from * to * until 3 stitches remain, YO, K3. (Increase 2 stitches)
- Row 6 (WS): K3, P to last 3 stitches, K3.
- Row 7 (RS): K3, YO, *C4F, K2, YO, K2tog, YO, K2, C4B*, repeat from * to * until 3 stitches remain, YO, K3. (Increase 2 stitches)
- Row 8 (WS): K3, P to last 3 stitches, K3.
Section 4: Beaded Edge
Do not bind off. Instead, work the beaded edge as follows:
- Row 1 (RS): K3, *MB, K1*, repeat from * to * until 3 stitches remain, MB, K3. (Each 'MB' places a bead on a stitch. To do this, use the crochet hook to slide a bead onto the stitch before knitting it.)
- Row 2 (WS): K3, P to last 3 stitches, K3.
- Bind off loosely knitwise on the RS. Ensure the bind-off is not too tight to maintain the shawl's drape.
Finishing
- Weave in Ends: Use the tapestry needle to weave in all yarn tails securely on the wrong side.
- Blocking: This is a crucial step for lace and cable patterns. Soak the shawl in lukewarm water with a gentle wool wash for 20 minutes. Gently squeeze out excess water (do not wring). Lay the shawl flat on blocking mats. Pin out the points of the leaf motifs to open up the lace pattern. Stretch gently to the desired dimensions. Allow to dry completely before removing pins.
Your Gilded Leaf Shawl is now complete! Drape it over your shoulders and enjoy the warmth and beauty of your handiwork. The interplay of cables, lace, and beads creates a truly unique piece that will be admired for years to come.