The Lumina Lace Shawl: A Free Knitting Pattern for a Modern, Asymmetrical Accessory

Introducing the Lumina Lace Shawl
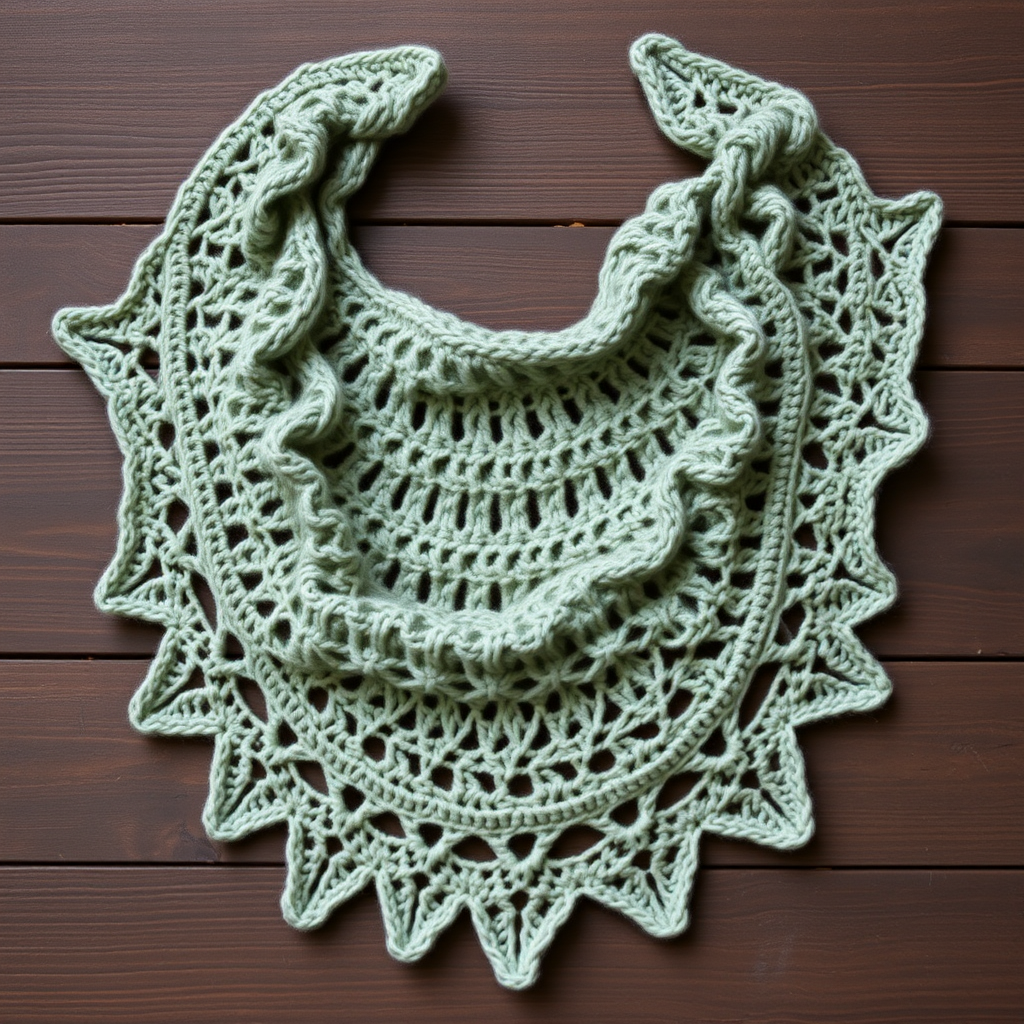
Wrap yourself in the ethereal beauty of the Lumina Lace Shawl, a modern asymmetrical design that combines delicate lace with a soft, drapey shape. This free pattern uses a single skein of Patons Lace to create a stunning, lightweight accessory perfect for any season. The shawl is worked from the top center point down, increasing on one side to create a modern, asymmetrical silhouette. The lace pattern is both elegant and approachable, making this a rewarding project for adventurous beginners and experienced knitters alike.
Materials Needed
Yarn
- Brand: Patons Lace (85% Acrylic, 15% Wool)
- Yardage: 437 yards (400 meters) per 100g skein
- Quantity: 1 skein in 'Simply White'
Needles & Notions
- Needle: US Size 6 (4.0 mm) circular knitting needle, 32-inch or longer (to accommodate the growing number of stitches)
- Notions: Stitch marker, tapestry needle for weaving ends, blocking pins and mats
Gauge
18 stitches and 24 rows = 4 inches in Stockinette stitch (blocked). Gauge is important for achieving the correct size and drape, so take time to swatch and block your swatch before beginning.
Step-by-Step Instructions
Pattern Notes
- The shawl is worked from the top center point down, increasing on one side to create an asymmetrical shape.
- A stitch marker is used to mark the center stitch. This marker will help you keep track of the increases.
- All lace patterns are written out in the instructions below.
- Always slip markers as you come to them (SM).
Abbreviations
- CO: Cast on
- K: Knit
- P: Purl
- K2tog: Knit two together (right-leaning decrease)
- SSK: Slip, slip, knit (left-leaning decrease)
- YO: Yarn over (creates an increase and a hole for lace)
- PM: Place marker
- SM: Slip marker
- RS: Right side
- WS: Wrong side
Getting Started: The Foundation
CO 3 stitches.
Row 1 (RS): K1, YO, K1, YO, K1 — you now have 5 stitches.
Row 2 (WS): K2, P1, K2.
Row 3: K1, YO, K1, YO, PM, K1, YO, K1, YO, K1 — you now have 9 stitches. The marker is placed around the center stitch (the 5th stitch).
Row 4: K2, P5, K2.
Row 5 (Increase Row): K1, YO, K to marker, YO, SM, K1, YO, K to last stitch, YO, K1 — you now have 13 stitches. This row increases 4 stitches: one at the beginning, one before the marker, one after the marker, and one at the end.
Row 6: K2, P to last 2 stitches, K2.
Repeat Rows 5-6 until you have 37 stitches (after completing a WS row). This creates the garter stitch base of the shawl.
Begin Lace Section
Row 1 (RS): K1, YO, K1, YO, *K2tog, YO* repeat from * to * until 2 stitches before marker, K2, YO, SM, K1, YO, K2, *YO, SSK* repeat from * to * until 2 stitches from end, YO, K1, YO, K1 — you now have 45 stitches.
Row 2 (WS): K2, P to last 2 stitches, K2.
Row 3 (Increase Row): K1, YO, K to marker, YO, SM, K1, YO, K to last stitch, YO, K1 — you now have 49 stitches.
Row 4: K2, P to last 2 stitches, K2.
Row 5 (RS): K1, YO, K1, YO, *K2tog, YO* repeat from * to * until 2 stitches before marker, K2, YO, SM, K1, YO, K2, *YO, SSK* repeat from * to * until 2 stitches from end, YO, K1, YO, K1 — you now have 57 stitches.
Row 6: K2, P to last 2 stitches, K2.
Row 7 (Increase Row): K1, YO, K to marker, YO, SM, K1, YO, K to last stitch, YO, K1 — you now have 61 stitches.
Row 8: K2, P to last 2 stitches, K2.
Repeat Rows 1-8 until the shawl measures approximately 60 inches along the longest edge (the edge with the increases), ending with a Row 8. This will create the beautiful, repeating lace pattern with the asymmetrical shape.
Final Section: Garter Stitch Border
Row 1 (RS): K1, YO, K to marker, YO, SM, K1, YO, K to last stitch, YO, K1 — increase 4 stitches.
Row 2 (WS): K2, P to last 2 stitches, K2.
Repeat these 2 rows 3 more times (for a total of 4 increase rows). This creates a clean, garter stitch edge that frames the lace.
Binding Off
Bind off loosely: K2, *pass first stitch over second, K1* repeat from * to * until all stitches are bound off. Binding off loosely is crucial to maintain the stretch and drape of the shawl. If you tend to bind off tightly, use a larger needle (e.g., US 8 or 9) for the bind-off row.
Finishing
Weave in all ends using a tapestry needle. Block the shawl to open up the lace pattern. To block, soak the shawl in lukewarm water with a gentle wool wash for 15-20 minutes. Gently squeeze out excess water (do not wring). Lay the shawl flat on a blocking mat, pin out the points and edges to the desired shape, mist with water, and allow to dry completely. Blocking will transform the fabric, making the lace stitches crisp and the shawl lie flat.