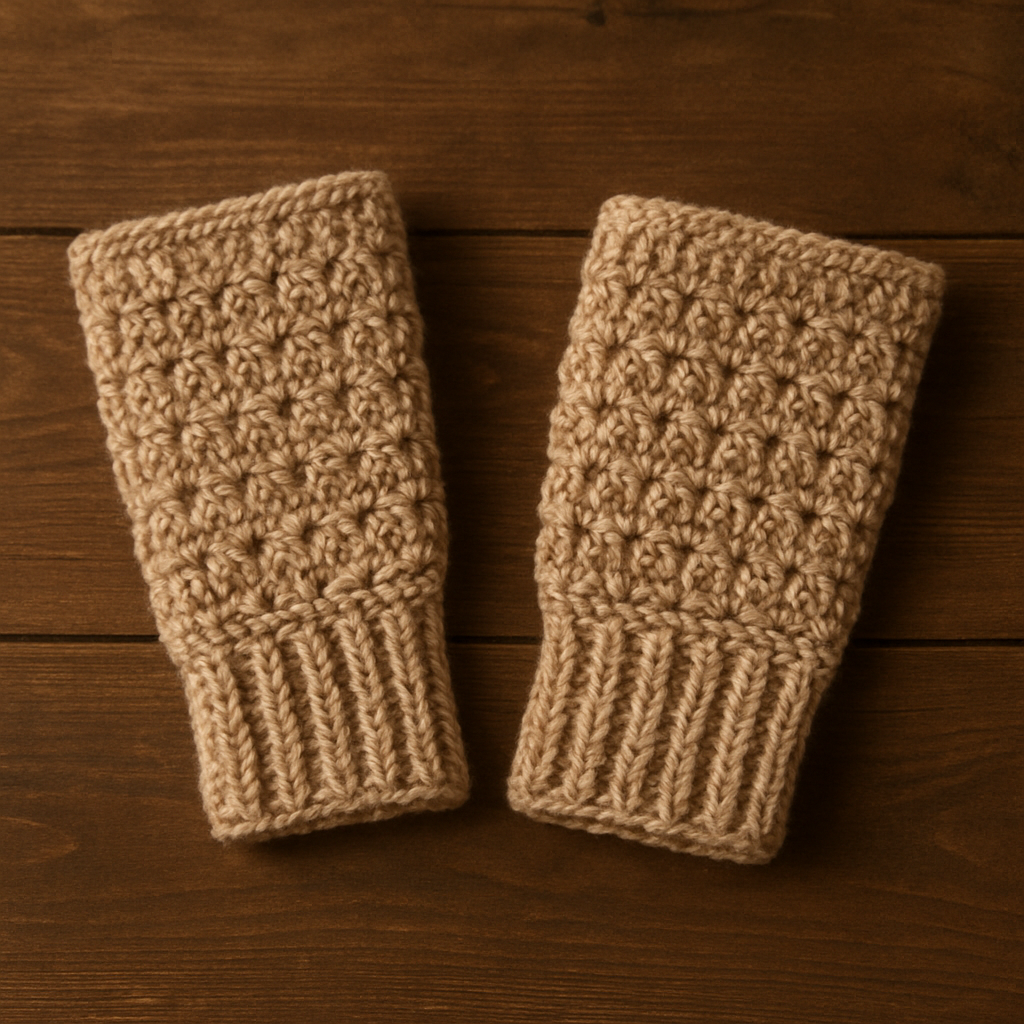
The Seafoam Serenade Shell Stitch Scarf Free Pattern – A Crocheted Coastal Wave Wrap with Textured Borders

The Seafoam Serenade Shell Stitch Scarf: A Coastal Crochet Wave Wrap
Wrap yourself in the soothing rhythm of ocean waves with this exquisite crocheted shell stitch scarf. The Seafoam Serenade features a delicate fan-and-shell motif that beautifully mimics the ebb and flow of the tide, creating a serene, coastal aesthetic perfect for breezy evenings or cozy fireside moments. This free pattern guides you through creating a long, rectangular scarf with a soft gradient of seafoam greens, sandy beige, and soft white—evoking the tranquil colors of a shoreline at dawn. Whether you're a seasoned crocheter or a confident beginner ready for a textured adventure, this pattern offers a rewarding project with stunning, modern-bohemian results.
Materials Needed
Before you begin your coastal crafting journey, gather the following materials. The quality of your yarn will greatly affect the drape and feel of your finished scarf, so choose a soft, worsted-weight cotton blend for the best results.
- Yarn: Worsted weight cotton blend yarn in three colors:
- MC (Main Color): Seafoam green – approximately 200g
- CC1 (Contrast Color 1): Sandy beige – approximately 100g
- CC2 (Contrast Color 2): Soft white – approximately 100g
- Crochet Hook: 5.5mm (I-9) crochet hook
- Other Tools: Yarn needle for weaving in ends, scissors, blocking mats and pins (optional but recommended)
Gauge & Finished Measurements
- Gauge: 4 shell repeats (each shell = 5 dc cluster) and 8 rows = 4 inches in shell stitch pattern. Always check your gauge to ensure your scarf matches the intended dimensions.
- Finished Measurements: Approximately 70 inches long (including border) and 8 inches wide.
Step-by-Step Instructions
This pattern is worked lengthwise in rows, then finished with a clean, single crochet border. Follow along carefully, and you'll have a beautiful, wave-inspired scarf in no time.
Abbreviations
- ch = chain
- sc = single crochet
- dc = double crochet
- sl st = slip stitch
- sk = skip
- st(s) = stitch(es)
- rep = repeat
- RS = right side
- WS = wrong side
Special Stitches
- Shell (sh): Work 5 dc in the same stitch or space.
- Half Shell (hsh): Work 3 dc in the same stitch or space. (Note: This pattern primarily uses the full shell, but understanding the half shell is useful for edge adjustments.)
Pattern Notes
- The scarf is worked lengthwise in rows, then borders are added along the long edges.
- Always turn your work at the end of each row unless otherwise stated.
- The first dc of each row is replaced by ch 3 (counts as 1 dc).
Main Scarf Body (using MC)
Row 1 (RS): Ch 24. Work 1 dc in the 4th ch from hook (counts as 2 dc). *Sk 2 ch, sh in next ch, sk 2 ch, 1 dc in next ch; rep from * across until 3 ch remain, sk 2 ch, 1 dc in last ch. Turn. (You should have 4 full shells and 5 dc posts, including the starting and ending dc.)
Row 2 (WS): Ch 3 (counts as dc). *Sh in the space between the next two dc posts (i.e., the center of the shell from previous row), 1 dc in the center dc of the next shell; rep from * across, ending with 1 dc in the top of the turning ch from previous row. Turn.
Row 3 (RS): Ch 3. *Sh in the space between the next two dc posts (center of the shell from previous row), 1 dc in the center dc of the next shell; rep from * across, ending with 1 dc in the top of the turning ch. Turn.
Rows 4–80: Repeat Row 3, alternating colors as follows:
- Rows 4–20: Work in MC (Seafoam Green)
- Rows 21–40: Work in CC1 (Sandy Beige)
- Rows 41–60: Work in MC (Seafoam Green)
- Rows 61–80: Work in CC2 (Soft White)
At the end of Row 80, fasten off and weave in ends.
Border
The border adds a clean, crisp finish and subtle color contrast. You will work a single crochet border around the entire scarf, using CC2 for the top edge and CC1 for the bottom edge to create a beautiful, symmetrical frame.
Top Edge Border (using CC2):
- With RS facing, attach CC2 with a sl st to the first stitch of the top long edge (the edge that was the starting chain).
- Round 1: Ch 1, work 1 sc in each dc post and 1 sc in the center of each shell (i.e., work 1 sc in the space between the 3rd and 4th dc of each shell) across the entire edge. At the end, do not turn; continue to work along the short edge.
- Short Edge: Work 3 sc in the corner, then work 1 sc in each row end (each row end counts as one stitch) down the short edge. Work 3 sc in the next corner.
- Bottom Long Edge: Work 1 sc in each dc post and 1 sc in the center of each shell across the bottom edge. Work 3 sc in the corner, then work 1 sc in each row end up the other short edge. Work 2 sc in the starting corner to join with a sl st to the first sc. Fasten off.
Bottom Edge Border (optional, for symmetry – using CC1):
- With RS facing, attach CC1 with a sl st to the first stitch of the bottom long edge (the edge that was the last row).
- Round 1: Ch 1, work 1 sc in each dc post and 1 sc in the center of each shell across the edge. Work 3 sc in the corner, then work 1 sc in each row end up the short edge, work 3 sc in the corner, then work 1 sc in each dc post and 1 sc in the center of each shell across the top edge, work 3 sc in the corner, work 1 sc in each row end down the other short edge, work 2 sc in the starting corner, join with sl st. Fasten off.
Finishing
Weave in all ends carefully with your yarn needle. To achieve that beautiful, open shell stitch look and perfectly even edges, block the scarf gently. Lay it flat on blocking mats, pin the edges to your desired dimensions, and mist with water. Allow it to dry completely before wearing. This step truly elevates the final appearance of your Seafoam Serenade Scarf.
Your coastal masterpiece is complete! The gentle gradient and textured shells create a stunning accessory that's perfect for gifting or keeping for yourself. Enjoy the serene, bohemian vibe of your handmade creation.