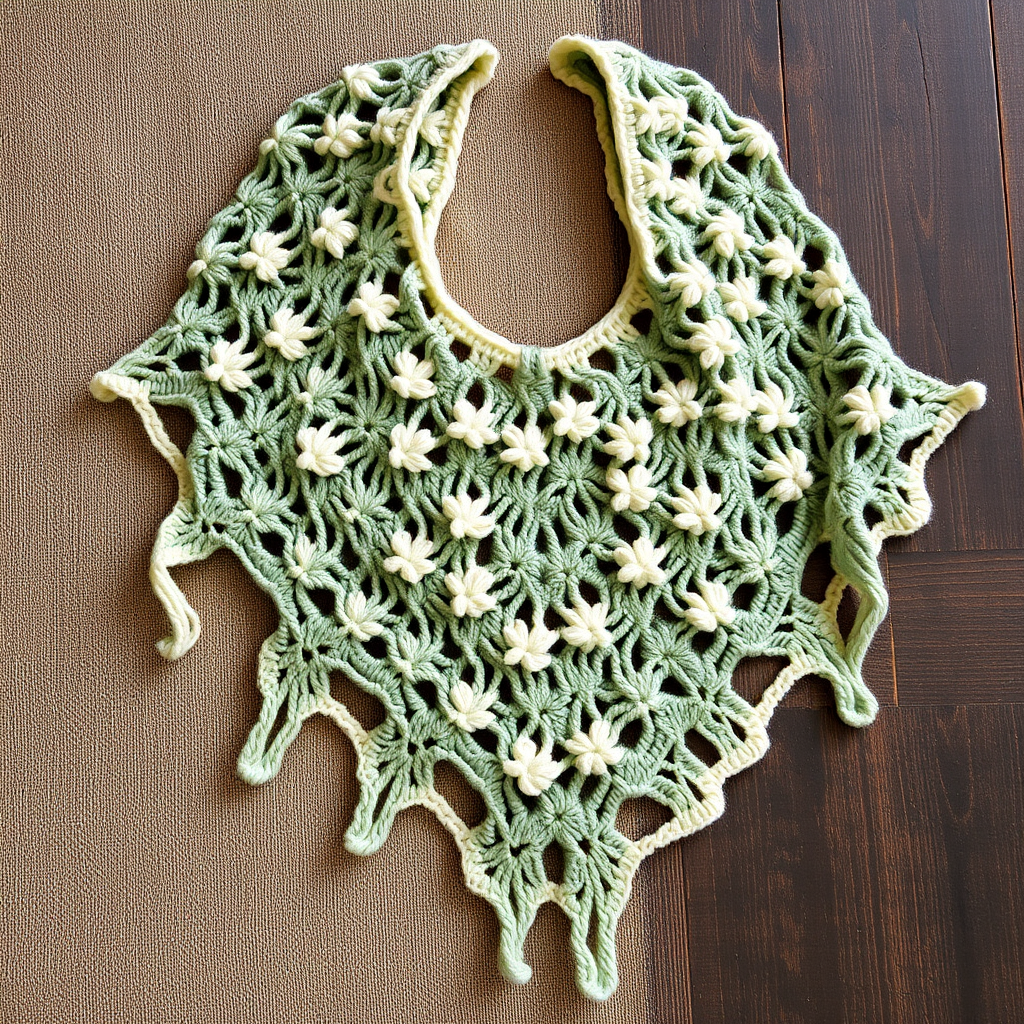
The Tidepool Treasure Pocket Shawl Free Pattern – Crochet a Textured Ocean Wrap

The Tidepool Treasure Pocket Shawl: A Free Crochet Pattern for a Textured Ocean Wrap
Imagine wrapping yourself in the serene beauty of a coastal tidepool—the gentle ebb and flow of teal waves, the warm whisper of sandy shores, and the playful pop of coral. The Tidepool Treasure Pocket Shawl brings that imagery to life through rich, tactile crochet stitches and a whimsical, functional design. This isn't just a shawl; it's a cozy companion for beach walks, a stylish layer for chilly evenings, and a handmade treasure with hidden pockets for your essentials. Whether you're a seasoned crocheter or a confident beginner looking for a rewarding project, this pattern offers a delightful journey into texture and color. Let's dive in and create something truly magical.
Materials Needed
Before we begin, gather your supplies. This project is wonderfully portable and uses readily available materials.
- Yarn: Worsted weight yarn in 3 colors:
- Sea Glass (Teal): For the top section
- Sand Dollar (Cream): For the middle section
- Coral (Soft Peach): For the bottom section and pockets
- Crochet Hook: US Size I/9 (5.5 mm)
- Other: Yarn needle for weaving in ends and sewing pockets, scissors.
Gauge: 14 double crochet (dc) x 8 rows = 4 inches in pattern stitch. Matching gauge ensures your shawl drapes beautifully and fits as intended.
Step-by-Step Instructions
This pattern is worked from the top center down, creating a wide triangle shape. The combination of shell clusters, open mesh, and puff stitches mimics the varied textures of a tidepool. Don't be intimidated by the different stitches—we'll break it down clearly.
Understanding the Stitches
- ch: Chain
- dc: Double Crochet
- sp: Space (the gap between stitches from the previous row)
- st(s): Stitch(es)
- Puff Stitch (puff st): Yarn over (yo), insert hook into stitch, pull up a loop. Repeat this 3 more times (so you have 4 "yo, insert, pull up" sequences). You should have 9 loops on your hook. Yarn over and pull through all 9 loops, then ch 1 to close the puff.
Main Shawl Body
Foundation Row (Row 1): Ch 4. Work 3 dc in the 4th ch from your hook. Ch 2, then work 3 more dc in the same chain. Turn. You now have 6 dc and 1 ch-2 space (the center point).
Row 2: Ch 3 (this counts as your first dc). Work 2 dc in the very first stitch (the base of the ch-3). Ch 1, skip the next stitch, then work 3 dc into the ch-2 space from the previous row. Ch 2, and work 3 more dc into the same ch-2 space. Ch 1, skip the next stitch, and work 3 dc into the last stitch. Turn. You now have 12 dc, 2 ch-1 spaces, and 1 ch-2 space.
Row 3: Ch 3, 2 dc in the first st. Ch 1, skip 1 st, 3 dc in the next ch-1 sp. Ch 1, skip 1 st, 3 dc in the ch-2 sp. Ch 2, 3 dc in the same ch-2 sp. Ch 1, skip 1 st, 3 dc in the next ch-1 sp. Ch 1, skip 1 st, 3 dc in the last st. Turn. You now have 18 dc, 4 ch-1 spaces, and 1 ch-2 space.
Continue the Pattern: You will now repeat the logic of Row 3 for all subsequent rows. The pattern is simple to follow once you see it:
- Start: Ch 3, 2 dc in the first stitch.
- Work the sides: *Ch 1, skip 1 st, 3 dc in the next ch-1 sp.* Repeat from * to * until you reach the center ch-2 space.
- Work the center: 3 dc in the ch-2 sp, ch 2, 3 dc in the same ch-2 sp.
- Mirror the sides: *Ch 1, skip 1 st, 3 dc in the next ch-1 sp.* Repeat from * to * until you reach the last stitch.
- Finish: Ch 1, skip 1 st, 3 dc in the last st. Turn.
Important: Each row will increase by 6 dc (one 3-dc cluster on each side). Continue this pattern, changing colors as you wish (e.g., after a few rows of Sea Glass, switch to Sand Dollar, then Coral), until the shawl measures 24 inches from the top center to the bottom point. Fasten off and weave in the ends for the main body.
Puff Stitch Border
This playful border adds the perfect finishing touch to the bottom edge.
Attach your yarn to the bottom edge of the shawl. Work a single row of puff stitches across the entire bottom edge:
- Work a puff stitch (see instructions above) into the first stitch.
- Ch 1, skip the next stitch.
- Work another puff stitch into the following stitch.
- Repeat from * to * across the entire bottom edge.
Fasten off and weave in the ends.
Pockets (Make 2)
These simple, functional pockets are worked flat and then sewn onto the shawl.
- Foundation: Ch 20.
- Body: Work in dc rows (ch 3 to turn at the start of each row) until the piece measures 6 inches tall.
- Shape the Flap: Fold the top edge of the pocket down by 1 inch to create a flap. This flap will be the top opening of your pocket.
- Seam: Using your yarn needle and a matching yarn, sew the sides of the pocket together, leaving the top (with the folded flap) open. Weave in the ends.
Finishing and Assembly
- Position the Pockets: Lay your shawl flat. Place each pocket on the front of the shawl, approximately 6 inches from each side edge and 4 inches from the bottom point. Make sure they are symmetrical and at a comfortable height for your hands.
- Sew the Pockets: Using a yarn needle and a length of your Coral yarn, securely sew the pockets to the shawl. Sew along the bottom and side edges of the pocket, leaving the top flap open. Be careful to only catch the back loop of the shawl's stitches so the stitches don't show on the front.
- Final Weave: Weave in all remaining ends securely.
Your Tidepool Treasure Pocket Shawl is complete! Give it a gentle block to open up the stitches and enhance the drape. This shawl is as practical as it is beautiful—perfect for stashing your phone, keys, or a seashell you find on your next adventure. Enjoy your handmade treasure!