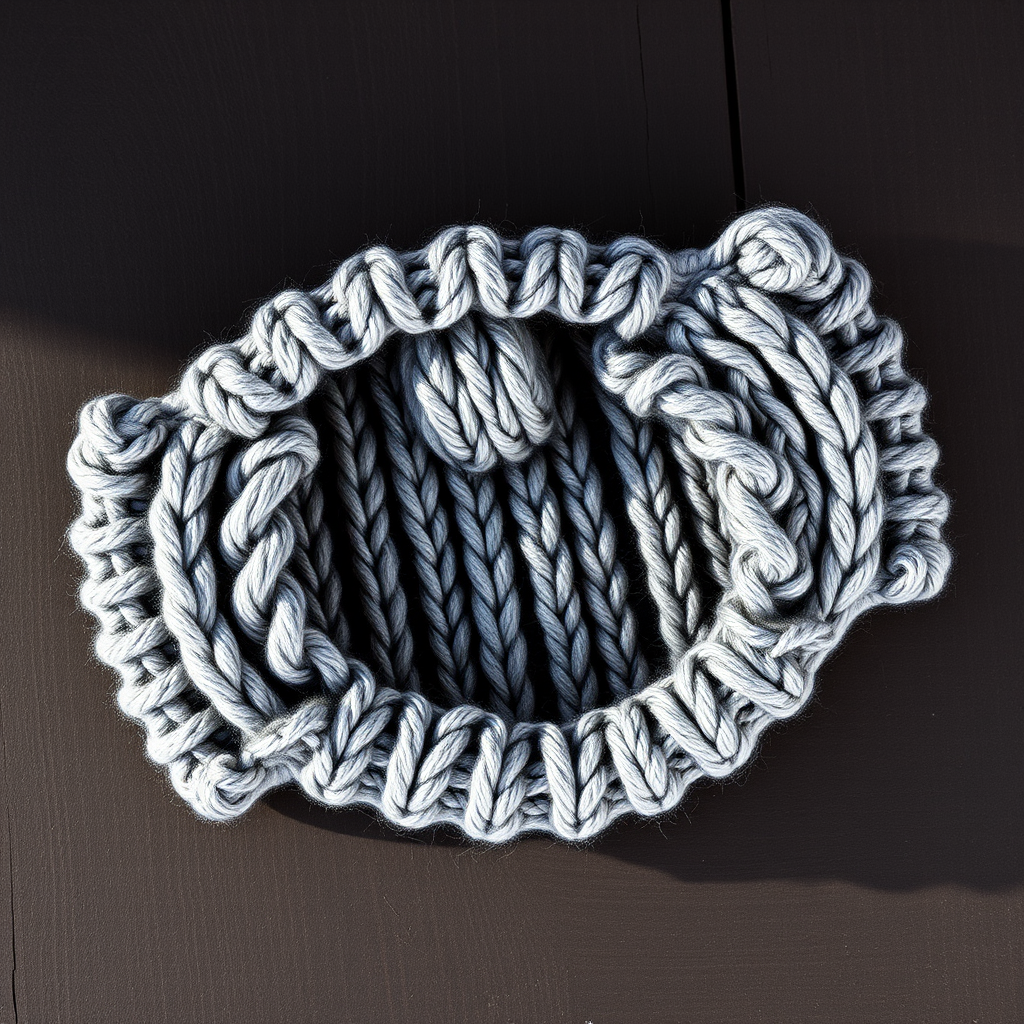
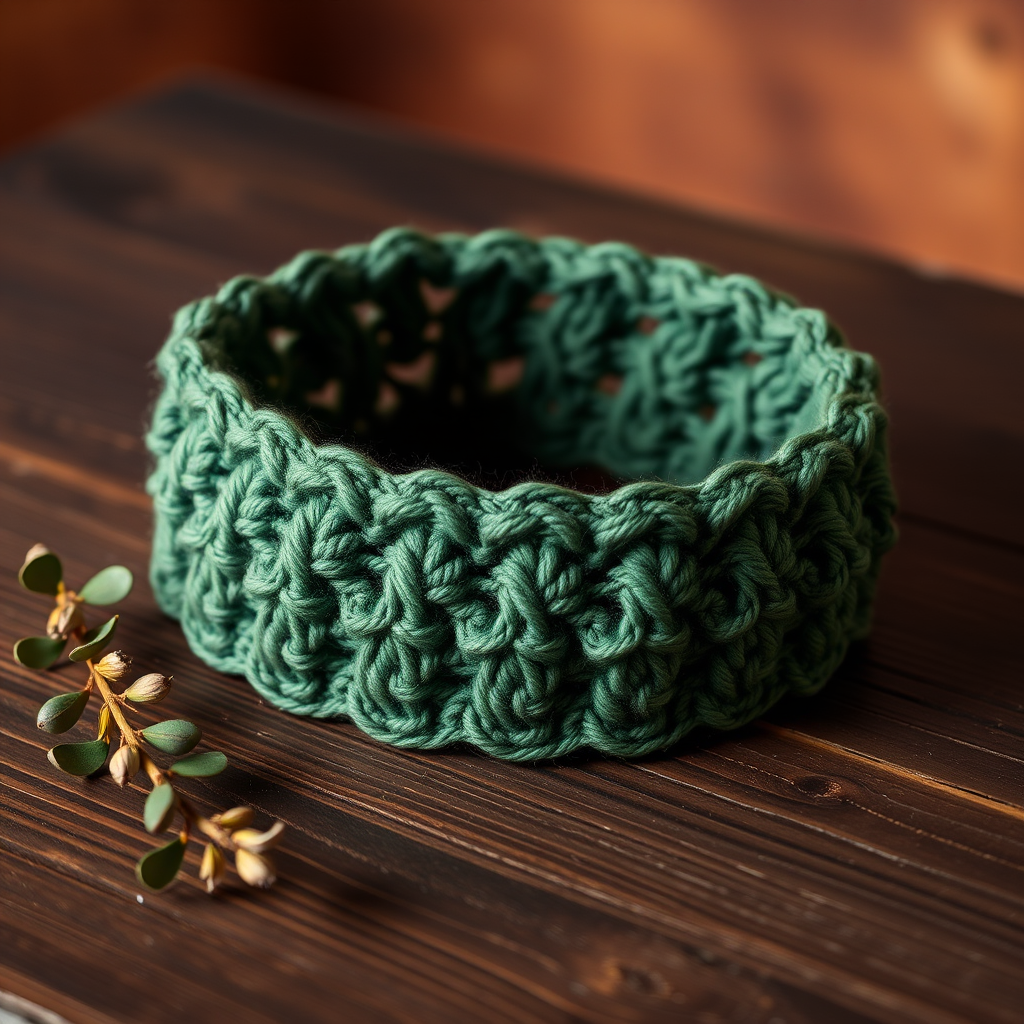
The Twisted Cable Headband Free Pattern

The Twisted Cable Headband Free Pattern
Introduction
Embrace the chill with this elegant twisted cable headband, perfect for adding a touch of sophistication to your winter wardrobe. This pattern combines warmth and style, making it a must-knit accessory for the colder months. Whether you're a seasoned knitter or a beginner, this headband is an enjoyable project that will keep you cozy and fashionable.
Materials Needed
- Yarn: Worsted weight yarn
- Needles: US 8 (5mm) knitting needles
- Gauge: 18 stitches and 24 rows = 4 inches in stockinette stitch
Step-by-Step Instructions
1. Casting On
Begin by casting on 20 stitches using your US 8 (5mm) knitting needles. Make sure your stitches are not too tight, as this will affect the elasticity of your headband.
2. Ribbing Section
We will start with a ribbing pattern to create a stretchy edge.
- Row 1 (Right Side): *K2, P2; repeat from * to end of the row.
- Row 2 (Wrong Side): *P2, K2; repeat from * to end of the row.
Repeat Rows 1 and 2 for a total of 10 rows (5 repetitions of the ribbing pattern).
3. Begin Cable Pattern
Now we will start the cable pattern that gives the headband its unique texture.
- Row 1 (Right Side): K2, P2, C4F (Cable 4 Front), P2, C4B (Cable 4 Back), P2, K2.
- Row 2 (Wrong Side): P2, K2, P4, K2, P4, K2, P2.
Repeat Rows 1 and 2 for a total of 10 rows (5 repetitions of the cable pattern).
4. Continuing the Cable Pattern
Continue repeating the cable pattern until the headband measures approximately 20 inches or your desired length. Ensure you end with a Wrong Side row to maintain the pattern's integrity.
5. Final Ribbing Section
To finish the headband, we will add another ribbing section.
- Row 1 (Right Side): *K2, P2; repeat from * to end of the row.
- Row 2 (Wrong Side): *P2, K2; repeat from * to end of the row.
Repeat Rows 1 and 2 for a total of 10 rows (5 repetitions of the ribbing pattern).
6. Binding Off
Bind off your stitches in pattern (K2, P2) to maintain the ribbing look. Make sure to bind off loosely to keep the edge stretchy.
7. Finishing Touches
To finish your headband, sew the cast-on edge to the bind-off edge using a mattress stitch. This technique creates a seamless join, giving your headband a polished look. Finally, weave in all loose ends with a tapestry needle to ensure a clean finish.
Conclusion
Your Twisted Cable Headband is now complete! This luxurious accessory not only keeps you warm but also adds a stylish touch to your winter outfits. Enjoy wearing your handmade creation or gift it to someone special!