Headband Knitting Patterns
The Twisted Vine Headband Free Pattern
Anonymous
•
July 03, 2026

The Twisted Vine Headband Free Pattern
Introduction
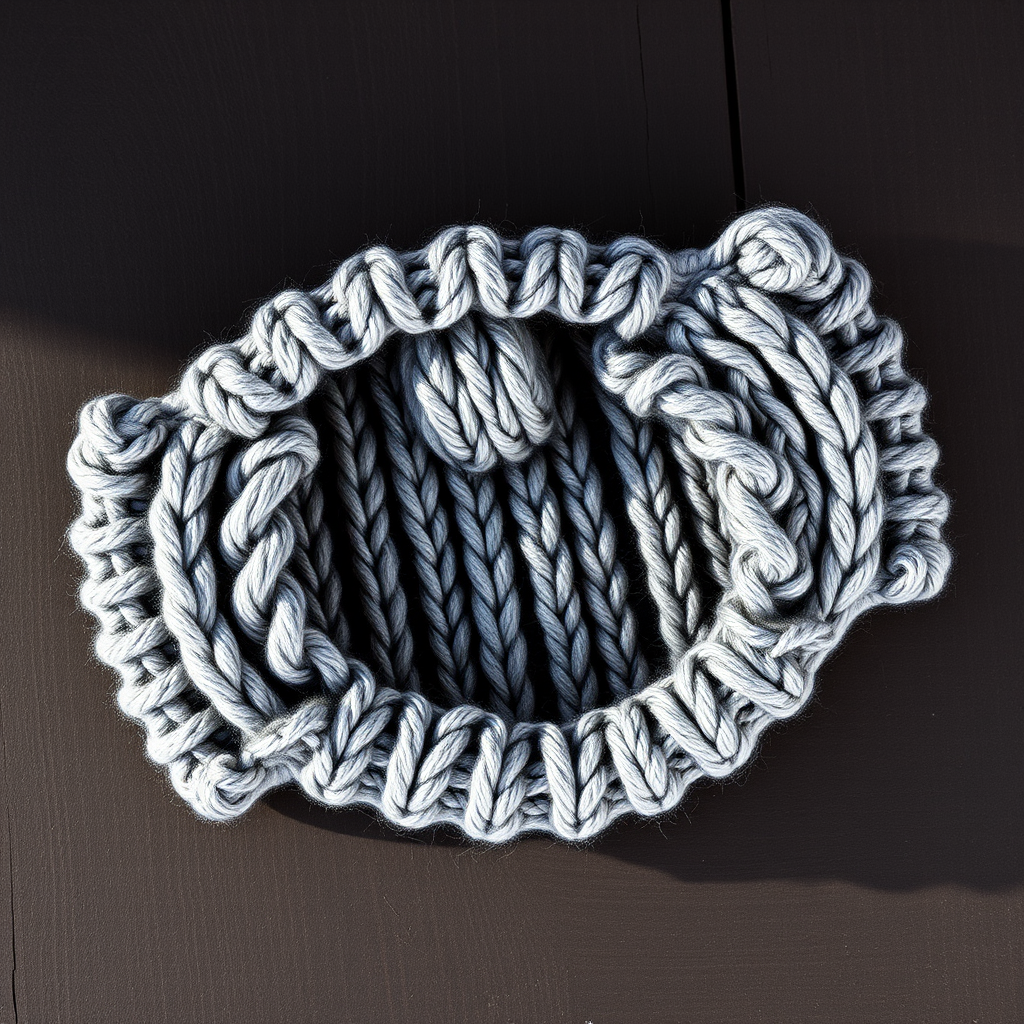
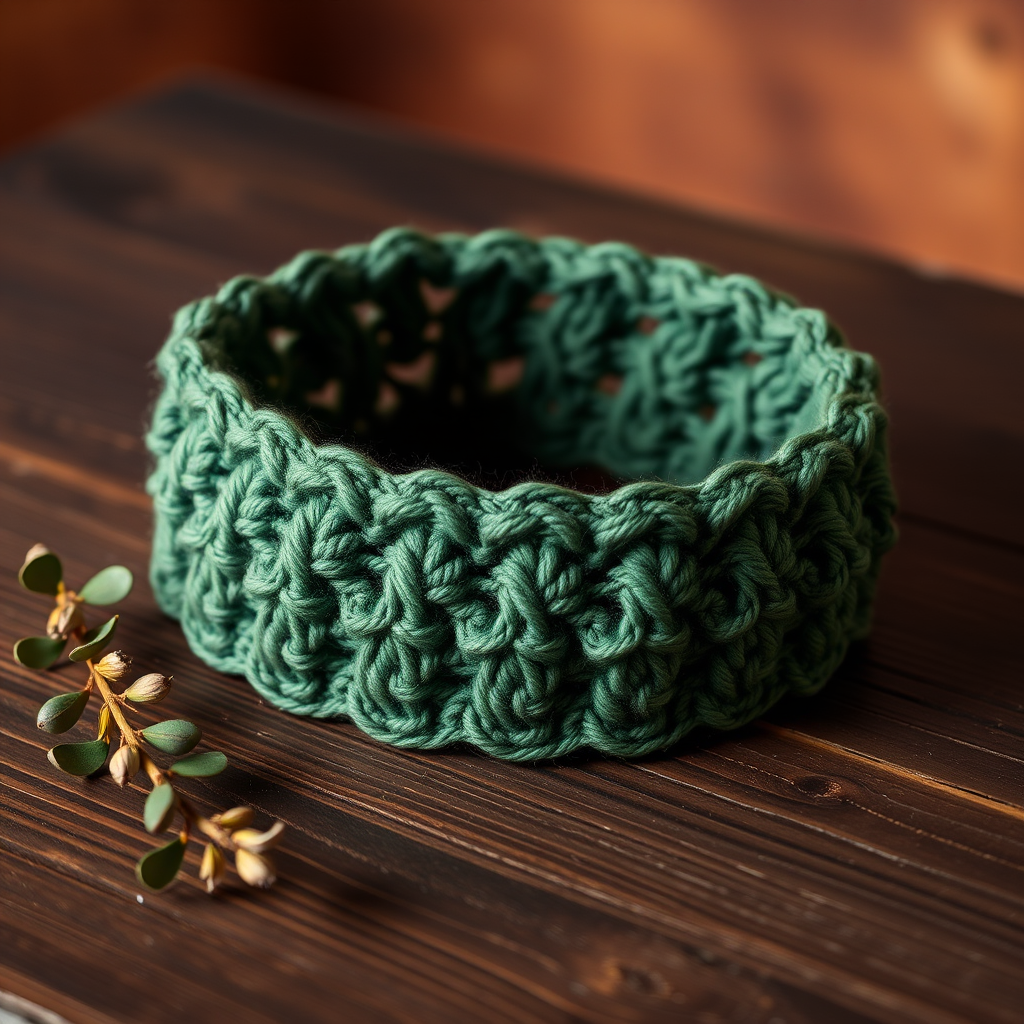
Embrace the elegance of nature with the Twisted Vine Headband, a sophisticated accessory that combines comfort and style. This pattern features a beautiful cable design reminiscent of intertwining vines, perfect for adding a touch of charm to any outfit. Whether you're dressing up for a special occasion or keeping warm during chilly days, this headband is a must-have addition to your wardrobe.
Materials Needed
- Yarn: Worsted weight yarn, 100g
- Needles: US 8 (5mm) knitting needles
- Gauge: 18 stitches and 24 rows = 4 inches in stockinette stitch
Step-by-Step Instructions
- Cast On: Begin by casting on 24 stitches onto your knitting needle. Make sure your stitches are not too tight to allow for easy knitting.
- Row 1 (Wrong Side): Purl all stitches across the row. This establishes the base of your headband.
- Row 2 (Right Side):
- Knit 2 stitches (K2).
- Begin the cable pattern:
- *C4F (Cable 4 Front): Slip 2 stitches to a cable needle and hold in front of your work, knit the next 2 stitches from the left needle, then knit the 2 stitches from the cable needle.
- Knit 4 stitches (K4).
- Repeat from * until you have 2 stitches remaining, then K2.
- Row 3: Purl all stitches across the row.
- Row 4 (Right Side):
- K2.
- Begin the cable pattern:
- *K4.
- C4B (Cable 4 Back): Slip 2 stitches to a cable needle and hold in back of your work, knit the next 2 stitches from the left needle, then knit the 2 stitches from the cable needle.
- Repeat from * until you have 2 stitches remaining, then K2.
- Repeat Rows 1-4: Continue repeating these four rows until your headband measures approximately 18 inches or your desired length.
- Bind Off: Once you reach the desired length, bind off all stitches loosely to maintain elasticity.
- Finish the Headband: Sew the cast-on edge and the bind-off edge together to form a loop. Make sure the seam is secure and neat.
- Weave in Ends: Use a yarn needle to weave in any loose ends from your yarn to give your headband a polished finish.
Now you have your very own Twisted Vine Headband! Enjoy wearing this beautiful piece or gifting it to someone special. Happy knitting!