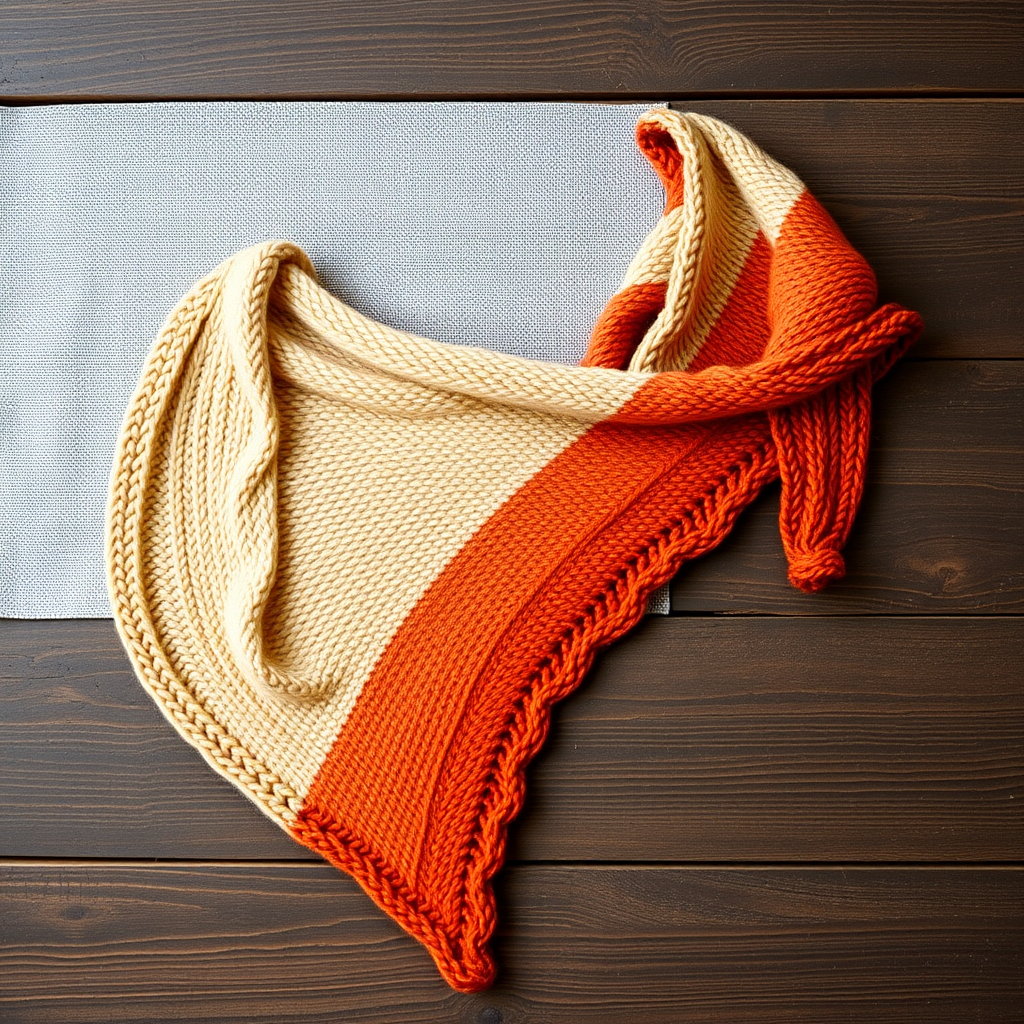
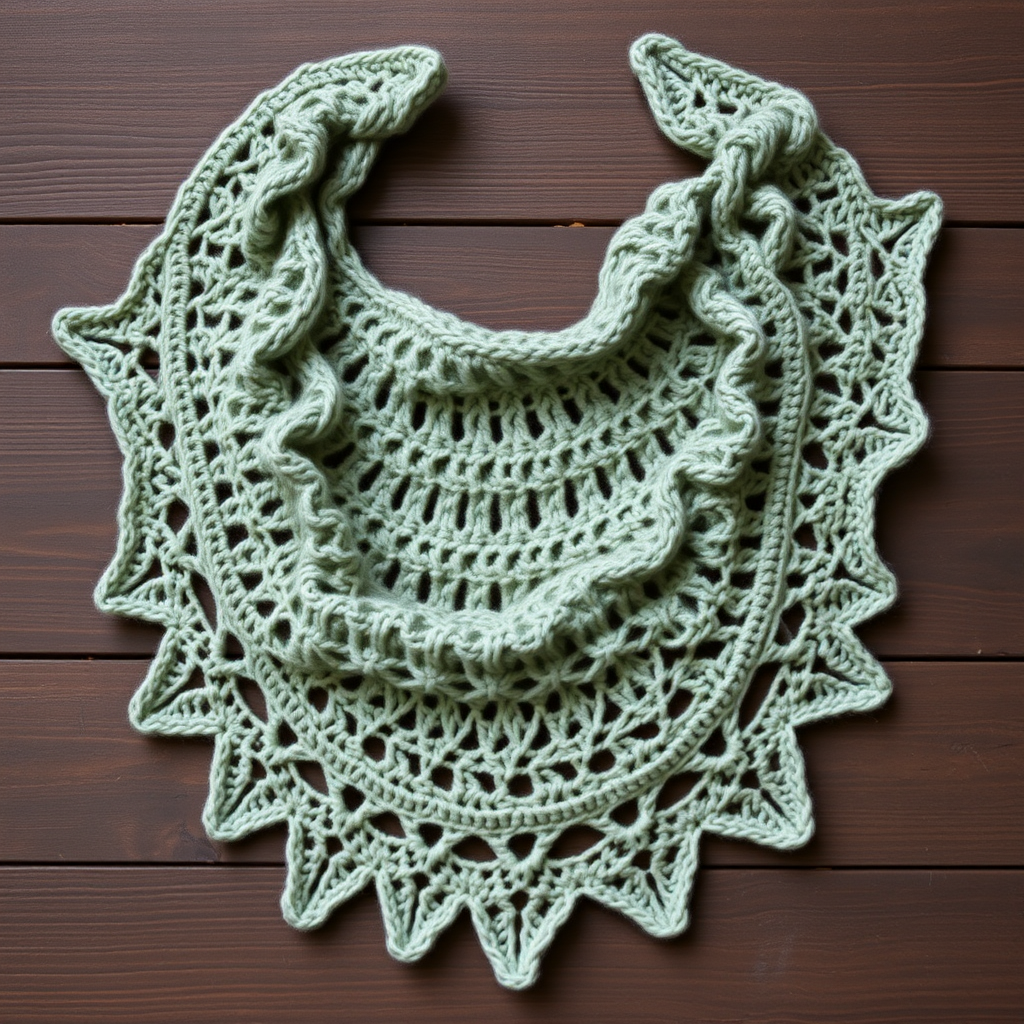
Warlock Triangle Shawl Free Pattern – Knit a Mystical Crescent Wrap

Unleash Your Inner Mage: The Warlock Triangle Shawl Knitting Pattern
Are you ready to wrap yourself in a piece of arcane elegance? This free knitting pattern for the Warlock Triangle Shawl is more than just a cozy accessory; it's a statement. Knitted in deep midnight purples and shimmering silver-grey, this crescent-shaped wrap evokes the mysterious robes of a powerful warlock. The unique, textured stitch pattern mimics ancient runes, creating a garment that is both mystical and incredibly comfortable for cool evenings. Whether you're a seasoned knitter looking for a new challenge or a confident beginner ready to expand your skills, this pattern is designed to guide you through every step. Let's cast a spell of warmth and style with your needles!
Gathering Your Magical Materials
Before you begin your enchanting project, ensure you have all the necessary components. The quality of your materials will greatly affect the final drape and feel of your shawl. Here is exactly what you need to conjure this mystical wrap:
- Yarn: Worsted weight yarn in two colors. You will need approximately 400g of Color A (a deep purple, such as 'Raven') and 200g of Color B (a silver-grey, such as 'Moonstone'). Choose a soft, cozy yarn for the best drape.
- Needles: A US 8 (5mm) circular knitting needle with a cable length of 32 inches or longer. The long cable is essential to hold the increasing number of stitches as the shawl grows.
- Gauge: For the perfect fit, your gauge should be 18 stitches and 24 rows = 4 inches in stockinette stitch (after blocking). It's always wise to knit a small swatch first to ensure your tension matches.
- Other Tools: Stitch markers (at least 8), a tapestry needle for weaving in ends, and scissors.
Step-by-Step Instructions for Your Crescent Shawl
This shawl is knitted from the top center down, increasing at the edges and center to form its beautiful crescent shape. The pattern uses a combination of knits, purls, yarn overs, and decreases to create the rune-like texture. Follow these detailed instructions carefully, and you'll be amazed at the result.
Understanding the Runic Stitch Abbreviations
Before you cast on, let's review the magical language of this pattern:
- CO: Cast on
- K: Knit
- P: Purl
- YO: Yarn over (creates an eyelet hole)
- K2tog: Knit two stitches together (a right-leaning decrease)
- SSK: Slip, slip, knit (a left-leaning decrease)
- PM: Place marker
- SM: Slip marker
- RS: Right side of the work
- WS: Wrong side of the work
The Setup: Creating the Foundation
We'll start by creating a small base from which the entire shawl will grow.
- Cast On: CO 3 stitches.
- Knit Base: Knit 6 rows (this creates a garter stitch tab).
- Pick Up Stitches: Now, turn your work 90 degrees clockwise. Pick up and knit 3 stitches along the side edge of the tab. Then, turn it again and pick up 3 stitches from the cast-on edge. You should now have a total of 9 stitches on your needle.
- Place Markers: This is crucial for shaping. Place markers as follows: K1, PM, K1, PM, K1, PM, K1, PM, K1, PM, K1, PM, K1, PM, K1, PM, K1. You will now have 8 markers, dividing your work into 8 sections: 2 edge sections and 6 inner sections. The single knit stitches between markers are your "spine" stitches where increases will happen.
The Main Body: Weaving the Runic Pattern
Now for the heart of the shawl. We will work in a series of rows, repeating the pattern to create the textured fabric. Remember to always slip your markers as you come to them.
- Row 1 (RS): K1, YO, *K to 1 stitch before marker, YO, K1, SM, YO; repeat from * across until 1 stitch remains before the last marker, YO, K1, SM, YO, K to last stitch, YO, K1. (This increases 2 stitches in each of the 8 sections, for a total of 16 increases.)
- Row 2 (WS): Purl all stitches, knitting the YOs through the back loop to avoid holes.
- Row 3 (RS): Repeat Row 1.
- Row 4 (WS): Purl all stitches, knitting YOs through the back loop.
- Row 5 (RS): K1, YO, *K2tog, YO, K to 2 stitches before marker, SSK, YO, K1, SM, YO; repeat from * across until 1 stitch remains before the last marker, YO, K1, SM, YO, K to last stitch, YO, K1. (This creates the rune-like eyelet pattern.)
- Row 6 (WS): Purl all stitches, knitting YOs through the back loop.
- Row 7 (RS): Repeat Row 1.
- Row 8 (WS): Purl all stitches, knitting YOs through the back loop.
Continue the Pattern: Repeat Rows 5-8 to continue the pattern. However, to achieve the mystical stripe effect, every 8th repeat of the pattern, switch to Color B (Moonstone) for 4 rows (which equals 2 repeats of Rows 5-8). Then, switch back to Color A (Raven). Continue this sequence until the shawl measures approximately 24 inches from the center top to the bottom point, or until you reach your desired length. Always end with a WS row.
The Final Edging: A Picot Finish
This delicate edge gives the shawl a polished, magical finish.
- Edging Row (RS): K1, YO, *K2tog, YO; repeat from * across to the last stitch, YO, K1. (This creates a picot-like edge.)
- Next Row (WS): Purl all stitches, knitting the YOs through the back loop.
- Bind Off: Bind off all stitches loosely, knitwise. This loose bind-off is essential to prevent the edge from being too tight and ruining the drape.
Finishing Touches: Weaving and Blocking
Your shawl is almost complete! The final steps are crucial for a professional look.
- Weave in Ends: Use your tapestry needle to carefully weave in all loose yarn ends on the wrong side of the shawl.
- Block the Shawl: This step is non-negotiable for a lace pattern. Soak the shawl in lukewarm water with a gentle wool wash for about 20 minutes. Gently squeeze out the excess water (do not wring). Lay the shawl flat on a blocking mat or a clean towel. Gently stretch it to shape, opening up the lace pattern and defining the crescent curve. Pin the edges in place and allow it to dry completely. This will transform your knitting into a beautifully draped, mystical wrap.
Congratulations, you've completed your Warlock Triangle Shawl! You now have a unique, handmade piece that is perfect for cool evenings, adding a touch of arcane style to any outfit. Wear it with pride, knowing you've created something truly special.