Baby Beanie Knitting Patterns
Whimsical Woodland Baby Beanie Free Pattern
Anonymous
•
July 18, 2026
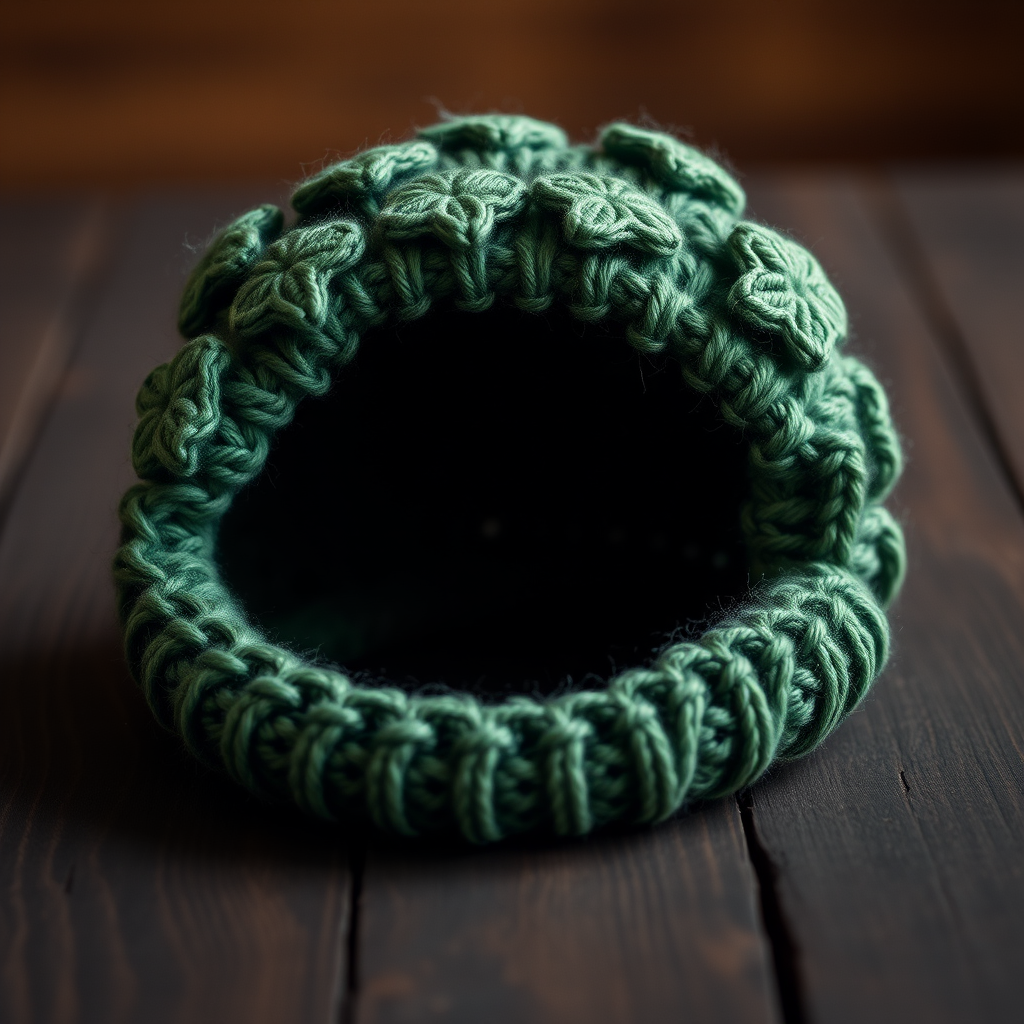
Whimsical Woodland Baby Beanie Free Pattern
Introduction
Embrace the charm of the forest with this Whimsical Woodland Baby Beanie, featuring delicate leaf motifs and a snug fit. This cozy beanie is perfect for keeping your little one warm and stylish during chilly adventures. Whether you're a seasoned knitter or a beginner, this pattern is designed to guide you step-by-step in creating a delightful accessory for your baby.
Materials Needed
- Yarn: DK weight, 100% merino wool (recommended color: rich forest green)
- Needles: US 6 (4mm) circular needles
- Stitch Marker: To mark the beginning of the round
- Scissors: For cutting yarn
- Tapestry Needle: For weaving in ends
Step-by-Step Instructions
- Cast On: Using the long-tail cast-on method, cast on 64 stitches onto your circular needles. Make sure to leave a long enough tail for weaving in later.
- Join to Work in the Round: Carefully join your stitches to work in the round, ensuring that they are not twisted. Place a stitch marker on the first stitch to indicate the beginning of the round.
- Ribbing (Rounds 1-6):
- Round 1: *Knit 1, Purl 1; repeat from * to end of round.
- Round 2: *Knit 1, Purl 1; repeat from * to end of round.
- Repeat this pattern for a total of 6 rounds.
- Body of the Beanie:
- Round 7: Knit all stitches.
- Round 8: *K2, yarn over (yo), slip slip knit (ssk), knit two together (k2tog), yo, k2; repeat from * to end of round.
- Round 9: Knit all stitches.
- Repeat Rounds 8 and 9 for a total of 4 times.
- Continue in Stockinette Stitch: After completing the previous rounds, continue knitting in stockinette stitch (knit every round) until the beanie measures 5 inches from the cast-on edge.
- Crown Shaping:
- Round 1: *K6, k2tog; repeat from * to end of round.
- Round 2: Knit all stitches.
- Round 3: *K5, k2tog; repeat from * to end of round.
- Round 4: Knit all stitches.
- Continue decreasing in this manner, reducing the number of knit stitches between decreases by 1 each round, until you have 8 stitches remaining.
- Finish the Beanie: Cut the yarn, leaving a long tail. Thread the tail through the remaining 8 stitches and pull tight to close the top of the beanie.
- Weave in Ends: Use a tapestry needle to weave in all loose ends, ensuring a neat finish.
Congratulations! You have now created your very own Whimsical Woodland Baby Beanie. This delightful piece is not only functional but also a beautiful addition to your baby's wardrobe. Enjoy your knitting!


