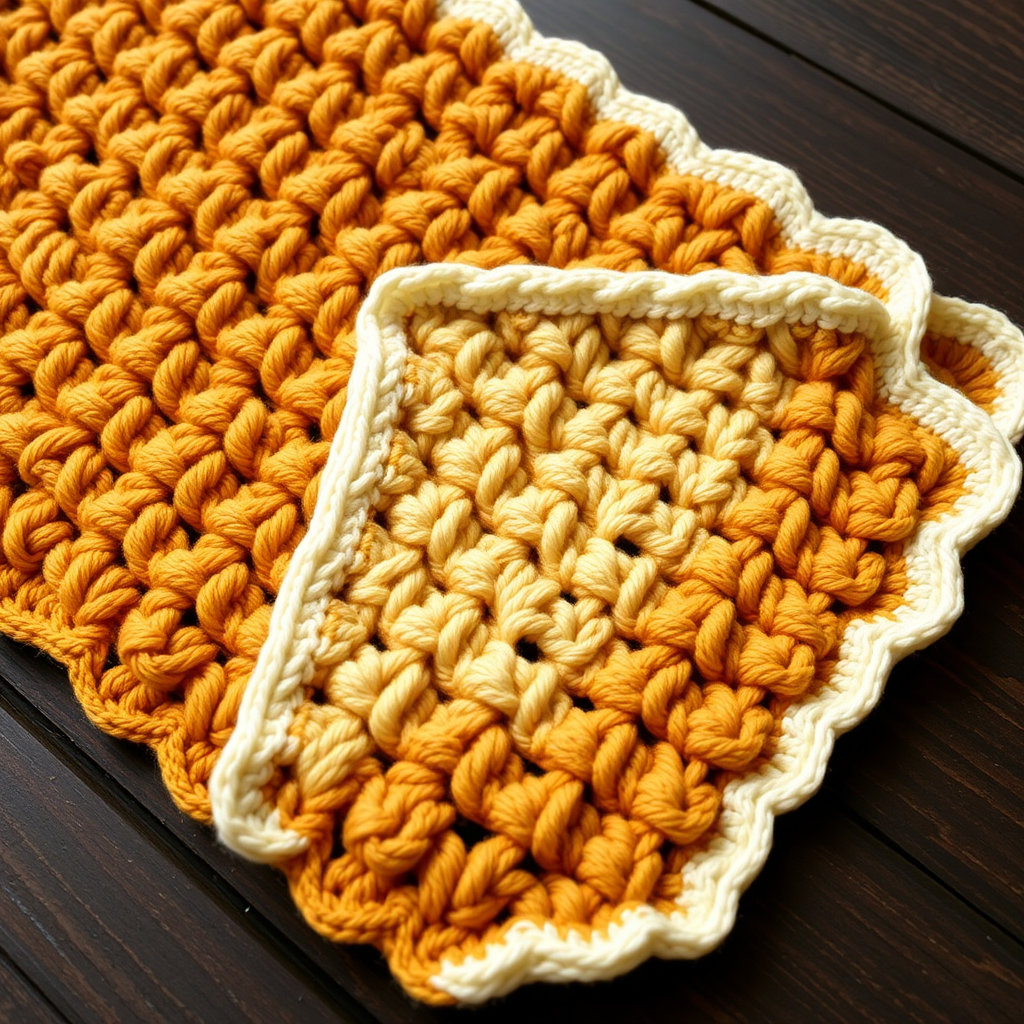
Whispering Pines Forest Lovey Free Pattern

Whispering Pines Forest Lovey: A Free Crochet Pattern for Cozy Snuggles
There's something truly magical about wrapping a little one in a handmade treasure that whispers of woodland adventures and quiet, cozy moments. The Whispering Pines Forest Lovey is exactly that—a plush, textured baby blanket featuring an adorable amigurumi fox head that will become your child's constant companion. Whether it's for nap time, car rides, or imaginative play, this lovey combines the comfort of a soft blanket with the charm of a cuddly friend. Best of all, this free crochet pattern is beginner-friendly and works up quickly with worsted weight yarn. Let's dive in and create something truly special!
Materials Needed
Before we begin, gather your supplies. This project uses simple, readily available materials:
- Yarn: Worsted weight yarn in forest green (for the blanket), burnt orange (for the fox head and ears), cream (for the muzzle), and black (for facial details). You'll need approximately 400 yards total.
- Crochet Hook: 5 mm (H/8) crochet hook
- Other Supplies: Yarn needle for weaving in ends and sewing, fiberfill stuffing for the fox head, and scissors.
- Gauge: 14 single crochet (sc) x 16 rows = 4 inches. (Gauge is important for achieving the correct size, but this project is forgiving—just keep your stitches consistent!)
Step-by-Step Instructions
Part 1: The Textured Blanket
The blanket features a beautiful, rhythmic shell stitch that creates a wave of raised fans—perfect for tiny fingers to explore. Follow these steps carefully:
Row 1 (Foundation): With forest green yarn, chain (ch) 61. Single crochet (sc) in the 2nd chain from the hook and in each chain across. Turn. (You should have 60 sc stitches.)
Row 2 (Shell Pattern Begins): Ch 1, sc in the first stitch. *Skip the next stitch, work a shell in the next stitch (a shell = 2 double crochet (dc), ch 1, 2 dc all in the same stitch), skip the next stitch, sc in the next stitch. Repeat from * across, ending with a sc in the last stitch. Turn.
Row 3: Ch 3 (this counts as your first dc), work a shell (2 dc, ch 1, 2 dc) in the first stitch. *Skip the next 2 stitches, sc in the next stitch (this is the sc from the previous row), skip the next 2 stitches, work a shell in the next stitch (the ch-1 space of the shell from the previous row). Repeat from * across, ending with a shell in the last stitch. Turn.
Row 4: Ch 1, sc in the first stitch. *Skip the next 2 stitches, work a shell in the next stitch (the sc from the previous row), skip the next 2 stitches, sc in the next stitch (the ch-1 space of the shell). Repeat from * across, ending with a sc in the last stitch. Turn.
Repeat Rows 3 and 4 until the piece measures 18 inches from the start. Be sure to end with a Row 4 repeat so the pattern is consistent. Fasten off and weave in all loose ends with your yarn needle.
Part 2: The Adorable Fox Head
Now for the star of the show—the cute, rounded fox head! We'll work this in continuous rounds (no joining, just keep going around).
Round 1: With burnt orange yarn, make a magic ring. Ch 1, work 6 sc into the ring. Pull the tail to tighten the ring closed. (6 sc)
Round 2: Work 2 sc in each stitch around. (12 sc)
Round 3: *Sc in the next stitch, 2 sc in the next stitch. Repeat from * around. (18 sc)
Round 4: *Sc in the next 2 stitches, 2 sc in the next stitch. Repeat from * around. (24 sc)
Round 5: *Sc in the next 3 stitches, 2 sc in the next stitch. Repeat from * around. (30 sc)
Rounds 6-10: Sc in each stitch around. (30 sc) This creates the height of the fox's head.
Round 11 (Decreases Begin): *Sc in the next 3 stitches, single crochet 2 together (sc2tog). Repeat from * around. (24 sc)
Round 12: *Sc in the next 2 stitches, sc2tog. Repeat from * around. (18 sc)
Round 13: *Sc in the next stitch, sc2tog. Repeat from * around. (12 sc)
Stuff the head firmly with fiberfill, making sure it's plush but not overly stretched.
Round 14: Sc2tog around. (6 sc) Fasten off, leaving a long tail (about 12 inches). Thread the tail through the front loops of the remaining 6 stitches and pull tight to close the hole. Weave in the end securely.
Part 3: Fox Ears (Make 2)
These little triangular ears are quick and easy:
Row 1: With burnt orange yarn, ch 4. Sc in the 2nd chain from the hook and in the next 2 chains. Turn. (3 sc)
Row 2: Ch 1, sc2tog, sc in the last stitch. Turn. (2 sc)
Row 3: Ch 1, sc2tog. Fasten off, leaving a tail for sewing. Sew the ears to the top of the fox head, positioning them slightly apart for that classic fox look.
Part 4: Embroidering the Fox Face
Bring your fox to life with simple embroidery:
- Muzzle: Using the cream yarn, embroider a small oval shape in the lower center of the face using a satin stitch. This creates the fox's cute snout.
- Nose: With black yarn, embroider a small triangle at the top of the cream muzzle.
- Eyes: With black yarn, embroider two small eyes above the muzzle, spaced evenly apart.
- Whiskers: With black yarn, embroider small straight lines on each side of the muzzle for whiskers.
Part 5: Assembly
The final step is bringing it all together:
Sew the fox head to the center of one edge of the blanket, with the face pointing outward (away from the blanket). Use the yarn needle and a matching burnt orange yarn to securely stitch it in place. Make sure it's attached firmly so it can withstand lots of love and play. Weave in all remaining ends securely.
And there you have it—your very own Whispering Pines Forest Lovey! This handmade treasure is sure to become a cherished keepsake. The combination of the soothing green shell stitch and the adorable fox face makes it a perfect gift for baby showers, birthdays, or just because. Happy crocheting!