Alpine Frost Chunky Earwarmer Free Pattern – A Knitted Nordic-Inspired Headband
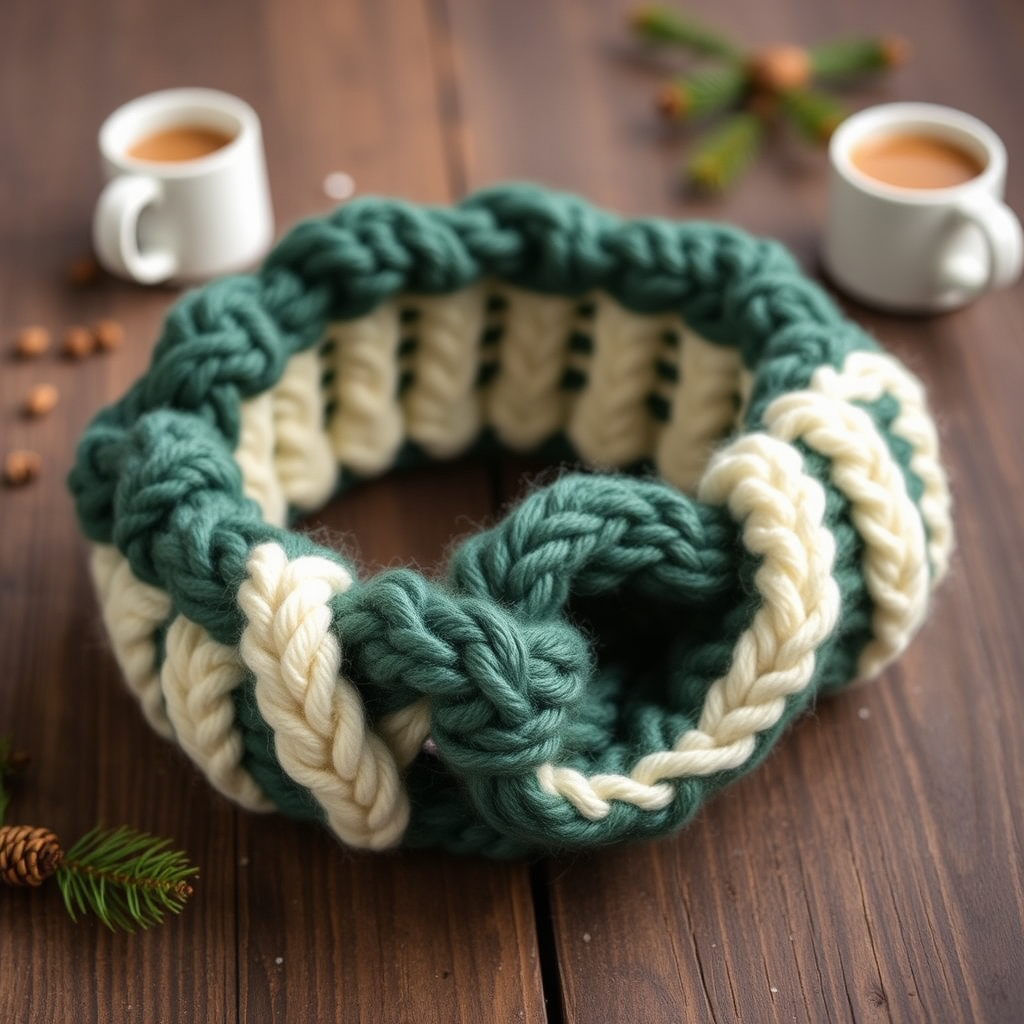
Cozy Up with the Alpine Frost Chunky Earwarmer: A Free Knitting Pattern
Wrap yourself in the cozy embrace of the Alpine Frost Chunky Earwarmer, a knitted headband that channels the serene beauty of a snow-dusted pine forest. This quick project uses thick, plush yarn and a striking cable-and-rib texture to keep you warm and stylish all winter long. Whether you're a seasoned knitter looking for a satisfying weekend project or a beginner ready to tackle your first cable, this pattern is designed to be your new favorite accessory. The deep forest green and cream colorwork evoke a rustic, Nordic charm that pairs perfectly with your favorite winter coat.
Materials Needed
Before you begin, gather your supplies. This project is wonderfully portable and requires minimal materials, making it perfect for knitting on the go.
- Yarn: Super bulky weight yarn (size 6), approx. 80-100 yards. The pattern suggests Lion Brand Wool-Ease Thick & Quick in 'Loden' (deep green) and 'Fisherman' (cream) for a classic Nordic look, but feel free to use any super bulky yarn you love.
- Knitting Needles: US 11 (8.0 mm) knitting needles. You can use straight needles or circulars for flat knitting.
- Cable Needle: A small cable needle to hold stitches while you create the cable twists.
- Tapestry Needle: For weaving in ends and seaming the headband together.
- Stitch Markers (optional): Helpful for keeping track of your rows, especially if you're new to cabling.
Gauge & Finished Size
- Gauge: 12 stitches and 16 rows = 4 inches in stockinette stitch (unblocked). Getting the right gauge ensures a perfect fit, so take a moment to check yours.
- Finished Size: Fits average adult head (20-22 inches circumference). The headband is approx. 4.5 inches wide and 19 inches long before seaming.
Step-by-Step Instructions
Let's dive into the pattern! This earwarmer is worked flat in one piece and then seamed together. The cable pattern creates a beautiful, textured center panel framed by ribbed edges.
Abbreviations
- CO: Cast on
- K: Knit
- P: Purl
- C4F: Slip 2 stitches to cable needle, hold in front, knit next 2 stitches, then knit 2 stitches from cable needle
- C4B: Slip 2 stitches to cable needle, hold in back, knit next 2 stitches, then knit 2 stitches from cable needle
- BO: Bind off
Main Body (Worked Flat)
CO 16 stitches.
Now, follow this 8-row repeat until your piece measures approximately 19 inches from the cast-on edge. The right side (RS) is the side that will face outward when worn.
- Row 1 (RS): K2, P2, K8, P2, K2.
- Row 2 (WS): P2, K2, P8, K2, P2.
- Row 3: K2, P2, C4F, C4B, P2, K2. (This is where the magic happens! Your first cable twist.)
- Row 4: Repeat Row 2.
- Row 5: K2, P2, K8, P2, K2.
- Row 6: Repeat Row 2.
- Row 7: K2, P2, C4B, C4F, P2, K2. (Notice the cables now twist in the opposite direction.)
- Row 8: Repeat Row 2.
Repeat Rows 1-8 until the piece measures approximately 19 inches from the cast-on edge, ending with a Row 8 (WS) to ensure the next row is a right-side row. BO all stitches loosely in pattern. This means knitting the knit stitches and purling the purl stitches as you bind off, which keeps the edge stretchy.
Seaming
Now it's time to turn your flat rectangle into a cozy loop.
- Fold the piece in half with right sides together, aligning the cast-on and bind-off edges.
- Use the mattress stitch or a simple whip stitch to seam the two short ends together, creating a loop. The mattress stitch creates an invisible seam, which is ideal for this project.
- Weave in all loose ends with a tapestry needle to secure them.
Optional Twist
For a more sculpted fit and a modern, crossover look at the forehead, try this simple variation:
- Before seaming, twist the piece once (like a Mobius strip) so the seam will sit at the center front.
- Proceed with seaming as described above. This creates a stylish, twisted effect that adds visual interest.
Finishing
Blocking is the final step to give your earwarmer a polished, professional look.
- Block gently by steaming or lightly wetting the headband and laying it flat to dry.
- This will even out the cables, relax the yarn, and give the earwarmer a beautiful, finished drape.
Once dry, your Alpine Frost Chunky Earwarmer is ready to wear! This pattern is a fantastic way to practice cabling and create a stunning, functional accessory. The thick yarn means it knits up in just a couple of hours, making it a perfect last-minute gift or a rewarding treat for yourself. Enjoy the warmth and the compliments!


