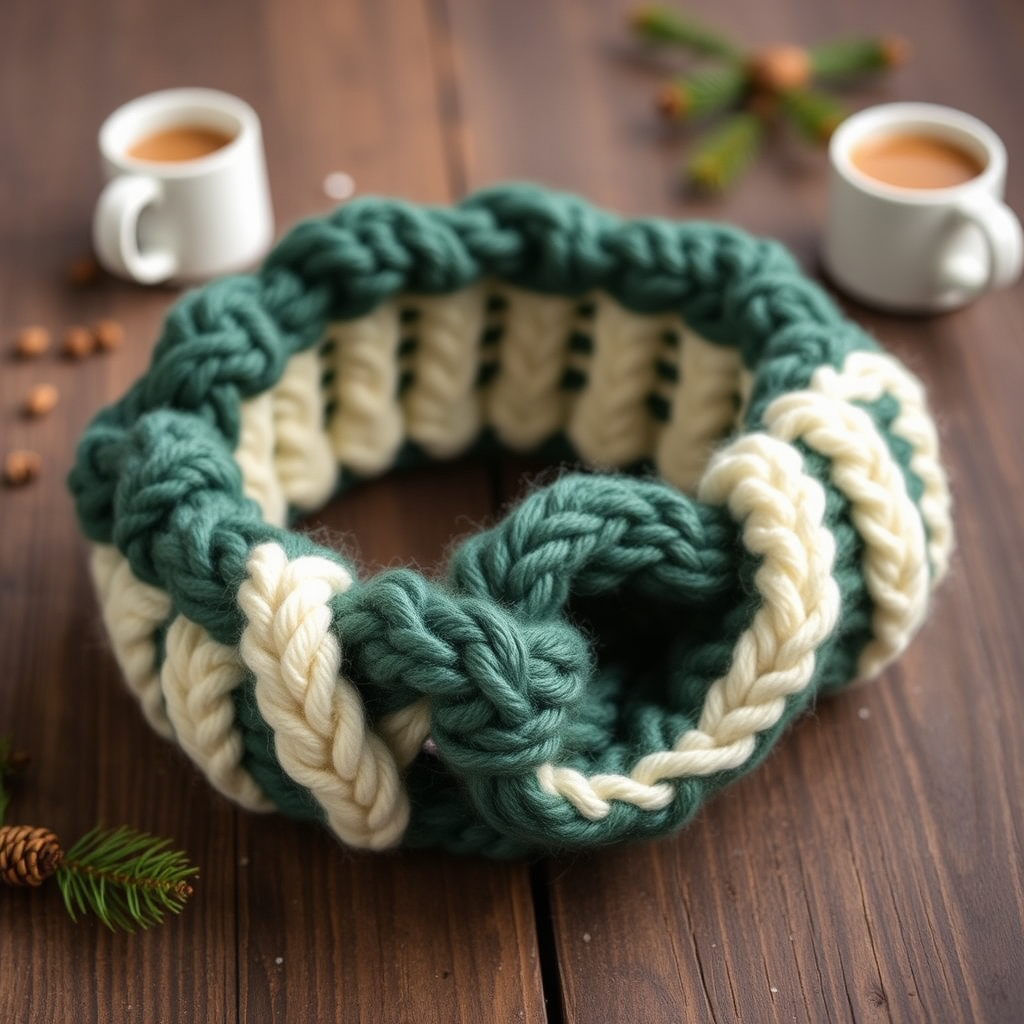
The Clover Crown Knitted Headband Free Pattern – A Shamrock Lace Twist

The Clover Crown Knitted Headband: A Shamrock Lace Twist
Wrap your hair in a whisper of Irish charm with this shamrock-studded knitted headband, where delicate lace leaves dance along a cozy ribbed band. This quick, single-skein project brings a touch of meadow magic to any outfit—perfect for St. Patrick's Day, spring celebrations, or simply adding a botanical flourish to your everyday style. Even if you're new to lace knitting, the simple yarn-over and decrease combinations create a stunning effect that looks far more complex than it is.
Materials Needed
Before you begin, gather the following supplies. This project is wonderfully portable and requires minimal materials—ideal for on-the-go crafting.
- Yarn: Worsted weight yarn (e.g., Knit Picks Swish Worsted) in a soft sage green—approximately 100–150 yards. Any soft worsted-weight yarn will work beautifully.
- Needles: US 7 (4.5 mm) knitting needles—straight or circular for flat knitting. Circular needles are great if you prefer them for flat projects.
- Notions: Tapestry needle for weaving in ends and seaming, stitch markers (optional but helpful), and a tape measure or ruler.
- For the optional shamrock appliqué: A 3.5 mm crochet hook and a small amount of the same yarn.
Gauge: 20 stitches and 26 rows = 4 inches in stockinette stitch (after blocking). Gauge is important for achieving the correct size, but since this is a stretchy headband, slight variations are forgiving.
Step-by-Step Instructions
Understanding Your Pattern
This headband is worked flat in a repeating 12-row lace pattern. The lace shamrocks are created using yarn overs (YO) paired with decreases (K2tog and SSK). The ribbed edges (K2, P2) keep the band from curling and add structure. The finished size fits an average adult head (approximately 20–22 inches in circumference). To adjust the length, simply add or remove repeats of the 12-row lace pattern.
Abbreviations
- CO: Cast on
- K: Knit
- P: Purl
- K2tog: Knit two stitches together (right-leaning decrease)
- SSK: Slip, slip, knit (left-leaning decrease)
- YO: Yarn over (creates an eyelet hole)
- RS: Right side
- WS: Wrong side
Getting Started: Cast On
Using your US 7 needles, cast on 12 stitches using your preferred method (long-tail cast on works well). This creates a headband approximately 2 inches wide. Keep your cast-on edge loose enough to allow for comfortable seaming later.
The Lace Pattern
Work the following 12 rows to create one full repeat of the shamrock lace pattern. The pattern is symmetrical, with the lace motif centered between the ribbed edges.
Row 1 (RS): K2, P2, K4, P2, K2
This row establishes the ribbed edges and the center stockinette section.
Row 2 (WS): P2, K2, P4, K2, P2
On the wrong side, knit the purl stitches from the previous row and purl the knit stitches—this maintains the ribbing.
Row 3 (RS): K2, P2, K2, YO, K2tog, P2, K2
Here's where the magic begins! After the first rib section, knit 2, then yarn over (bring the yarn to the front, then over the needle to the back), then K2tog. This creates the first eyelet of your shamrock leaf.
Row 4 (WS): P2, K2, P4, K2, P2
Work the yarn over as a regular stitch—just purl it along with the others.
Row 5 (RS): K2, P2, K1, YO, K2tog, K1, P2, K2
Notice how the lace pattern shifts slightly. The yarn over and decrease are now positioned one stitch to the left, creating a diagonal line that forms the leaf shape.
Row 6 (WS): P2, K2, P4, K2, P2
Row 7 (RS): K2, P2, K2, YO, K2tog, P2, K2
This row mirrors Row 3, bringing the lace back to center.
Row 8 (WS): P2, K2, P4, K2, P2
Row 9 (RS): K2, P2, K1, YO, K2tog, K1, P2, K2
Mirrors Row 5, completing the second half of the shamrock leaf shape.
Row 10 (WS): P2, K2, P4, K2, P2
Row 11 (RS): K2, P2, K2, YO, K2tog, P2, K2
Row 12 (WS): P2, K2, P4, K2, P2
Repeat Rows 1–12 until the headband measures approximately 20 inches (or your desired length) from the cast-on edge, ending with a WS row. For a snugger fit, aim for 19 inches; for a looser fit, 21–22 inches. Remember, the headband will stretch slightly when worn.
Finishing Your Headband
Once you've reached your desired length, it's time to finish your project:
- Bind off loosely in pattern. This means binding off each stitch as it appears—knit the knit stitches and purl the purl stitches. Binding off loosely is crucial here; if your bind-off is too tight, the headband won't stretch comfortably over your head. Consider using a larger needle for binding off if needed.
- Sew the edges together. Using a tapestry needle and the mattress stitch, carefully seam the cast-on and bind-off edges together to form a ring. The mattress stitch creates an invisible, stretchy seam—perfect for this project. Take your time to match the ribbing patterns on both edges for a seamless look.
- Weave in all ends. Thread any loose yarn tails through the tapestry needle and weave them into the wrong side of the work, following the path of the stitches. Trim any excess yarn.
- Block gently. Wet block or steam block your headband to open up the lace pattern and even out the stitches. This step makes a huge difference in the final appearance—the lace holes will become more defined and the fabric will relax into its final shape. Lay flat to dry.
Optional: Crocheted Shamrock Appliqué
For extra charm, add a crocheted shamrock to the center front of your headband. This little detail elevates the design and makes it truly special.
- With a small amount of the same yarn and a 3.5 mm crochet hook, make a magic ring.
- Chain 2, then work 3 double crochet (dc) into the ring.
- Chain 2, then slip stitch (sl st) into the ring. This completes your first leaf.
- Repeat steps 2–3 two more times to create three leaves total.
- For the stem: Chain 4, slip stitch into the 2nd chain from the hook and the next 2 chains, then slip stitch into the ring.
- Pull the ring tight to close the center, fasten off, and weave in the ends.
- Sew the shamrock appliqué onto the center front of your headband using a tapestry needle and matching yarn.
Wearing and Caring for Your Headband
Your Clover Crown headband is now ready to wear! Position the seam at the back of your head and let the shamrock lace pattern sit at the front or slightly to the side. This headband works beautifully for keeping hair off your face during spring walks, adding a festive touch to St. Patrick's Day outfits, or as a thoughtful handmade gift.
To care for your headband, hand wash in cool water with a gentle wool wash, then lay flat to dry. Avoid wringing or twisting, which can distort the lace pattern. With proper care, this headband will last for years and bring a touch of Irish luck to every wear.
Happy knitting, and may your stitches always be even and your shamrocks always bloom!