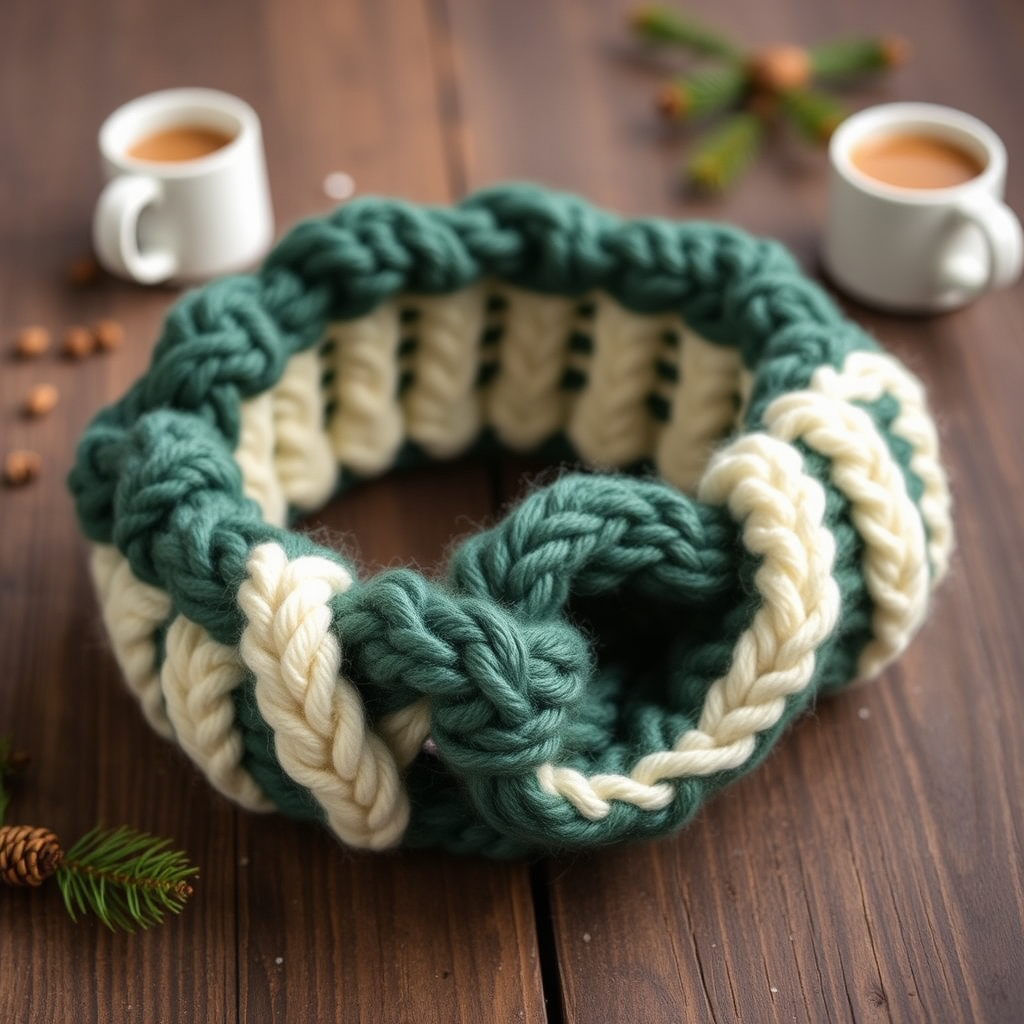
Raspberry Lemonade Twist Headband Free Pattern – A Knitted Citrus Cable Wrap

Raspberry Lemonade Twist Headband: A Free Knitted Citrus Cable Wrap Pattern
Looking for a quick, satisfying knit that bursts with color? The Raspberry Lemonade Twist Headband is your perfect match. This vibrant accessory combines the sweetness of raspberry pink with the zing of lemon yellow, all wrapped up in a twisted, braided cable design. It's a beginner-friendly project that delivers professional-looking results, making it an ideal gift or a cheerful addition to your own winter wardrobe. The soft, chunky yarn works up fast, and the textured center is pure knitting joy. Let's dive into this delightful pattern!
Materials Needed
Before you cast on, gather these simple supplies. This project is wonderfully portable and requires minimal materials.
- Yarn: Worsted weight yarn in two colors: raspberry pink (Color A) and lemon yellow (Color B). You'll need approximately 100g total (about 50g of each color).
- Knitting Needles: US Size 8 (5mm) knitting needles.
- Cable Needle: A small cable needle to hold stitches while you twist.
- Tapestry Needle: For weaving in ends and seaming the headband.
- Scissors: For cutting yarn.
Step-by-Step Instructions
This pattern is a fantastic way to learn or practice cabling. We'll build the headband in sections, create a beautiful twist, and finish with a seamless look. Let's get started!
Getting Started: Gauge & Abbreviations
Gauge: 18 stitches and 24 rows = 4 inches in stockinette stitch. Getting the right gauge ensures your headband fits comfortably, but this pattern is quite forgiving.
Finished Size: Approximately 20 inches in circumference and 3.5 inches wide. This is easily adjustable by adding or subtracting rows in the cable sections.
Abbreviations:
- CO: Cast on
- K: Knit
- P: Purl
- C4F: Slip 2 stitches to cable needle, hold in front, knit next 2 stitches, then knit 2 from cable needle.
- C4B: Slip 2 stitches to cable needle, hold in back, knit next 2 stitches, then knit 2 from cable needle.
- K2tog: Knit two stitches together (used for shaping, though not in this pattern's main body).
- BO: Bind off
- RS: Right Side
- WS: Wrong Side
Section 1: The Raspberry Ribbing
We'll start with a stretchy ribbed edge that will frame our colorful cable.
With Color A (raspberry pink), CO 18 stitches.
Row 1 (RS): *K2, P2; repeat from * across, ending with K2. (You will have K2, P2, K2, P2, K2, P2, K2, P2, K2)
Row 2 (WS): *P2, K2; repeat from * across, ending with P2.
Repeat Rows 1 and 2 until the piece measures 4 inches from the cast-on edge, ending with a WS row. This creates a lovely, flexible band.
Section 2: The Lemon Cable Twist
Now for the fun part—the braided cable! This section is worked in a repeating 4-row pattern.
Begin Cable Section (still with Color A):
Row 1 (RS): K2, P2, C4F, P2, C4B, P2, K2.
Row 2 (WS): P2, K2, P4, K2, P4, K2, P2.
Row 3 (RS): K2, P2, K4, P2, K4, P2, K2.
Row 4 (WS): P2, K2, P4, K2, P4, K2, P2.
Repeat these 4 rows until the cable section measures 6 inches from the start of the cable, ending with a WS row. You'll see the beautiful braid forming in the center.
Section 3: Switching to Lemon Yellow
Time to bring in the sunshine! We'll continue the exact same cable pattern but with our second color.
Switch to Color B (lemon yellow):
Continue working in the same cable pattern (Rows 1-4 of the cable section) for another 6 inches, ending with a WS row. Make sure to leave a tail of yarn when you join the new color so you can weave it in later.
Section 4: The Final Raspberry Ribbing
We'll mirror the beginning with another ribbed section in our original color.
Switch back to Color A (raspberry pink):
Work in the ribbing pattern (Rows 1-2 of the initial ribbing) for 4 inches, ending with a WS row. Your piece should now be quite long and look like a colorful scarf.
Section 5: Creating the Twist & Seaming
This is the magic step that turns our long strip into a stylish twisted headband.
Shaping for Twist:
- Fold the headband in half so the two short ends meet, with the right sides facing each other.
- Before you seam, pick up the piece and twist it once in the middle. This creates the Mobius-like loop that gives the headband its unique style.
- Use the mattress stitch with your tapestry needle and a length of Color A yarn to seam the two ends together. Work carefully to create an invisible join. The twist should sit comfortably at the front or side of your head.
Finishing Touches
Your headband is almost ready to wear!
Finishing:
- Weave in all loose ends with your tapestry needle, being sure to secure them well on the inside of the headband.
- Block gently to even out the stitches and relax the cable. You can do this by wetting the headband and laying it flat to dry, or by using a steam iron on a low setting (be careful with acrylic yarns).
- Once dry, your Raspberry Lemonade Twist Headband is ready to add a pop of color to any outfit!
This pattern is a wonderful way to practice cabling and color changes while creating a beautiful, functional accessory. The twist adds a modern flair, and the bright colors are sure to lift your spirits on the coldest days. Happy knitting!