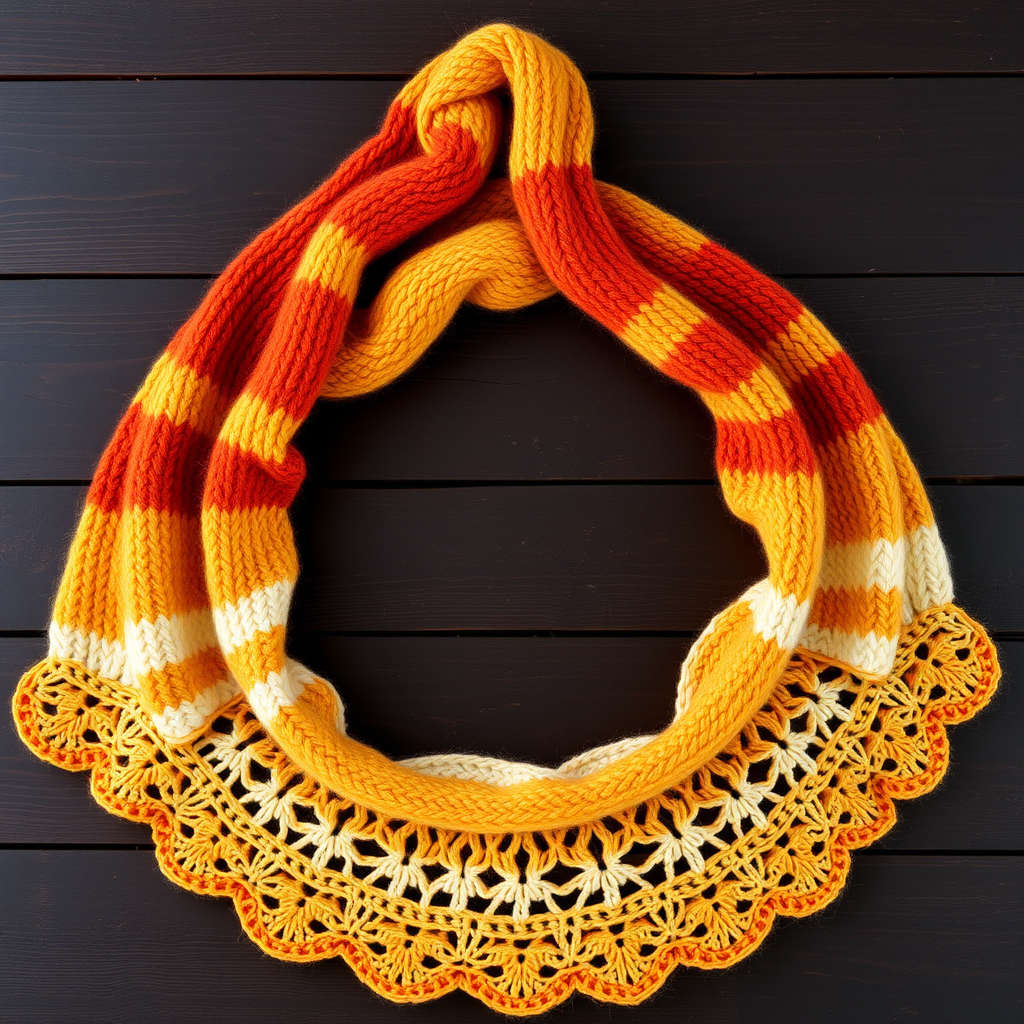
Aurora Bloom Garden Shawl Free Pattern – A Knitted Floral Lace Wrap

Aurora Bloom Garden Shawl: A Free Knitted Floral Lace Wrap Pattern
Wrap yourself in a garden of textured floral lace with this stunning crescent shawl, featuring a unique blend of bobbles and eyelet stitches. This pattern creates a romantic, airy accessory that transitions beautifully from cool summer evenings to crisp autumn days. Whether you're a seasoned knitter looking for a new challenge or a confident beginner ready to expand your skills, the Aurora Bloom Garden Shawl offers a rewarding project with breathtaking results.
The magic of this design lies in its clever construction—worked from the top center down, the shawl grows symmetrically as you knit, with increases at each edge and at the center point. The result is a wide, graceful crescent that drapes elegantly over your shoulders. The combination of delicate eyelet lace and dimensional bobbles creates a tactile garden of blossoms that catches the light beautifully, especially when knit in a gradient yarn that transitions from soft blush pink to warm cream.
Materials Needed
Before you begin your knitting journey, gather the following materials to ensure a smooth and enjoyable crafting experience:
Yarn
- Fingering weight yarn (approximately 400-450 yards) in a gradient or solid color
- The sample shown uses a soft rose-to-cream gradient, but feel free to choose any colorway that speaks to you—solid colors highlight the textured bobbles beautifully, while gradients add depth and dimension to the lace
Needles
- US 6 (4.0 mm) circular knitting needle, 32 inches or longer
- The long circular needle is essential to accommodate the growing number of stitches as the shawl expands
Additional Supplies
- Stitch markers (at least 2, preferably locking or split-ring markers)
- Tapestry needle for weaving in ends
- Blocking mats and pins (or a flat surface with towels)
- Wool wash or mild detergent
- Measuring tape
Gauge
20 stitches and 28 rows = 4 inches in stockinette stitch (blocked)
While gauge is important for achieving the correct size, this shawl is quite forgiving. The blocking process will stretch the lace to its full potential, so don't stress too much about exact gauge—just aim for a fabric that feels airy and drapey.
Step-by-Step Instructions
This pattern is worked from the top center down, increasing on each side and at the center. The instructions use standard knitting abbreviations. Let's review them before we begin:
- k = knit
- p = purl
- yo = yarn over
- k2tog = knit two together (right-leaning decrease)
- ssk = slip, slip, knit (left-leaning decrease)
- pm = place marker
- sm = slip marker
- bobble = k1, p1, k1, p1, k1 into same stitch (5 stitches created), then pass the 4 extra stitches over the first stitch (one stitch remains)
Setup Section
Let's begin by casting on and establishing the foundation of your shawl.
Cast on 3 stitches.
Row 1 (Right Side): k1, yo, k1, yo, k1 — you now have 5 stitches.
Row 2 (Wrong Side): k2, p1, k2.
Row 3 (Right Side): k2, yo, k1, yo, k2 — you now have 7 stitches.
Row 4 (Wrong Side): k2, p3, k2.
Row 5 (Right Side): k2, yo, k1, yo, pm, k1 (center stitch), pm, yo, k1, yo, k2 — you now have 11 stitches.
You've now established the center stitch and the increase points. The two knit stitches at each edge will form a neat garter border throughout the shawl.
Body Section
Now we'll work the main body of the shawl, increasing on every right-side row to create the crescent shape.
Row 6 (Wrong Side): k2, purl to last 2 stitches, k2. (Slip markers as you come to them.)
Row 7 (Right Side): k2, yo, knit to marker, yo, sm, k1 (center stitch), sm, yo, knit to last 2 stitches, yo, k2.
This row increases 4 stitches: 2 at each edge and 1 on each side of the center.
Repeat Rows 6-7 until you have 31 stitches total, ending with a wrong-side row.
At this point, your shawl should have a clear center stitch with 15 stitches on each side, plus the 2-stitch garter borders. The foundation is now ready for the lace pattern.
Lace Pattern (Repeat Section)
This is where the magic happens! The lace pattern creates the floral motifs with bobbles and eyelets. The pattern repeats across each half of the shawl, working symmetrically from the center.
Row 1 (Right Side): k2, yo, *k1, yo, ssk, k3, k2tog, yo, k1, bobble, k1, yo, ssk, k3, k2tog, yo, k1*; repeat from * to * until 2 stitches before center marker, k1, yo, sm, k1 (center stitch), sm, yo, k1; then repeat from * to * across the second half, ending with yo, k2.
Note: The repeats should align symmetrically on both sides of the center. Adjust the number of repeats based on your current stitch count.
Row 2 (Wrong Side): k2, purl to last 2 stitches, k2.
Row 3 (Right Side): k2, yo, *k2, yo, ssk, k1, k2tog, yo, k2, bobble, k2, yo, ssk, k1, k2tog, yo, k2*; repeat from * to * until 2 stitches before center, k1, yo, sm, k1, sm, yo, k1; then repeat from * to * across second half, ending with yo, k2.
Row 4 (Wrong Side): k2, purl to last 2 stitches, k2.
Row 5 (Right Side): k2, yo, *k3, yo, ssk, k1, k2tog, yo, k3, bobble, k3, yo, ssk, k1, k2tog, yo, k3*; repeat from * to * until 2 stitches before center, k1, yo, sm, k1, sm, yo, k1; then repeat from * to * across second half, ending with yo, k2.
Row 6 (Wrong Side): k2, purl to last 2 stitches, k2.
Row 7 (Right Side): k2, yo, *k4, yo, ssk, k1, k2tog, yo, k4, bobble, k4, yo, ssk, k1, k2tog, yo, k4*; repeat from * to * until 2 stitches before center, k1, yo, sm, k1, sm, yo, k1; then repeat from * to * across second half, ending with yo, k2.
Row 8 (Wrong Side): k2, purl to last 2 stitches, k2.
Repeat Rows 1-8, increasing the number of plain knit stitches between the lace motifs by 1 on each repeat. In the next repeat, you'll start with k5, then k6, and so on. This gradual expansion creates the beautiful graduated crescent shape.
Continue until the shawl measures approximately 24 inches from the center cast-on edge, or until you have used most of your yarn, ending with a wrong-side row.
Edging
The delicate eyelet edging adds the perfect finishing touch to your shawl, creating a romantic, airy border.
Row 1 (Right Side): k2, yo, *k2tog, yo*; repeat from * to * until 2 stitches before center, k1, yo, sm, k1, sm, yo, k1; then repeat from * to * across second half, ending with yo, k2.
Row 2 (Wrong Side): k2, purl to last 2 stitches, k2.
Row 3 (Right Side): k2, yo, *k1, yo, k2tog*; repeat from * to * until 2 stitches before center, k1, yo, sm, k1, sm, yo, k1; then repeat from * to * across second half, ending with yo, k2.
Row 4 (Wrong Side): Bind off loosely knitwise. For an even more delicate edge, you may use a picot bind-off instead.
Finishing
Now for the most satisfying part—bringing your shawl to life through blocking!
- Weave in all ends using your tapestry needle, being careful not to pull too tightly.
- Soak the shawl in lukewarm water with a drop of wool wash for 20 minutes. This allows the fibers to relax and open up.
- Gently squeeze out excess water—never wring or twist the fabric, as this can felt the wool.
- Block to shape on blocking mats or a clean towel-covered surface. Stretch the lace points to open up the pattern, pinning the edges to create the crescent shape.
- Allow to dry completely before removing pins. This may take 24-48 hours depending on humidity.
Once dry, your Aurora Bloom Garden Shawl is ready to wear! The blocking process transforms the fabric, opening up the lace and allowing the bobbles to pop with dimension.
Tips for Success
- Use lifelines: After completing each lace repeat, thread a contrasting piece of yarn through the stitches on your needle. If you make a mistake, you can easily rip back to the lifeline without losing your work.
- Count your stitches regularly: The lace pattern is rhythmic, but it's easy to lose track. Count stitches after each right-side row to ensure you haven't dropped or added any.
- Choose your yarn wisely: A gradient yarn creates a stunning ombré effect, but a solid color showcases the textured bobbles more clearly. Both options create beautiful results.
- Block generously: Don't be afraid to stretch the shawl during blocking—lace needs to be opened up to reveal its full beauty.
The Aurora Bloom Garden Shawl is more than just an accessory—it's a wearable work of art that showcases your knitting skills. The combination of delicate lace and dimensional bobbles creates a texture that's both visually stunning and tactilely satisfying. Whether you're knitting it for yourself or as a gift for someone special, this shawl is sure to become a treasured piece in any wardrobe.
Happy knitting, and may your garden of blossoms bloom beautifully!