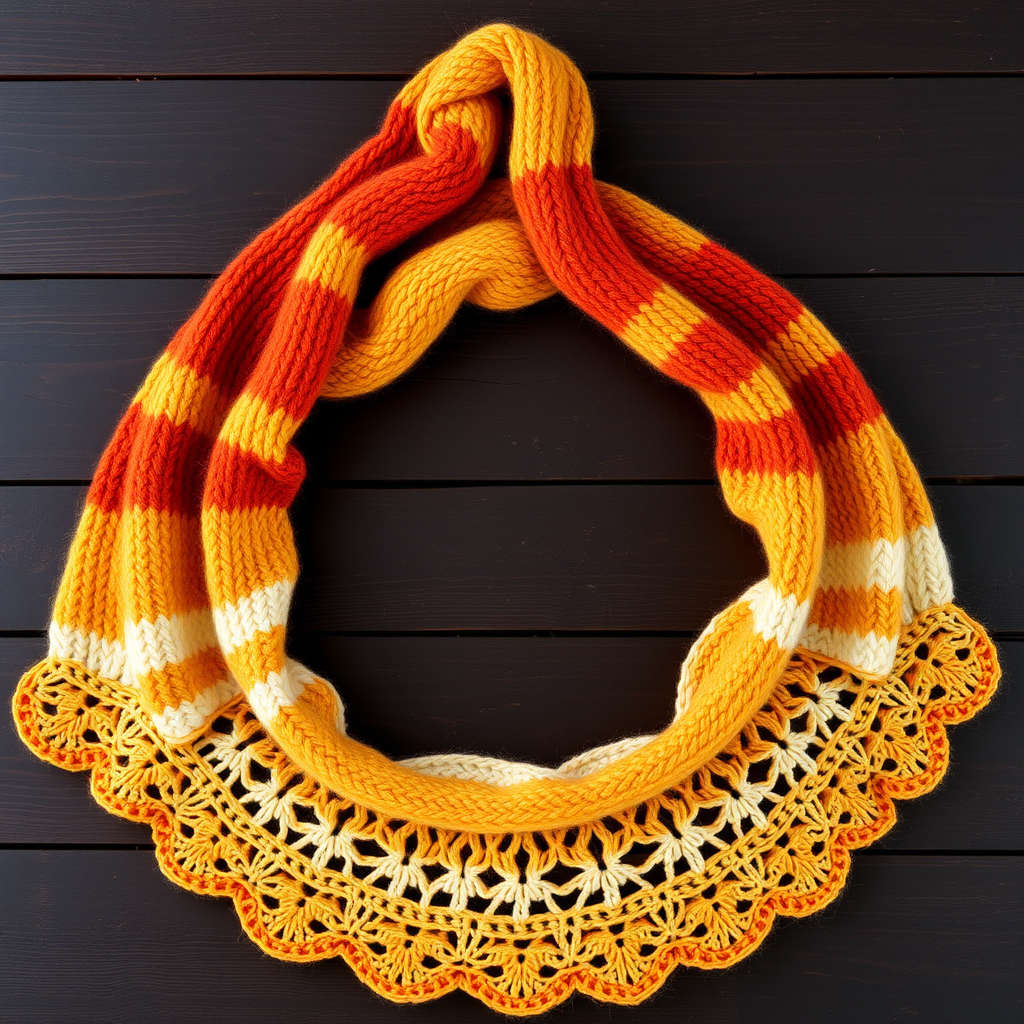
Aurora Veil Wrap Free Pattern – A Gradient Knit Cloud Shawl

Wrap Yourself in the Northern Lights: The Aurora Veil Wrap
Imagine draping the ethereal, shifting colors of the aurora borealis around your shoulders. With the Aurora Veil Wrap, you can knit that dream into reality. This feather-light, crescent-shaped shawl is a true wearable work of art, featuring a delicate lace stitch that opens up beautifully when blocked, creating a cloud-like, wavy texture. The gradient yarn—transitioning from deep teal through soft lavender to a blush pink center—makes this project as mesmerizing to knit as it is to wear. Whether you're a seasoned knitter looking for a meditative project or an adventurous beginner ready for a stunning challenge, this free pattern will guide you through every step to create a luxurious, cozy wrap you'll treasure for years.
This pattern is designed to be knit from the top center down, with increases at the edges to naturally form a graceful crescent shape. The result is a shawl that drapes elegantly over any outfit, adding a touch of handmade magic to your wardrobe. Let's get started on creating your own piece of sky.
Materials Needed: Gathering Your Cloud-Making Tools
Before you begin, ensure you have all the necessary supplies. The quality of your yarn will greatly affect the drape and feel of your finished shawl, so choose soft, luxurious fibers for the best result.
- Yarn: Fingering weight yarn in 3 coordinating gradient colors (e.g., deep teal, soft lavender, blush pink), approximately 400g total. You can use a pre-dyed gradient skein or three separate solid colors to create your own transition.
- Needles: US 6 (4.0 mm) circular knitting needle with a 32-inch cable. The long cable is essential to accommodate the growing number of stitches as you knit.
- Notions: Stitch markers (at least 2), a tapestry needle for weaving in ends, and blocking pins or wires to shape your finished shawl.
- Gauge: 20 stitches and 28 rows = 4 inches in stockinette stitch (blocked). While gauge isn't critical for a shawl, it will affect the final size and yardage used.
Step-by-Step Instructions: Knitting Your Aurora
This pattern is broken down into clear sections. Read through the entire pattern once before you begin to familiarize yourself with the flow. The shawl is knit from the top center down, increasing at the edges to form a crescent shape. Use a long circular needle to accommodate the growing stitch count.
Abbreviations
- k = knit
- p = purl
- yo = yarn over
- k2tog = knit two together (right-leaning decrease)
- ssk = slip, slip, knit (left-leaning decrease)
- pm = place marker
- sm = slip marker
- RS = right side
- WS = wrong side
Setup: Creating the Foundation
We'll begin by casting on and creating a small garter stitch base from which the shawl will grow.
- Cast on 3 stitches.
- Knit 6 rows (this creates a garter stitch tab).
- Now, we will pick up stitches around the tab. Pick up and knit 3 stitches along the side edge of the tab, then 3 stitches from the cast-on edge. You should now have a total of 9 stitches on your needle.
Foundation Rows: Setting the Pattern
These first rows establish the central spine and the increase pattern that will shape your shawl.
- Row 1 (RS): k3, yo, k1, pm, k1, pm, k1, yo, k3 (11 stitches)
- Row 2 (WS): k3, p to last 3 sts, k3
- Row 3 (RS): k3, yo, k to marker, yo, sm, k1, sm, yo, k to last 3 sts, yo, k3 (15 stitches)
- Row 4 (WS): k3, p to last 3 sts, k3
Repeat Rows 3 and 4 until you have 45 stitches on your needle (about 10 repeats). This section creates the solid, structured base of your shawl.
Begin Lace Section: Adding the Magic
Now for the fun part! This 4-row repeat creates the delicate, eyelet lace pattern that makes the Aurora Veil so special. The increases continue on Row 3 to maintain the crescent shape.
- Row 1 (RS): k3, yo, *k2tog, yo* repeat from * to * until 2 sts before marker, k2, yo, sm, k1, sm, yo, k2, *yo, ssk* repeat from * to * until 3 sts from end, yo, k3
- Row 2 (WS): k3, p to last 3 sts, k3
- Row 3 (RS): k3, yo, k to marker, yo, sm, k1, sm, yo, k to last 3 sts, yo, k3
- Row 4 (WS): k3, p to last 3 sts, k3
Repeat these 4 rows, changing colors every 20 rows (or as desired) to create your gradient effect. Continue until the shawl measures approximately 28 inches from the center back, ending with a WS row (Row 2 or 4).
Final Garter Border: A Clean Finish
This simple border frames the lace beautifully and prevents the edges from curling.
- Knit every row for 6 rows, maintaining the increases on RS rows (k3, yo, k to marker, yo, sm, k1, sm, yo, k to last 3 sts, yo, k3).
Bind Off (Loosely): The Grand Finale
A stretchy bind-off is crucial for a shawl to ensure the edge lies flat and drapes beautifully. This decorative bind-off also adds a lovely picot edge.
- K1, *yo, k2tog, pass the yo over the k2tog* repeat from * to * until all stitches are bound off.
- Cut your yarn, leaving a 6-inch tail, and pull it through the last loop to secure.
Finishing Touches: Blocking Your Masterpiece
Blocking is the most important step to transform your knitting into a stunning shawl. It opens up the lace pattern and gives the fabric its ethereal, airy quality.
- Weave in all ends using your tapestry needle.
- Soak the shawl in lukewarm water with a drop of gentle wool wash for 20-30 minutes.
- Gently squeeze out excess water (do not wring). Roll the shawl in a clean towel to remove more moisture.
- Lay the shawl on a blocking mat. Gently stretch it to its final dimensions, pinning the points of the lace and the edges to open up the pattern. The crescent shape should be clearly defined.
- Allow it to dry completely before unpinning. This can take 24-48 hours.
Once dry, your Aurora Veil Wrap is ready to wear. Drape it over your shoulders and enjoy the compliments—you've just created a stunning, one-of-a-kind piece of wearable art. Happy knitting!