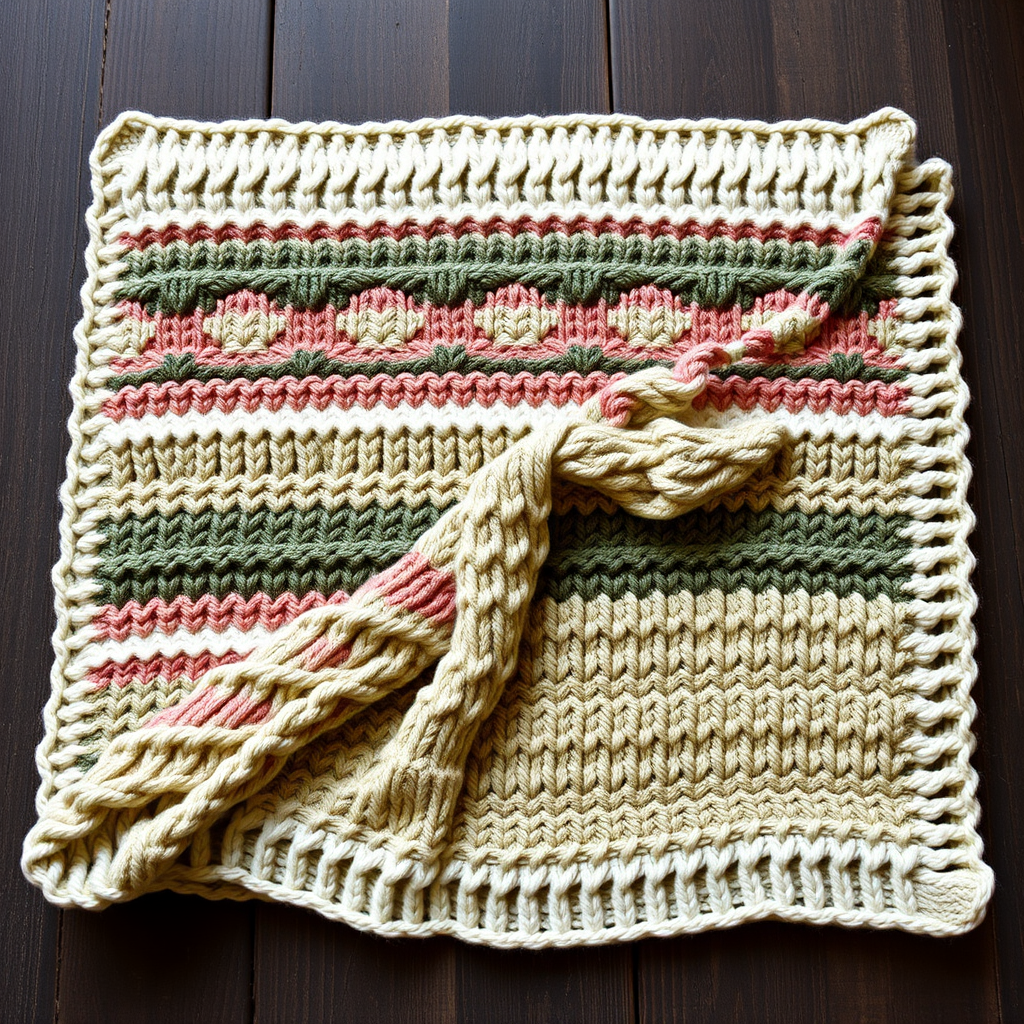
Aurora Bloom Mosaic Throw Free Pattern – A Knitted Midnight Garden Blanket

Aurora Bloom Mosaic Throw Free Pattern – A Knitted Midnight Garden Blanket
Wrap yourself in a celestial garden with this stunning mosaic knit throw. Deep twilight blues meet bursts of rose and gold, creating a blanket that feels like a starry night blooming with flowers. Each square is a knitted constellation of textured petals, perfect for cozy evenings, handmade luxury, and gifting something truly special. This free pattern is beginner-friendly, uses simple knit, purl, and slip stitches, and results in a dense, plush, and visually striking heirloom piece.
Whether you are curling up on the couch or adding an artisanal touch to your bedroom, the Aurora Bloom Mosaic Throw is a project you will love from cast-on to final seam. Let’s dive into this magical knitting journey.
Materials Needed
Before you begin, gather these simple supplies. This pattern uses worsted weight yarn, which is easy to work with and widely available.
- Yarn: Worsted weight yarn in 3 colors:
- Color A (Deep Navy): Approximately 1,200 yards (for squares, assembly, and border)
- Color B (Dusty Rose): Approximately 600 yards
- Color C (Golden Mustard): Approximately 600 yards
- Knitting Needles: US 8 (5mm) knitting needles (straight or circular, whichever you prefer)
- Tapestry Needle: For weaving in ends and seaming squares
- Scissors
- Stitch Markers (optional): To help track pattern repeats
Gauge: 18 stitches and 24 rows = 4 inches in stockinette stitch. Always knit a gauge swatch to ensure your blanket matches the intended size.
Step-by-Step Instructions
This throw is worked in 12 individual squares, each measuring 12 inches, then seamed together. Each square uses a mosaic slip-stitch pattern to create a blooming flower motif. The mosaic technique is simple: you only work with one color at a time, slipping stitches from the previous row to create the pattern. No stranding or carrying yarn across rows—just pure, relaxing knitting.
Square Pattern (Make 12)
Each square is identical in construction, but you will alternate the orientation of the mosaic pattern during assembly for visual interest. Follow these steps carefully for each square.
Cast On and Garter Border
Cast on: With Color A (Deep Navy), cast on 54 stitches using your preferred method (long-tail cast on works beautifully).
Rows 1-4: Knit all stitches. This creates a garter stitch border that will frame the mosaic pattern and prevent curling.
First Mosaic Section (Color B)
Row 5 (Right side): With Color A, knit all stitches.
Row 6 (Wrong side): With Color A, purl all stitches. This creates a stockinette base for the pattern.
Row 7 (Right side): Switch to Color B (Dusty Rose). *K1, slip 1 stitch purlwise with yarn in back* repeat from * to end of row. Tip: When slipping, always insert the needle as if to purl, and keep the yarn on the wrong side (back) of the work.
Row 8 (Wrong side): With Color B, *P1, slip 1 stitch purlwise with yarn in front* repeat from * to end. Note: The yarn is held in front (toward you) when slipping on the wrong side.
Rows 9-10: Switch back to Color A. Knit all stitches.
Row 11: With Color A, purl all stitches.
Second Mosaic Section (Color C)
Row 12: Switch to Color C (Golden Mustard). *K1, slip 1 stitch purlwise with yarn in back* repeat to end.
Row 13: With Color C, *P1, slip 1 stitch purlwise with yarn in front* repeat to end.
Rows 14-15: Switch back to Color A. Knit all stitches.
Row 16: With Color A, purl all stitches.
Repeat the Mosaic Pattern
Repeat Rows 7-16 three more times to create the full mosaic pattern. Each repeat alternates between Color B and Color C for the slipped stitch rows. This means you will have a total of four mosaic bands per square—two in Dusty Rose and two in Golden Mustard. The slipped stitches will stack vertically, creating the illusion of blooming petals.
Finishing the Square
Final Garter Border: With Color A, knit 4 rows of garter stitch. This mirrors the cast-on border.
Bind off: Bind off loosely (use a larger needle or a loose bind-off method like the "knit two together" bind-off to avoid a tight edge). Weave in all loose ends with your tapestry needle.
Assembly
Once all 12 squares are complete, it’s time to bring your midnight garden to life.
Arrange the squares: Lay out your squares in a 3x4 grid (3 squares wide, 4 squares tall). Alternate the orientation of the mosaic pattern—for example, turn every other square 90 degrees—so the floral motifs face different directions. This creates a dynamic, organic look.
Seaming: Using Color A and a tapestry needle, whip stitch the squares together through the back loops only. This creates a flat, invisible seam on the front. Start by seaming the vertical columns, then the horizontal rows. Take your time to keep the seams even.
Border
The border frames your blanket and gives it a polished, finished edge.
Pick up stitches: With Color A, pick up and knit stitches around the entire edge of the throw. Pick up approximately 1 stitch for every bound-off or cast-on stitch along the top and bottom, and 3 stitches for every 4 rows along the sides. The exact number isn't critical—just ensure the edge lies flat and doesn't pucker.
Knit the border: Work 6 rows of garter stitch (knit every row) around the entire perimeter. For corners, you may need to increase 1 stitch at each corner on every other row to keep the border flat (knit into the front and back of the corner stitch).
Bind off: Bind off loosely. Weave in all remaining ends.
Final Touches and Care
Give your finished throw a gentle block. Lay it flat, mist with water, and shape it to the correct dimensions. Allow it to dry completely. This will even out the stitches and enhance the mosaic texture.
To care for your Aurora Bloom Mosaic Throw, hand wash in cold water with a mild wool wash, and lay flat to dry. Avoid wringing or hanging, as this can distort the shape.
Congratulations! You’ve just created a breathtaking, handcrafted masterpiece. The Aurora Bloom Mosaic Throw is more than a blanket—it’s a cozy constellation of your own making, perfect for snuggling, gifting, or simply admiring. Happy knitting!