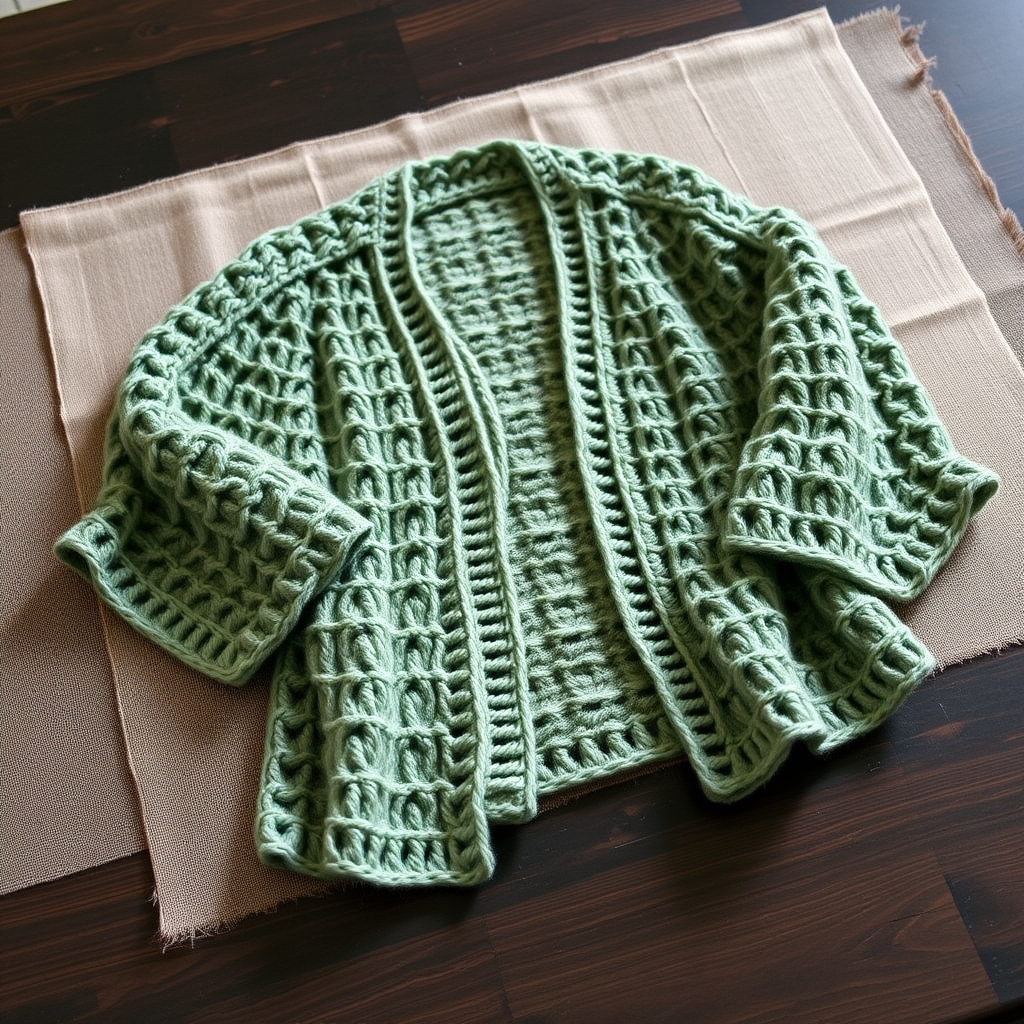
Aurora Bloom Oversized Pocket Cardigan Free Pattern – Knit a Cozy Cloud Knit
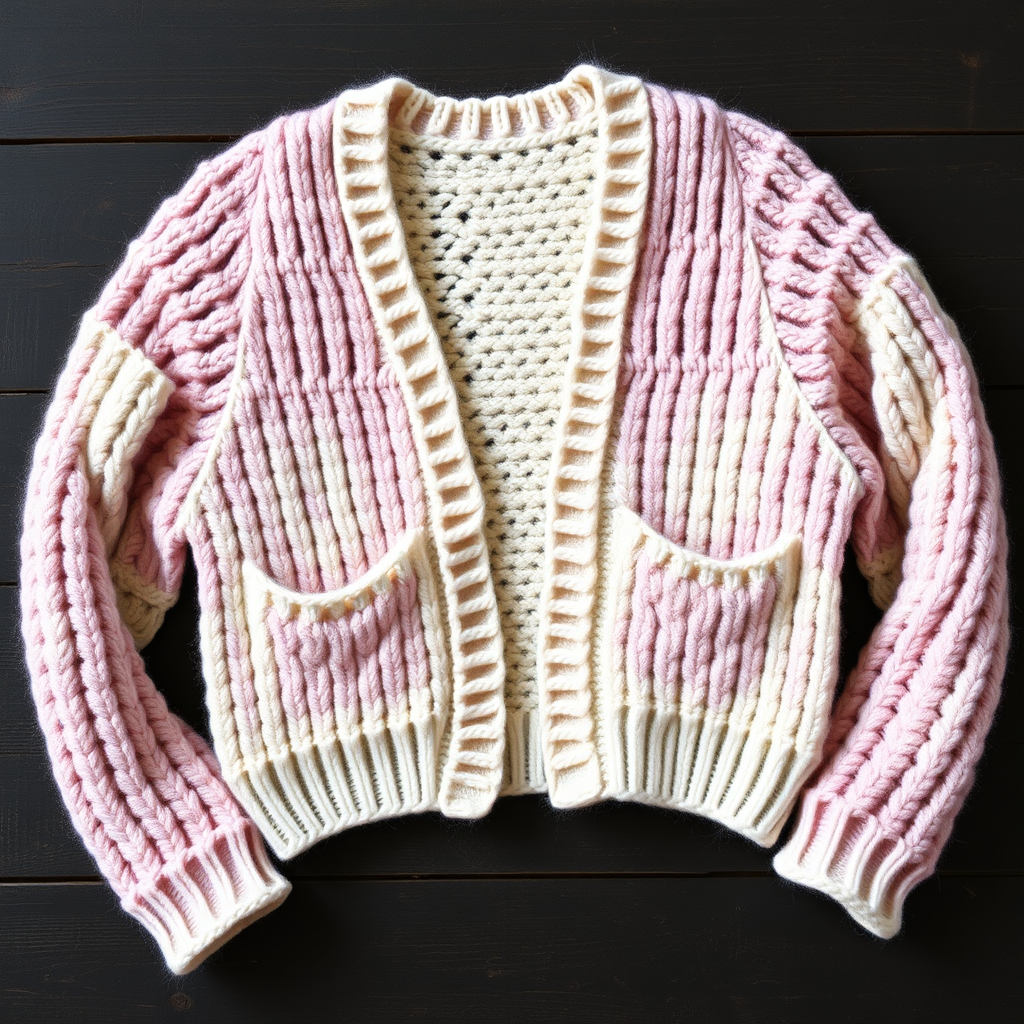
Aurora Bloom Oversized Pocket Cardigan: A Free Knitting Pattern for Your Dreamiest Cloud Knit
Wrap yourself in the softest, dreamiest cardigan of the season with the Aurora Bloom Oversized Pocket Cardigan. This free knitting pattern features a unique, cloud-like lace texture that resembles soft, puffy clouds, creating a garment that is both airy and incredibly cozy. With its relaxed, oversized silhouette, dropped shoulders, and generous patch pockets, this cardigan is the perfect layering piece for chilly mornings, cozy evenings, and everything in between. Whether you're a seasoned knitter looking for a quick, satisfying project or a confident beginner ready for a textured challenge, this pattern will guide you step-by-step to create a stunning, handmade wardrobe staple.
This pattern is designed to be knit in pieces and seamed, making it easy to manage and perfect for customizing your fit. The beautiful Cloud Lace stitch, created with simple yarn overs and decreases, is surprisingly easy to memorize and produces a gorgeous, honeycomb-like texture that opens up beautifully after blocking. Let's dive into creating your own cozy cloud!
Materials Needed
Before you begin, gather the following materials to ensure a smooth and enjoyable knitting experience. This project calls for super bulky yarn to achieve that quick, cozy, and cloud-like drape.
- Yarn: Super bulky weight yarn (approx. 1200-1500 yards, depending on size). Suggested: Lion Brand Wool-Ease Thick & Quick, or hold 2 strands of worsted weight yarn together for a beautiful marled effect.
- Knitting Needles: US 13 (9 mm) circular knitting needles with a 32-inch cable. This is ideal for working back and forth on the large number of stitches for the back panel. You will also need a US 15 (10 mm) needle for a loose bind-off.
- Stitch Holders: At least 2 stitch holders or scrap yarn for holding neckline stitches.
- Stitch Markers: A few stitch markers to help you keep track of your rows and pattern repeats.
- Other Tools: Tapestry needle for weaving in ends and seaming, scissors, and a measuring tape.
Gauge
Getting the correct gauge is crucial for achieving the right size and drape. Always knit a swatch first!
- Gauge: 8 stitches and 12 rows = 4 inches in Cloud Lace pattern (blocked).
Understanding Your Pattern
This pattern is written for multiple sizes. The instructions are presented as XS/S (M/L, XL/XXL). The finished chest circumference is 40 (48, 56) inches, and the length is 26 (28, 30) inches. Choose the size that best fits your desired ease. The oversized fit means you'll want to pick a size that gives you a few inches of positive ease.
Abbreviations
- CO: Cast on
- BO: Bind off
- K: Knit
- P: Purl
- YO: Yarn over
- K2tog: Knit two stitches together (right-leaning decrease)
- SSK: Slip, slip, knit (left-leaning decrease)
- PM: Place marker
- SM: Slip marker
- RS: Right side
- WS: Wrong side
The Cloud Lace Pattern (Multiple of 4 + 2)
This is the signature stitch pattern for the Aurora Bloom cardigan. It's a simple 4-row repeat that creates a beautiful, textured fabric.
- Row 1 (RS): K1, *YO, K2tog, K2; repeat from * to last stitch, K1.
- Row 2 (WS): Purl all stitches.
- Row 3 (RS): K1, *K2, SSK, YO; repeat from * to last stitch, K1.
- Row 4 (WS): Purl all stitches.
Repeat Rows 1-4 for the pattern. The yarn overs create the "cloud" holes, while the decreases keep the stitch count consistent.
Step-by-Step Instructions
Let's get started! We will knit the cardigan in pieces and then seam them together. Take your time, and enjoy the process.
Back Panel
- Cast On: Using your US 13 needles, CO 82 (98, 114) stitches.
- Work Pattern: Begin working in the Cloud Lace pattern. Continue working in pattern until the piece measures 26 (28, 30) inches from the cast-on edge.
- Bind Off: BO all stitches loosely using your US 15 needle. This loose bind-off is essential to prevent the top edge from being too tight and to allow for a nice drape at the shoulder.
Left Front Panel
- Cast On: CO 42 (50, 58) stitches.
- Work Pattern: Work in the Cloud Lace pattern until the piece measures 20 (22, 24) inches from the cast-on edge, ending with a WS row. This is important for the neckline shaping.
- Shape Neckline:
- Next row (RS): Work in pattern across the first 30 (36, 42) stitches. Place the remaining 12 (14, 16) stitches on a stitch holder for the neck. Turn your work.
- You will now work only on the 30 (36, 42) stitches for the shoulder.
- Decrease Row (RS): K1, SSK, work in pattern to the end of the row. This decreases 1 stitch at the neck edge.
- Repeat this decrease row on every RS row 3 more times. You will have decreased a total of 4 stitches.
- Continue working even (without decreases) in the Cloud Lace pattern until the piece measures the same as the back panel.
- Bind Off: BO the remaining 26 (32, 38) stitches loosely with your US 15 needle.
Right Front Panel
- Cast On: CO 42 (50, 58) stitches.
- Work Pattern: Work in the Cloud Lace pattern until the piece measures 20 (22, 24) inches from the cast-on edge, ending with a RS row.
- Shape Neckline:
- Next row (WS): Work in pattern across the first 30 (36, 42) stitches. Place the remaining 12 (14, 16) stitches on a stitch holder for the neck. Turn your work.
- You will now work only on the 30 (36, 42) stitches for the shoulder.
- Decrease Row (RS): Work in pattern to the last 3 stitches, K2tog, K1. This decreases 1 stitch at the neck edge.
- Repeat this decrease row on every RS row 3 more times. You will have decreased a total of 4 stitches.
- Continue working even in the Cloud Lace pattern until the piece measures the same as the back panel.
- Bind Off: BO the remaining 26 (32, 38) stitches loosely with your US 15 needle.
Sleeves (Make 2)
- Cast On: CO 34 (38, 42) stitches.
- Work Pattern and Increase: Work in the Cloud Lace pattern. On the next RS row, and every following 6th row, increase 1 stitch at each end of the row. To increase, you can use a M1 (make one) or a Kfb (knit front and back) at the beginning and end of the row. Continue increasing until you have 50 (58, 66) stitches on your needle.
- Work Even: Continue working in the Cloud Lace pattern without further increases until the sleeve measures 18 (19, 20) inches from the cast-on edge.
- Bind Off: BO all stitches loosely with your US 15 needle.
Pockets (Make 2)
- Cast On: CO 24 (28, 32) stitches.
- Work Pattern: Work in the Cloud Lace pattern for 8 inches.
- Bind Off: BO loosely.
Assembly and Finishing
Now for the magical part—bringing all the pieces together to create your cardigan!
Seaming
- Sew Shoulder Seams: With your tapestry needle and yarn, sew the shoulder seams of the front panels to the back panel using a mattress stitch or a whip stitch.
- Set in Sleeves: Pin the sleeves to the body of the cardigan, matching the center of the sleeve's bind-off edge to the shoulder seam. Sew the sleeves in place.
- Sew Side and Sleeve Seams: Sew the side seams of the cardigan, continuing down to sew the underarm seam of the sleeves. Weave in all loose ends.
Neckband
- Pick Up Stitches: With the RS of the cardigan facing you, using your US 13 needles, pick up and knit 20 (22, 24) stitches from the right front neck edge, 12 (14, 16) stitches from the back neck holder, and 20 (22, 24) stitches from the left front neck edge. You should have a total of 52 (58, 64) stitches.
- Work Ribbing: Work in a K1, P1 rib for 4 rows.
- Bind Off: BO all stitches in rib pattern. This will create a neat, stretchy edge.
Pocket Placement and Sewing
- Try It On: Put on your cardigan and determine the perfect pocket placement. A good starting point is about 2 inches from the side seam and 4 inches from the bottom edge.
- Pin Pockets: Pin the pockets to the front panels in your desired position.
- Sew Pockets: Using a mattress stitch, sew the pockets onto the fronts, leaving the top edge open to create the pocket opening.
Final Blocking
- Weave in Ends: Ensure all yarn ends are securely woven in.
- Block to Measurements: This is a crucial step! Soak your cardigan in lukewarm water with a gentle wool wash. Gently squeeze out excess water (do not wring). Lay the cardigan flat on a blocking mat or towel. Gently stretch it to the specified measurements, paying special attention to opening up the Cloud Lace pattern. Pin it in place if necessary and allow it to dry completely.
Congratulations! You've just created your very own Aurora Bloom Oversized Pocket Cardigan. This beautiful, cloud-like knit is sure to become a favorite for years to come. The soft texture, cozy fit, and practical pockets make it a truly special piece. Enjoy wearing your handmade creation!