Emberfall Ombre Cape Jacket Free Pattern – Knit a Sunset Cocoon

Wrap Yourself in Sunset: The Emberfall Ombre Cape Jacket
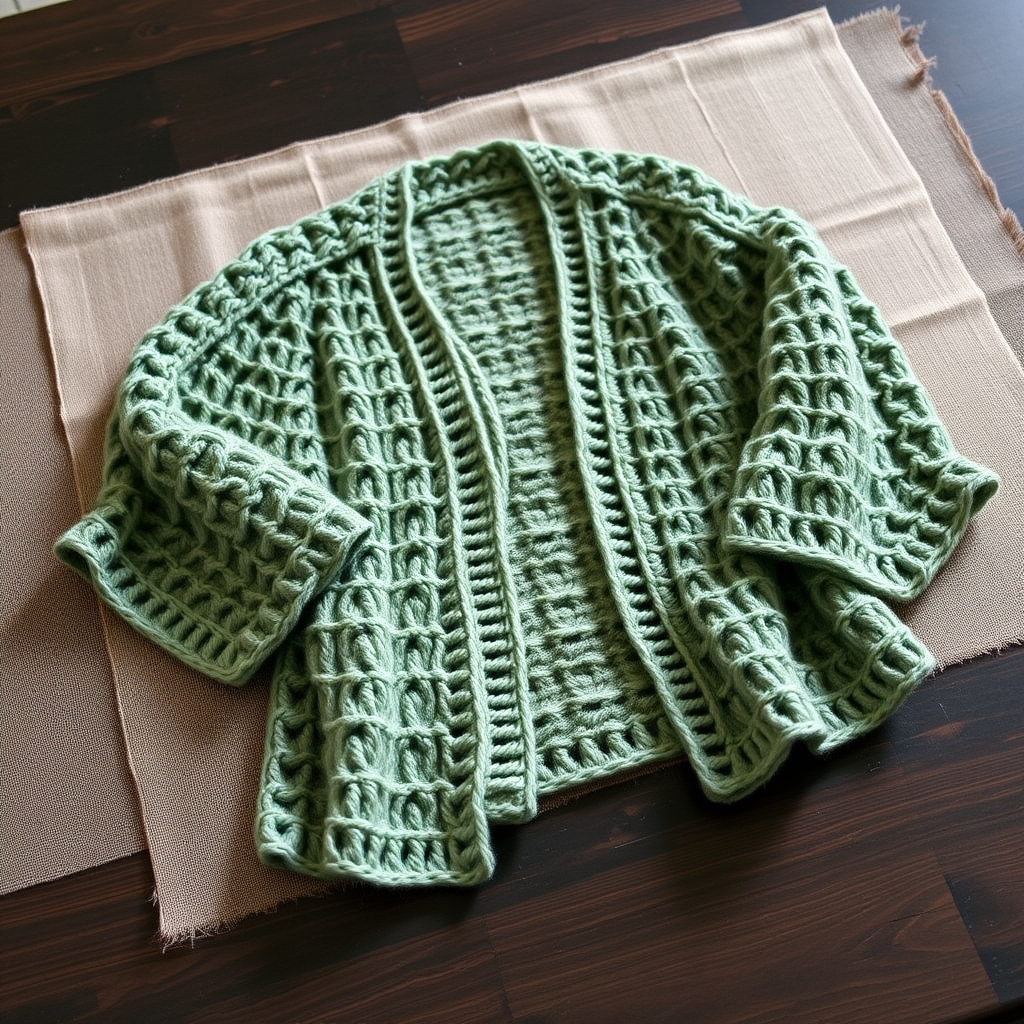
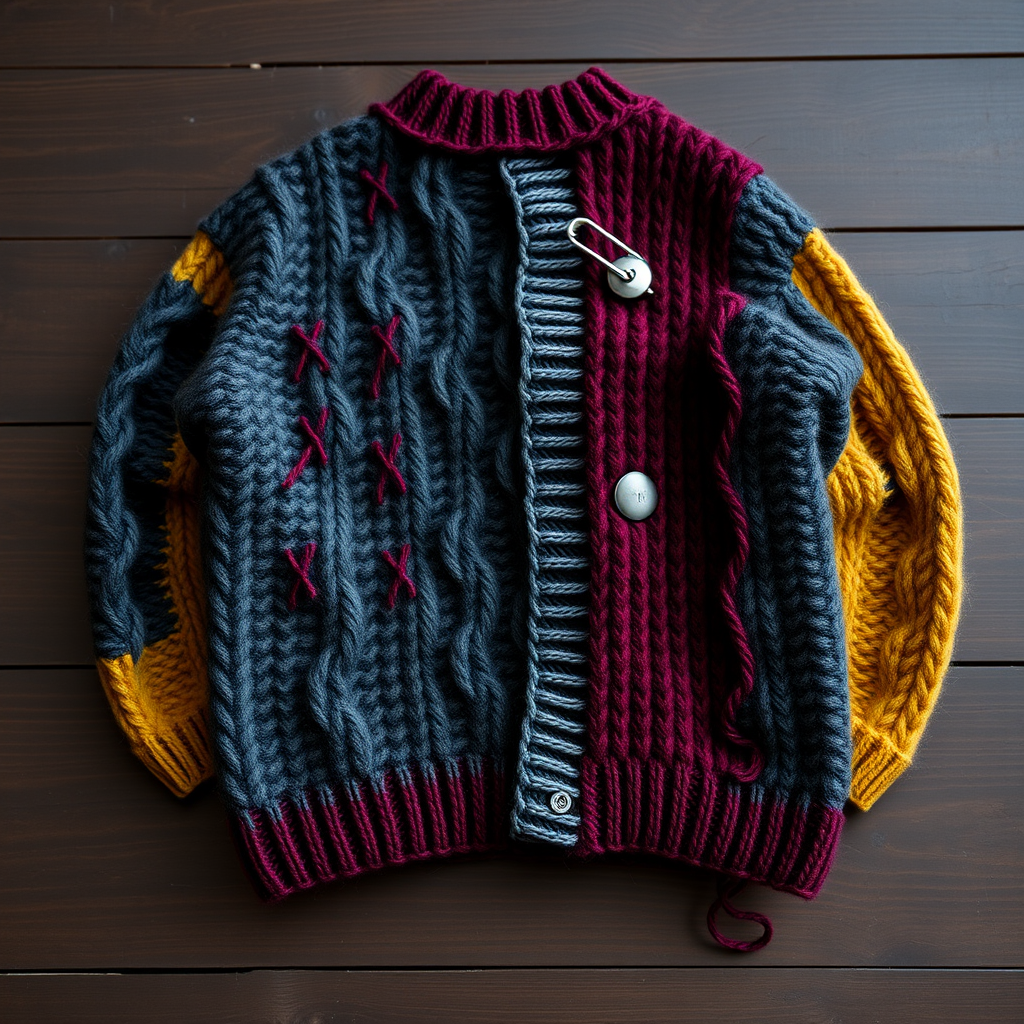
Imagine knitting a garment that captures the very essence of a cool autumn evening—the fiery glow of the sun dipping below the horizon, the rich, warm hues of falling leaves, and the cozy embrace of a hand-crafted layer. That's the magic of the Emberfall Ombre Cape Jacket. This stunning, top-down knit is more than just a pattern; it's a wearable piece of art. With its dramatic gradient flowing from burnt sienna through amber and goldenrod to a deep, grounding plum, this cape jacket is designed to be a statement piece. The textured 2x2 ribbed yoke provides a snug, flattering fit on the shoulders, while the body cascades into a loose, A-line cocoon that drapes beautifully. Whether you're a seasoned knitter looking for a rewarding project or a confident beginner ready for a challenge, this free pattern will guide you through creating a truly spectacular layering piece.
This pattern is worked seamlessly from the top down, meaning minimal finishing and maximum satisfaction. You'll watch your sunset take shape row by row, and the cleverly placed increases in the yoke create a beautiful, structured flare. Let's gather our materials and begin this journey into color and texture.
Materials Needed: Your Knitting Palette
Before you cast on, ensure you have all the necessary tools and yarn to bring your Emberfall to life. This project is all about the yarn, so choose a worsted weight that feels soft and has good stitch definition to show off the ribbing and stockinette.
- Yarn: Worsted weight yarn in 4 ombre shades. You will need approximately 1200 (1350, 1500) yards total. The shades are:
- A: Burnt Sienna
- B: Amber
- C: Goldenrod
- D: Deep Plum
- Needles: US 9 (5.5 mm) circular needles, 32" long (or longer for magic loop if you prefer). You will also need a set of double-pointed needles (DPNs) or a smaller circular for the optional sleeves.
- Notions: Stitch markers (including one unique marker for the beginning of the round), stitch holders or waste yarn, a tapestry needle for weaving in ends, and a tape measure.
Gauge & Sizing
Gauge: 18 stitches x 24 rows = 4 inches in stockinette stitch, after blocking. Always knit a gauge swatch! This ensures your finished garment will have the correct drape and size.
Sizes: S/M (M/L, L/XL). The finished chest measurement is designed to be 40 (46, 52)" loosely draped. This is a very forgiving garment, so don't stress too much about the perfect fit—the cocoon silhouette is meant to be roomy and comfortable.
Step-by-Step Instructions: Knitting Your Sunset
This pattern is worked in one piece from the top down. We'll start with the textured yoke, then split for the body and sleeves. Let's get started!
Special Stitches & Abbreviations
- k2tog: Knit two stitches together (a right-leaning decrease).
- yo: Yarn over (creates an increase and a small hole).
- sl1: Slip one stitch purlwise.
- pm: Place marker.
- sm: Slip marker.
Pattern Notes
The yoke is knit in the round. The ombre effect is achieved by gradually transitioning yarn colors every few rows. The increases are created with yarn overs (yo) that are then knit through the back loop on the following round to close the hole, creating a nearly invisible increase within the ribbing.
The Yoke: Building the Foundation
With Color A (Burnt Sienna), cast on 80 (88, 96) stitches. Place your unique beginning-of-round marker and join in the round, being careful not to twist your stitches.
- Rounds 1-4: Work in a 2x2 rib: *K2, P2*; repeat from * to end of round.
- Round 5 (Increase Round): *K2, yo, K2, P2*; repeat from * to end of round. (You will have 100 (110, 120) stitches).
- Rounds 6-9: *K2, K1 (through the back loop of the yo), K2, P2*; repeat from * to end of round. This closes the yo hole and establishes your new rib pattern.
- Round 10 (Increase Round): *K2, yo, K4, P2*; repeat from * to end of round. (120 (132, 144) stitches).
- Rounds 11-14: Work in the established rib pattern, remembering to knit the yo through the back loop on the first of these rounds.
- Round 15 (Increase Round): *K2, yo, K6, P2*; repeat from * to end of round. (140 (154, 168) stitches).
- Rounds 16-19: Work in the established rib pattern, closing the yo on the first round.
- Round 20 (Increase Round): *K2, yo, K8, P2*; repeat from * to end of round. (160 (176, 192) stitches).
- Rounds 21-24: Work in the established rib pattern, closing the yo on the first round.
- Round 25 (Increase Round): *K2, yo, K10, P2*; repeat from * to end of round. (180 (198, 216) stitches).
- Rounds 26-30: Work in the established rib pattern, closing the yo on the first round. At this point, you will switch to Color B (Amber) for the next section.
Splitting for the Body and Sleeves
Now we'll separate the sleeve stitches from the body. This is a simple process that creates the armholes.
- Round 31 (Setup Round with Color B): Knit across the first 30 (33, 36) stitches for the front. Place the next 40 (44, 48) stitches on a holder for the first sleeve. Cast on 6 stitches for the underarm. Knit across the next 60 (66, 72) stitches for the back. Place the next 40 (44, 48) stitches on a holder for the second sleeve. Cast on 6 stitches for the underarm. Knit across the last 30 (33, 36) stitches for the other front. You will now have 132 (144, 156) stitches on your needle for the body.
The Body: Creating the Cocoon Silhouette
We'll now work the body in the round in stockinette stitch (knit every round), following the color sequence to create the ombre effect.
- Rounds 32-40: Knit all rounds with Color B (Amber).
- Rounds 41-50: Switch to Color C (Goldenrod) and continue in stockinette.
- Rounds 51-60: Switch to Color D (Deep Plum) and continue in stockinette.
- Rounds 61-70 (Shaping the Flare): Continue with Color D, but begin to shape the cape flare with decreases.
- Round 61: *K11, k2tog*; repeat from * to end of round. (120 (132, 144) stitches).
- Rounds 62-65: Knit all rounds.
- Round 66: *K10, k2tog*; repeat from * to end of round. (108 (120, 132) stitches).
- Rounds 67-70: Knit all rounds.
- Rounds 71-80: Switch back to Color C (Goldenrod) and knit all rounds.
- Rounds 81-90: Switch back to Color B (Amber) and knit all rounds.
- Rounds 91-100: Switch back to Color A (Burnt Sienna) and knit all rounds.
- Bind Off: Bind off all stitches loosely. A stretchy bind-off is recommended to maintain the drape of the cape.
Sleeves (Optional)
For a classic cape look, you can leave the armholes open. If you'd like to add sleeves, here's how:
- Transfer the 40 (44, 48) sleeve stitches from the holder onto your DPNs or circular needle.
- With Color B (Amber), pick up and knit 6 stitches from the underarm cast-on edge.
- Place a marker and join in the round. Knit in stockinette for 10 rows.
- Switch to Color C (Goldenrod) and knit for 10 rows.
- Switch to Color D (Deep Plum) and knit for 10 rows.
- Bind off all stitches loosely. Repeat for the second sleeve.
Finishing Touches
Your Emberfall is almost complete! The final steps are crucial for a professional-looking finish.
- Weave in Ends: Carefully weave in all loose ends with your tapestry needle, being sure to secure them well.
- Blocking: This is the most important step! Soak your cape jacket in lukewarm water with a gentle wool wash for about 20 minutes. Gently squeeze out excess water (do not wring). Lay it flat on a clean towel, roll it up to remove more water, then shape it to the final dimensions. Allow the ribbed yoke to sit snugly and the body to flare out gently. Let it dry completely. Blocking will even out your stitches and give the garment its beautiful, drapey hand.
Congratulations! You've just knitted a breathtaking, one-of-a-kind cape jacket. The Emberfall is perfect for cool evenings, adding a pop of color and texture to any outfit. Wear it with pride, knowing you've created a true masterpiece of fiber art.