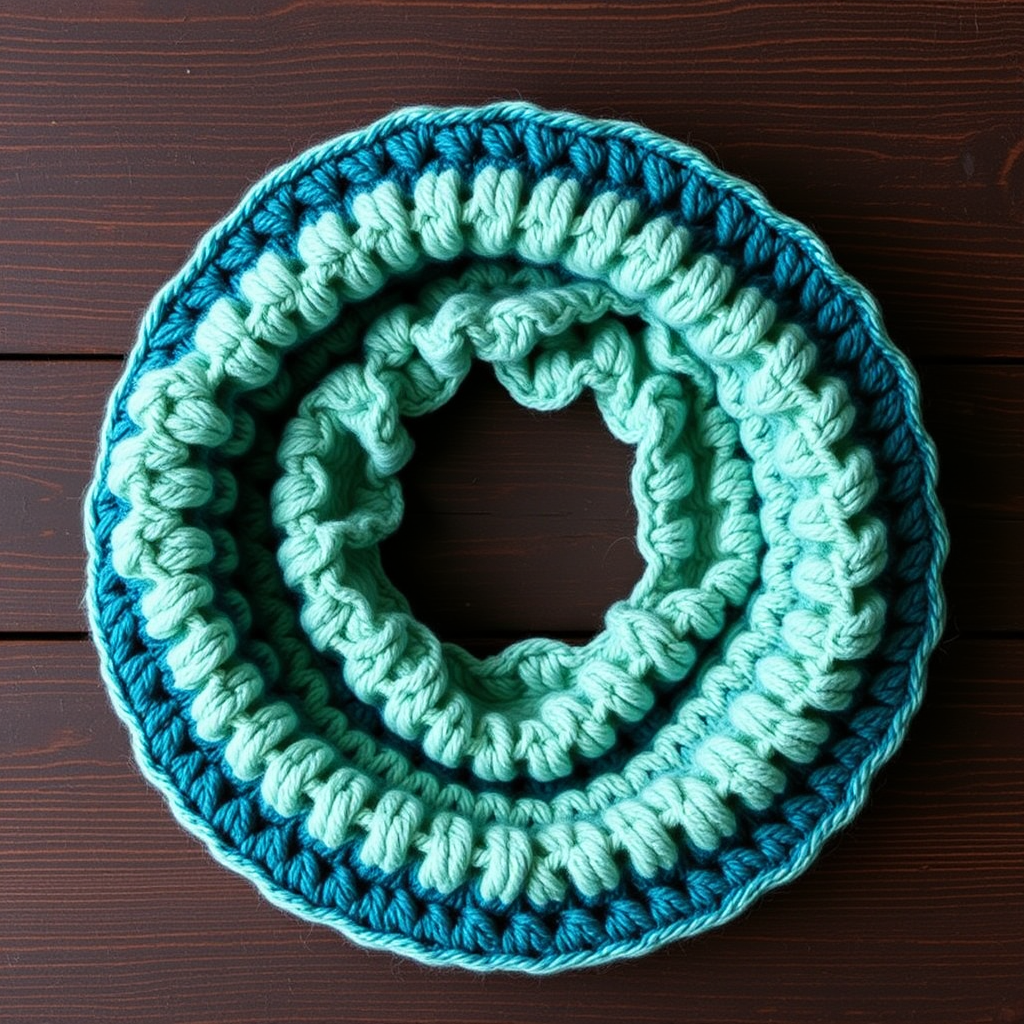
Aurora Borealis Dreamy Crochet Cowl Free Pattern

Wrap Yourself in the Night Sky: The Aurora Borealis Dreamy Crochet Cowl
Imagine draping the ethereal, shifting colors of the northern lights around your neck. With the Aurora Borealis Dreamy Crochet Cowl, you can do just that. This luxurious, chunky cowl pattern uses a unique combination of smooth double crochet, subtle openwork mesh, and a ribbed texture to create a stunning, dimensional fabric. It is the perfect winter accessory for adding a pop of color and a touch of handmade elegance to any outfit. Designed with beginners in mind, this seamless, in-the-round project is as relaxing to make as it is beautiful to wear.
Materials Needed
Before you begin your journey into the aurora, gather the following materials. This project is wonderfully portable and requires only a few simple supplies.
- Yarn: Worsted weight yarn in 4 colors (approx. 250g total):
- Color A: Deep Teal
- Color B: Midnight Blue
- Color C: Soft Purple
- Color D: Pale Pink
- Crochet Hook: US Size J/10 (6.0 mm)
- Other: Yarn needle for weaving in ends, scissors.
Gauge: 14 dc x 8 rows = 4 inches in pattern stitch (after blocking). While gauge is important for fit, this cowl is quite forgiving.
Step-by-Step Instructions
This cowl is worked in the round from the bottom up, creating a seamless, cozy tube. The color changes mimic the flowing bands of the aurora. Let's get started!
Special Stitches & Abbreviations
- ch = chain
- sl st = slip stitch
- dc = double crochet
- fpdc = front post double crochet (worked around the post of the stitch from the front)
- bpdc = back post double crochet (worked around the post of the stitch from the back)
Foundation & Ribbed Edges (Color A)
We'll start by creating the base ring and the beautiful ribbed bottom edge.
- Foundation: With Color A (Deep Teal), chain 80. Join with a sl st to form a ring, being very careful not to twist your chain.
- Round 1: Ch 2 (counts as first dc), dc in each ch around. Join with a sl st to the top of the beginning ch-2. (80 dc)
- Round 2: Ch 2, fpdc around the first dc, bpdc around the next dc. Repeat *fpdc, bpdc* around. Join with a sl st to the top of the beginning ch-2. (80 sts)
- Round 3: Ch 2, bpdc around the first fpdc, fpdc around the next bpdc. Repeat *bpdc, fpdc* around. Join with a sl st. (80 sts)
- Rounds 4-5: Repeat Rounds 2 and 3. This creates a lovely, stretchy ribbed edge.
Color Transition & First Pattern Section (Color B)
Now, we'll introduce the first aurora color and the openwork mesh stitch.
- Color Change: Cut Color A, join Color B (Midnight Blue).
- Round 6 (Color B): Ch 2, dc in each stitch around. Join with a sl st. (80 dc)
- Round 7 (Color B): Ch 2, *dc in next st, ch 1, skip next st*. Repeat from * to * around, ending with dc in the last st. Join with a sl st to the top of the ch-2. (40 dc, 40 ch-1 spaces)
- Round 8 (Color B): Ch 2, *dc in next dc, dc in next ch-1 space*. Repeat from * to * around. Join with a sl st. (80 dc)
- Rounds 9-10 (Color B): Ch 2, dc in each stitch around. Join with a sl st. (80 dc)
Second Pattern Section (Color C)
Let's continue with the soft purple, repeating the same sequence of stitches.
- Color Change: Cut Color B, join Color C (Soft Purple).
- Rounds 11-12 (Color C): Ch 2, dc in each stitch around. Join with a sl st. (80 dc)
- Round 13 (Color C): Ch 2, *dc in next st, ch 1, skip next st*. Repeat from * to * around, ending with dc in the last st. Join with a sl st. (40 dc, 40 ch-1 spaces)
- Rounds 14-16 (Color C): Ch 2, dc in each stitch around. Join with a sl st. (80 dc)
Third Pattern Section (Color D)
Time for the pale pink, the final aurora color in the gradient.
- Color Change: Cut Color C, join Color D (Pale Pink).
- Rounds 17-18 (Color D): Ch 2, dc in each stitch around. Join with a sl st. (80 dc)
- Round 19 (Color D): Ch 2, *dc in next st, ch 1, skip next st*. Repeat from * to * around, ending with dc in the last st. Join with a sl st. (40 dc, 40 ch-1 spaces)
- Rounds 20-22 (Color D): Ch 2, dc in each stitch around. Join with a sl st. (80 dc)
Finishing Ribbed Edge (Color A)
We'll now return to the deep teal to create a matching ribbed edge on the top, mirroring the bottom.
- Color Change: Cut Color D, join Color A (Deep Teal).
- Rounds 23-24 (Color A): Ch 2, dc in each stitch around. Join with a sl st. (80 dc)
- Round 25 (Color A): Ch 2, fpdc around the first dc, bpdc around the next dc. Repeat *fpdc, bpdc* around. Join with a sl st. (80 sts)
- Round 26 (Color A): Ch 2, bpdc around the first fpdc, fpdc around the next bpdc. Repeat *bpdc, fpdc* around. Join with a sl st. (80 sts)
- Round 27 (Color A): Repeat Round 25. (80 sts)
Finishing Touches
Your masterpiece is almost complete! Just a few final steps to make it perfect.
- Fasten Off: Cut your yarn, leaving a 6-inch tail. Pull the tail through the loop on your hook to secure.
- Weave in Ends: Using your yarn needle, carefully weave in all loose ends on the inside of the cowl to hide them.
- Blocking: Gently block your cowl to even out the stitches and enhance the drape. Lay it flat on a towel, shape it to the correct dimensions, and let it air dry completely.
And there you have it—a stunning, one-of-a-kind Aurora Borealis Dreamy Crochet Cowl. The beautiful gradient of colors and the rich texture make it a standout piece. Wear it with pride, knowing you created a wearable work of art that captures the magic of the night sky. Happy crocheting!