The Oatmeal Ridge Cowl: A Free Crochet Pattern for a Cozy, Textured Neck Warmer

The Oatmeal Ridge Cowl: A Free Crochet Pattern for a Cozy, Textured Neck Warmer
Introduction
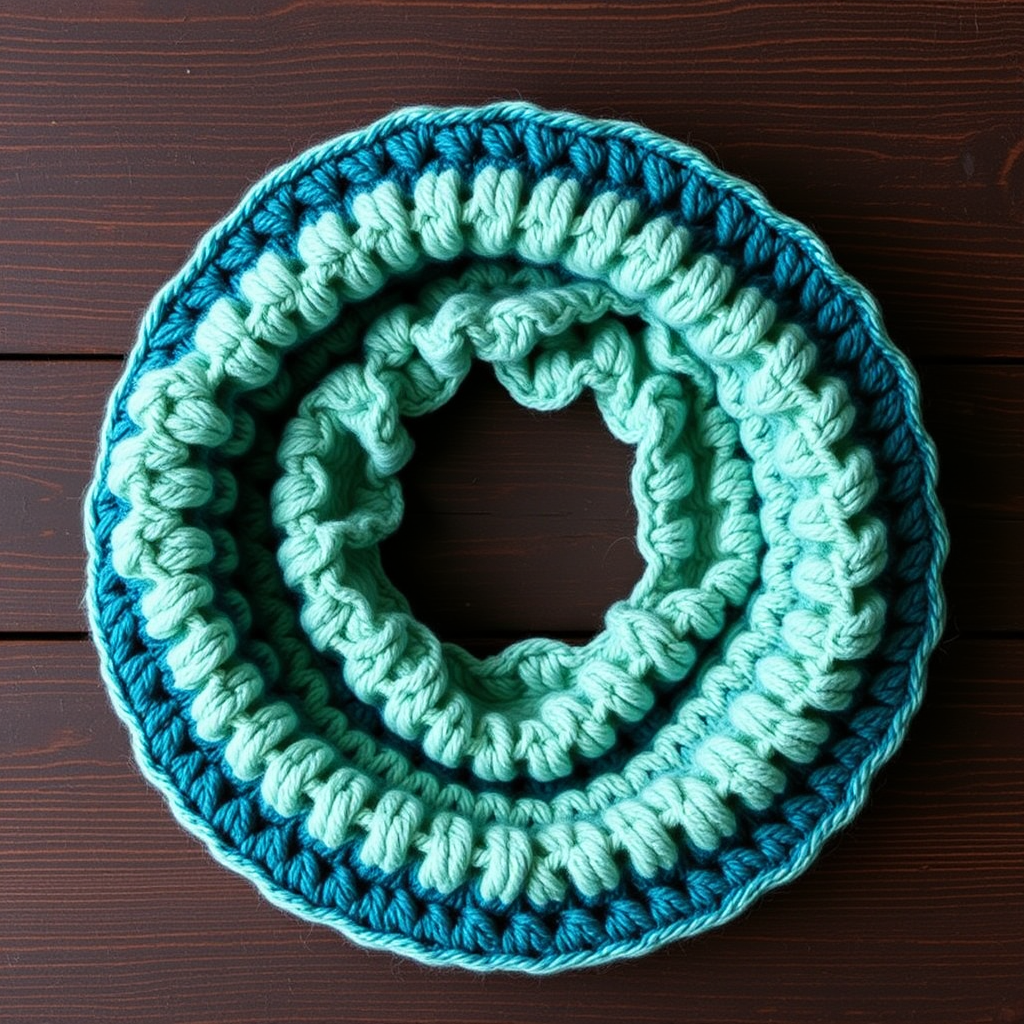
Wrap yourself in the comforting texture of this quick-to-crochet cowl, featuring a unique ridged stitch pattern that mimics the cozy feel of a warm bowl of oatmeal. Perfect for beginners and experts alike, this project works up in an evening using super bulky yarn. The Oatmeal Ridge Cowl is a seamless, reversible tube that offers a modern, sophisticated look with its vertical ridges and flat sections. Whether you're new to crochet or looking for a satisfying weekend project, this pattern will guide you through creating a stylish accessory that's as warm as it is beautiful.
Materials Needed
- Yarn: Super Bulky weight yarn (size 6), approximately 150-200 yards. Shown in Lion Brand Wool-Ease Thick & Quick in 'Oatmeal'.
- Hook: Size N/P (10.0 mm) crochet hook
- Other: Yarn needle for weaving in ends, scissors
- Gauge: 8 stitches and 6 rows in pattern = 4 inches (10 cm). Exact gauge is not critical for this project, but consistency is important for fit.
Step-by-Step Instructions
Finished Measurements
Approximately 28 inches (71 cm) in circumference and 10 inches (25 cm) tall.
Abbreviations (US terms)
- ch: chain
- sc: single crochet
- dc: double crochet
- fpdc: front post double crochet
- bpdc: back post double crochet
- st(s): stitch(es)
- sl st: slip stitch
Pattern Notes
- The cowl is worked in the round from the bottom up, creating a seamless tube.
- The stitch pattern creates a beautiful, reversible texture that looks like a series of vertical ridges.
- To adjust the height, work more or fewer repeats of Rounds 2-3.
Instructions
Foundation
Ch 56. Join with a sl st to the first ch to form a ring, being careful not to twist the chain.
Round 1
Ch 1 (does not count as a st). Sc in each ch around. Join with a sl st to the first sc. (56 sc)
Round 2
Ch 3 (counts as first dc). *Fpdc around the next st, dc in the next st.* Repeat from * to * around. Join with a sl st to the top of the beginning ch-3. (56 sts: 28 fpdc, 28 dc)
Round 3
Ch 1 (does not count as a st). Sc in the same st. *Bpdc around the next st, sc in the next st.* Repeat from * to * around. Join with a sl st to the first sc. (56 sts: 28 bpdc, 28 sc)
Rounds 4-15
Repeat Rounds 2 and 3 alternately. (You will have 6 repeats of the pattern total, or until the cowl measures approximately 10 inches tall.)
Finishing
Fasten off and weave in all ends. Block lightly if desired to even out stitches. The cowl is now ready to wear, offering a cozy, textured warmth around the neck.
Tips for Success
- Counting stitches: After each round, count your stitches to ensure you have 56. This is especially important when working the post stitches, as they can be easy to miss.
- Post stitches: When working fpdc and bpdc, insert the hook from front to back (fpdc) or back to front (bpdc) around the post of the stitch from the previous round, not into the top loops. This creates the raised ridges.
- Seamless join: For a nearly invisible join at the end of each round, use a slip stitch to the first stitch of the round, then chain the required number for the next round.
- Adjusting size: To make a taller cowl, simply repeat Rounds 2 and 3 more times. For a shorter cowl, work fewer repeats. To adjust circumference, chain a multiple of 2 (e.g., 48, 52, 60) for the foundation chain, then follow the pattern as written.
Enjoy your new cozy, textured cowl! It's perfect for chilly days and makes a wonderful handmade gift.