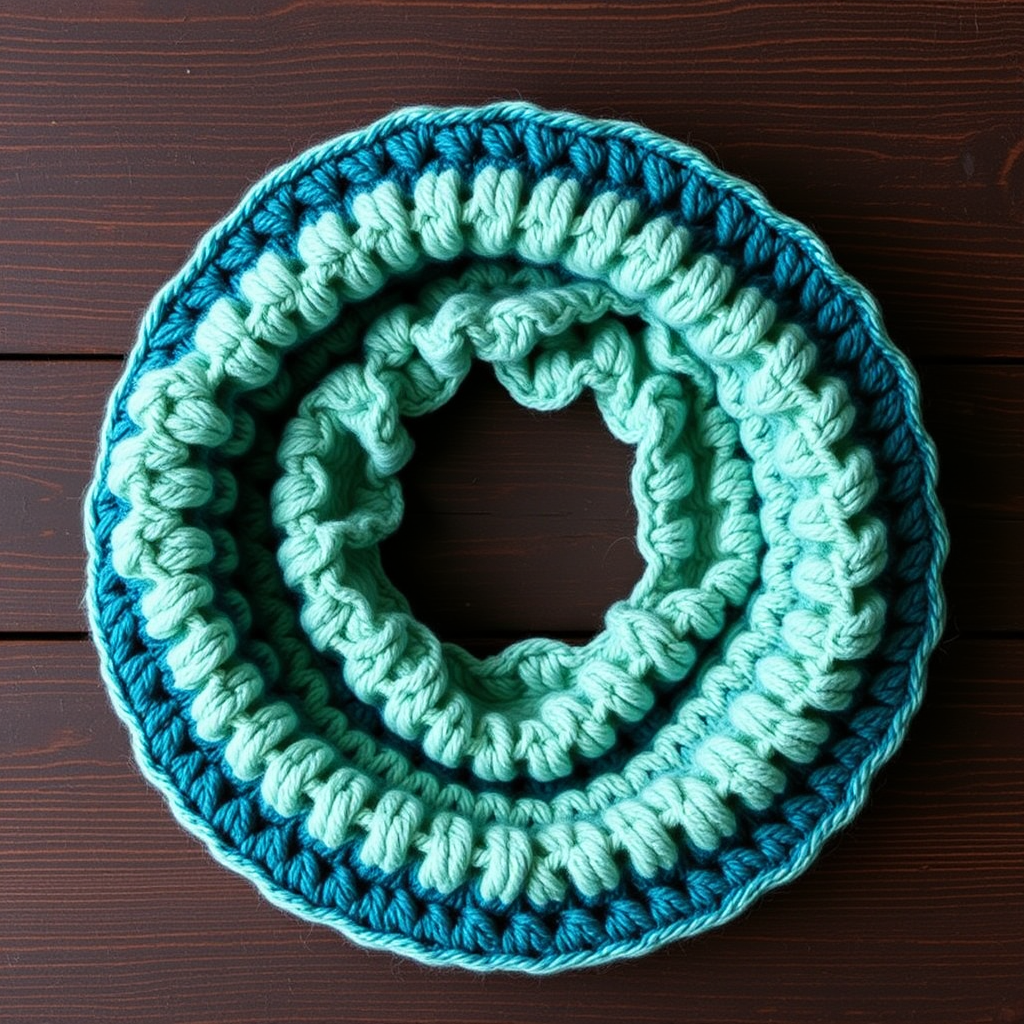
Enchanted Ember Crochet Cowl Free Pattern

Enchanted Ember Crochet Cowl: A Free Pattern for a Cozy Gradient Neck Warmer
Wrap yourself in the cozy warmth of a gradient sunset with this richly textured cowl. The dramatic color shifts from deep violet to burnt orange and golden yellow, combined with plush, chunky stitches, make this a stunning statement piece for any season. This free crochet pattern is perfect for intermediate beginners looking to master post stitches while creating a beautiful, handmade accessory.
Whether you're a seasoned crocheter or just starting your yarn journey, this cowl works up quickly using worsted weight yarn and a simple, repetitive stitch pattern. The result is a stretchy, warm, and visually striking neck warmer that captures the essence of autumn embers. Let's dive into this delightful project!
Materials Needed
Before you begin, gather the following supplies to ensure a smooth and enjoyable crochet session:
- Yarn: Worsted weight (4) yarn in 3 colors (approx. 200g total):
- Color A: Deep Violet (approx. 70g)
- Color B: Burnt Orange (approx. 70g)
- Color C: Golden Yellow (approx. 60g)
- Crochet Hook: H/8 (5.0 mm) hook
- Other Tools: Yarn needle for weaving in ends, scissors, and a stitch marker (optional but helpful).
Gauge: 14 dc x 8 rows = 4 inches (10 cm) in pattern stitch. Matching gauge is not critical for a cowl, but it will affect the final size and drape.
Step-by-Step Instructions
This cowl is worked in the round from the bottom up, creating a seamless, cozy tube. The stitch pattern is a simple combination of front post and back post double crochets, giving a beautiful ribbed texture that is both stretchy and warm. Follow these detailed instructions carefully, and you'll have a gorgeous cowl in no time.
Special Stitches
Master these two essential stitches before you start. They are the building blocks of the beautiful ribbed texture.
- FPdc (Front Post Double Crochet): Yarn over, insert hook from front to back to front around the post of the next stitch (the vertical part of the stitch below), yarn over and pull up a loop, complete as a regular double crochet (yarn over, pull through two loops, yarn over, pull through two loops).
- BPdc (Back Post Double Crochet): Yarn over, insert hook from back to front to back around the post of the next stitch, yarn over and pull up a loop, complete as a regular double crochet.
Pattern Instructions
Note: The ch-2 at the beginning of each round counts as your first double crochet. Always join with a slip stitch to the top of the ch-2.
Round 1 (Color A): Chain 80. Carefully join with a slip stitch to form a ring, being extremely careful not to twist your chain. Ch 2 (counts as first dc), dc in each ch around, join with a sl st to the top of the ch-2. (80 dc)
Round 2 (Color A): Ch 2. *FPdc around the post of the next stitch, BPdc around the post of the next stitch.* Repeat from * to * around, ending with an FPdc around the last stitch. Join with a sl st to the top of the ch-2. (80 sts)
Round 3 (Color A): Ch 2. *BPdc around the post of the next stitch, FPdc around the post of the next stitch.* Repeat from * to * around, ending with a BPdc around the last stitch. Join with a sl st to the top of the ch-2. (80 sts)
Round 4 (Color B): Repeat Round 2. (FPdc, BPdc pattern)
Round 5 (Color B): Repeat Round 3. (BPdc, FPdc pattern)
Round 6 (Color B): Repeat Round 2. (FPdc, BPdc pattern)
Round 7 (Color C): Repeat Round 3. (BPdc, FPdc pattern)
Round 8 (Color C): Repeat Round 2. (FPdc, BPdc pattern)
Round 9 (Color C): Repeat Round 3. (BPdc, FPdc pattern)
Round 10 (Color C): Repeat Round 2. (FPdc, BPdc pattern)
Round 11 (Color B): Repeat Round 3. (BPdc, FPdc pattern)
Round 12 (Color B): Repeat Round 2. (FPdc, BPdc pattern)
Round 13 (Color B): Repeat Round 3. (BPdc, FPdc pattern)
Round 14 (Color A): Repeat Round 2. (FPdc, BPdc pattern)
Round 15 (Color A): Repeat Round 3. (BPdc, FPdc pattern)
Round 16 (Color A): Repeat Round 2. (FPdc, BPdc pattern)
Finishing
After completing Round 16, fasten off your yarn, leaving a 6-inch tail. Thread the tail onto a yarn needle and weave it securely through the stitches on the wrong side of your work. Do the same for all other loose ends from your color changes.
Blocking (Optional): To even out your stitches and give your cowl a professional finish, lightly block it. You can do this by wetting the cowl with lukewarm water, gently squeezing out the excess (do not wring), and laying it flat on a towel to dry. Shape it gently to your desired dimensions.
Your Enchanted Ember Crochet Cowl is now complete! Slip it over your head, and enjoy the cozy, vibrant warmth of your handmade creation. The beautiful gradient and textured ribbing will surely turn heads and keep you snug all season long.