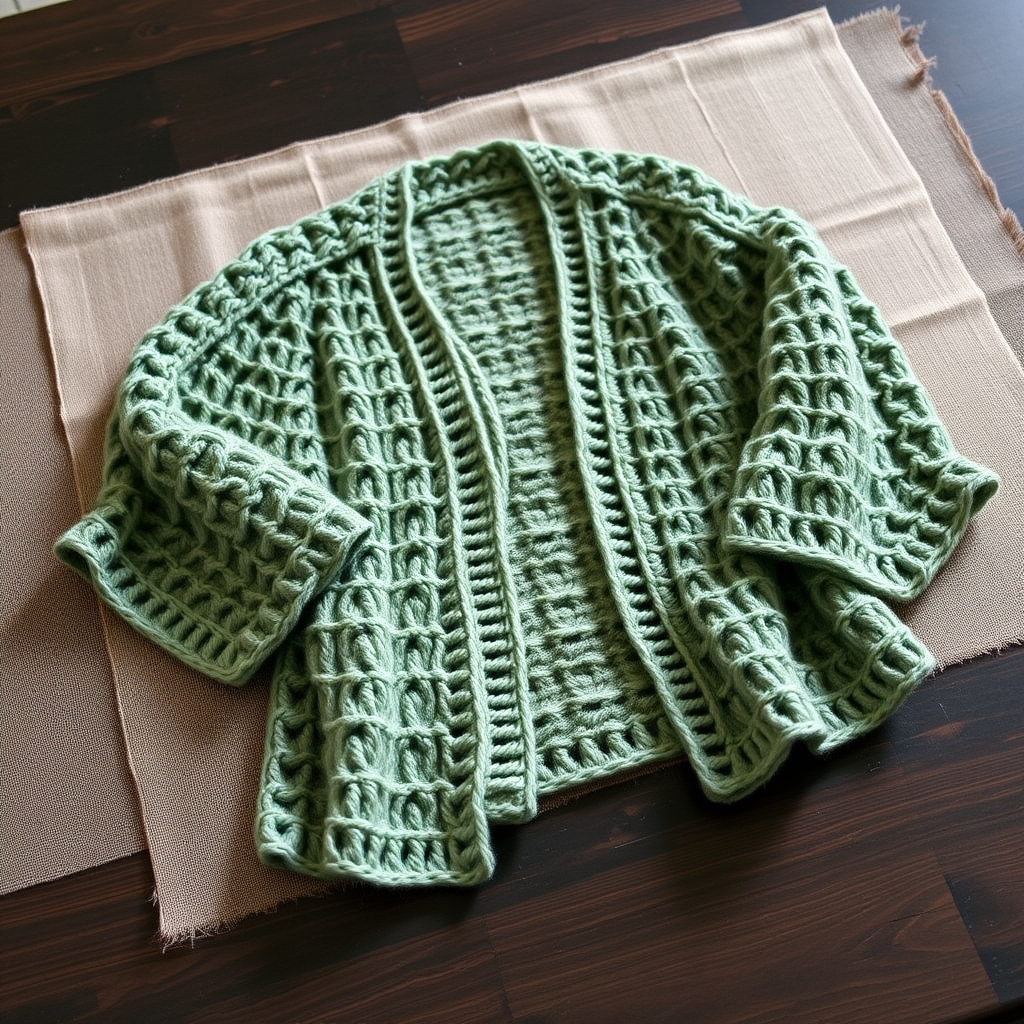
Aurora Dune Cocoon Cardigan Free Pattern

Aurora Dune Cocoon Cardigan: A Free Knitting Pattern for Cozy, Desert-Inspired Style
Wrap yourself in the softest clouds with the Aurora Dune Cocoon Cardigan—an oversized, textured masterpiece that brings the serene beauty of a desert sunset into your handmade wardrobe. This stunning pattern features a breathtaking gradient of earthy hues, from warm dune sand to terracotta, rose quartz, dusty lavender, and sagebrush, creating a visual journey that's as soothing to knit as it is to wear. With its unique drop-shoulder silhouette, cozy ribbed collar, and generous cocoon shape, this cardigan is the ultimate statement piece for slow mornings, creative afternoons, and sunset strolls. Best of all, it's a free pattern designed to be accessible for knitters ready to take on a rewarding project.
Whether you're a seasoned maker or a confident beginner looking for a challenge, this pattern offers clear instructions, a simple sideways construction, and a stunning result that will become a treasured favorite. Let's dive into everything you need to create your own Aurora Dune Cocoon Cardigan.
Materials Needed
Before you begin, gather the following supplies to ensure a smooth and enjoyable knitting experience. All materials are listed in the pattern's technical specifications for your convenience.
Yarn
- Weight: Worsted weight (#4) yarn
- Colors (5 total):
- A: Dune Sand
- B: Terracotta
- C: Rose Quartz
- D: Dusty Lavender
- E: Sagebrush
- Total Yardage: Approximately 1200 (1400, 1600, 1800) yards, depending on your chosen size.
Needles & Notions
- Circular Needle: US 9 (5.5 mm) with a 32-inch cable for the body (the long cable accommodates the large number of stitches).
- Straight Needles: US 9 (5.5 mm) for ribbing and smaller pieces.
- Stitch Markers (at least 4)
- Tapestry Needle for weaving in ends and seaming.
Gauge
18 stitches and 24 rows = 4 inches in stockinette stitch (knit on right side, purl on wrong side), after blocking. Always knit a gauge swatch to ensure your finished cardigan matches the intended measurements.
Step-by-Step Instructions
This cardigan is cleverly knitted flat in one piece from side to side, then seamed at the shoulders and sides. The gradient effect is achieved by striping with gradual color transitions. The pattern includes sizes S/M (L/XL, 2XL/3XL, 4XL/5XL), with instructions written for the smallest size, followed by larger sizes in parentheses.
Important Notes Before You Start
- Slip-Stitch Edge: The pattern uses a simple slip-stitch edge for a clean, professional finish. On every row, slip the first and last stitch purlwise with yarn in front.
- Carrying Yarns: When changing colors, carry the unused yarn up the side of your work to minimize the number of ends you need to weave in later.
- Oversized Fit: This cardigan is intentionally designed to be oversized with a cocoon shape. Don't be alarmed by the generous width—it's part of the charm!
Body (Knitted Sideways)
The body is a large rectangle worked from side to side. Follow these steps carefully:
- Cast On: With color A (Dune Sand), cast on 90 (100, 110, 120) stitches using the long-tail method.
- Row 1 (Right Side): Slip 1 stitch purlwise with yarn in front, knit to the last stitch, slip 1 purlwise with yarn in front.
- Row 2 (Wrong Side): Slip 1 stitch purlwise with yarn in front, purl to the last stitch, slip 1 purlwise with yarn in front.
- Repeat Rows 1 and 2 to work in stockinette stitch (knit on RS, purl on WS) with the slipped edge stitches, while following this color sequence:
- Work 20 rows in color A (Dune Sand).
- Work 20 rows in color B (Terracotta).
- Work 20 rows in color C (Rose Quartz).
- Work 20 rows in color D (Dusty Lavender).
- Work 20 rows in color E (Sagebrush).
- Work 20 rows in color D (Dusty Lavender).
- Work 20 rows in color C (Rose Quartz).
- Work 20 rows in color B (Terracotta).
- Work 20 rows in color A (Dune Sand).
- Bind Off: After completing all color blocks, bind off loosely knitwise on the right side. This forms the main rectangular body piece.
Pro Tip: To keep your edges tidy, always slip the first and last stitch of every row as described. This creates a neat, braided edge that makes seaming easier later.
Sleeves (Make 2)
Each sleeve is worked flat from the cuff upward. Here's how to create them:
- Cast On: With color A (Dune Sand), cast on 40 (44, 48, 52) stitches.
- Work in Stockinette Stitch: Knit on the right side, purl on the wrong side, maintaining the same slip-stitch edge as the body (slip first and last stitch purlwise with yarn in front on every row).
- Increase Rows: Increase 1 stitch at each end of every 6th row. Use kfb (knit front and back) on the right side and pfb (purl front and back) on the wrong side. Continue increasing until you have 60 (66, 72, 78) stitches on your needle.
- Work Straight: Continue in stockinette stitch without further increases until the sleeve measures 18 (19, 20, 21) inches from the cast-on edge.
- Bind Off: Bind off loosely knitwise on the right side.
Remember: Both sleeves are identical, so repeat this process twice. The increases create a gentle flare that adds to the relaxed, cocoon silhouette.
Ribbed Collar and Front Bands
This step creates the cozy, structured edging that frames the cardigan's opening. You'll use your circular needle for this part.
- Pick Up Stitches: With color A (Dune Sand) and your circular needle, pick up and knit stitches along the entire front opening and neckline of the body piece.
- Along the vertical edges, pick up approximately 1 stitch for every 2 rows.
- Along the cast-on and bound-off edges, pick up 1 stitch for every stitch.
- The total number of stitches picked up should be a multiple of 2 + 1 (e.g., 101, 121, 141, etc.).
- Work Ribbing: Work in k1, p1 ribbing for 6 rows. This creates a stretchy, neat band.
- Bind Off: Bind off in rib pattern (knit the knit stitches and purl the purl stitches as you bind off) to maintain elasticity.
Finishing and Assembly
Now it's time to bring all the pieces together. Follow these steps for a polished, professional finish:
- Find Shoulder Placement: Fold the body piece in half to find the center of the top edge. Place a stitch marker at this center point. Then, measure 8 (9, 10, 11) inches from the center on each side and place another marker. These outer markers indicate where your shoulder seams will be.
- Attach Sleeves: Sew the sleeves to the body between the markers. Match the center of the sleeve's bound-off edge (the sleeve cap) to the center shoulder marker. Use a mattress stitch or whip stitch for a secure seam.
- Sew Side Seams: With the right sides together, sew the side seams from the underarm down to the bottom edge. Important: Leave the bottom 10 inches open on each side to create the signature cocoon effect—this opening allows the cardigan to drape beautifully.
- Weave in Ends: Use your tapestry needle to weave in all loose yarn ends securely, following the path of the stitches to hide them.
- Block to Measurements: Finally, block your cardigan to the specified measurements. Wet block or steam block according to your yarn's care instructions to even out stitches and enhance the drape.
Abbreviations Used in This Pattern
- kfb: Knit front and back (increase 1 stitch)
- pfb: Purl front and back (increase 1 stitch)
- RS: Right side of work
- WS: Wrong side of work
Final Thoughts
Your Aurora Dune Cocoon Cardigan is now complete! This beautiful, textured garment is more than just a sweater—it's a wearable piece of art that captures the tranquil beauty of desert landscapes. The gradient colors flow harmoniously, and the oversized, cocoon silhouette offers unmatched comfort and style. Whether you're curling up with a book, heading out for a creative adventure, or simply enjoying a slow morning, this cardigan will keep you cozy and chic.
We'd love to see your finished creation! Share your photos on social media with the hashtag #AuroraDuneCardigan and tag us so we can admire your handiwork. Happy knitting!