Emerald & Blush Striped Linen Summer Cap: Free Crochet Pattern

Emerald & Blush Striped Linen Summer Cap: Free Crochet Pattern
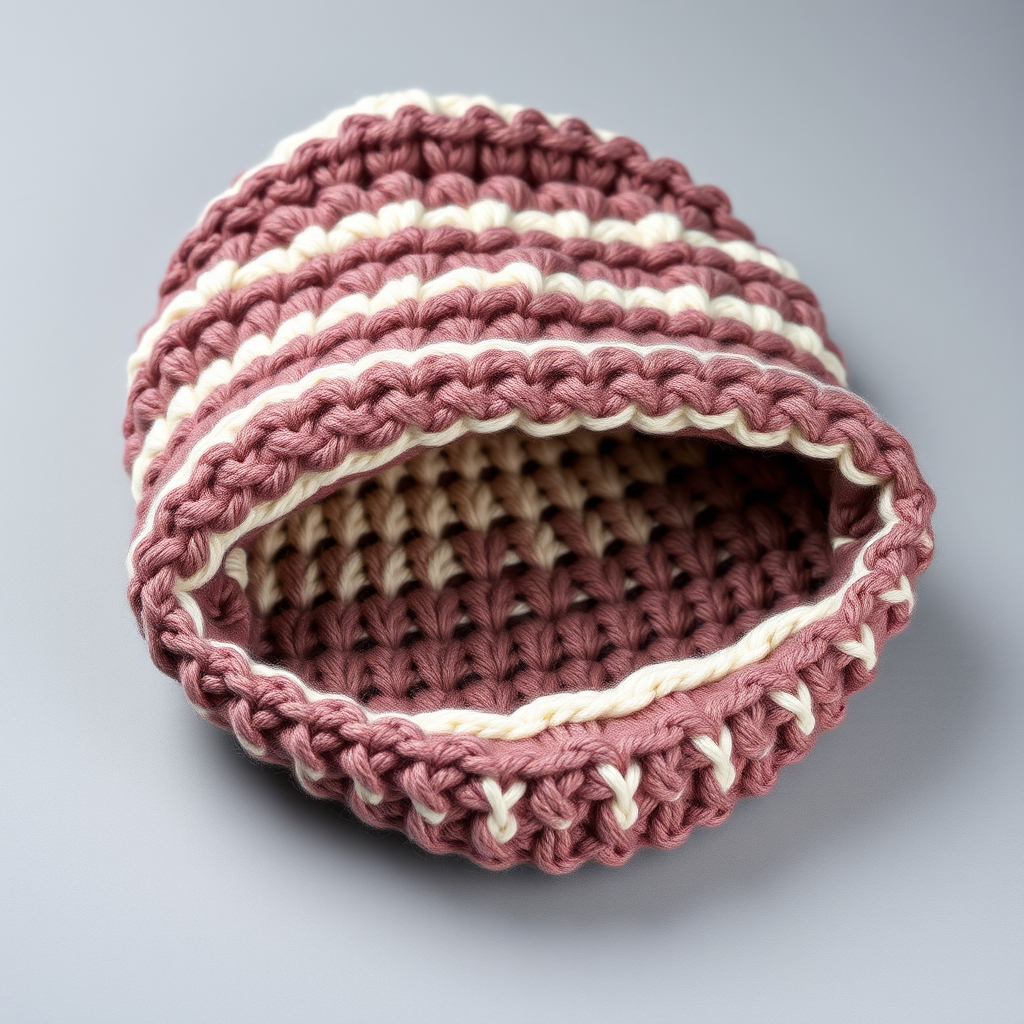
If you have never held a crochet hook before, this is the perfect first hat for you. The Emerald & Blush Striped Linen Summer Cap is worked in simple flat rows of single crochet — the most beginner-friendly stitch there is — so you never have to crochet in a circle or juggle a complicated stitch pattern. Because the rows run side to side, your color changes turn into crisp horizontal stripes that wrap around the head all by themselves. The finished cap is a soft, unstructured baseball-style hat with a rounded dome and a folded brim, made in a linen-blend yarn that feels cool, matte, and slightly textured — calm, natural, and light enough for warm days. It looks like something from a quiet, sunlit shop, and you made it yourself.
Materials Needed
- Yarn: Worsted weight (category 4) linen-blend yarn, approx. 60% linen / 40% cotton, 197 yd (180 m) per 100 g skein.
- Color A (Emerald): 1 skein — approx. 85 yd (78 m)
- Color B (Blush): 1 skein — approx. 75 yd (69 m)
- Total: approx. 160 yd (146 m)
- Hook: US J/10 (6.0 mm) crochet hook, or whatever size gets you the gauge below.
- Stitch marker: 1 (a removable marker or a scrap of contrasting yarn).
- Tapestry needle: a blunt, large-eyed needle for seaming and weaving in ends.
- Scissors for cutting yarn.
- Measuring tape for checking gauge and size.
- Finished size: One size, fits an average adult head of 21–23 in (53–58 cm) circumference. Finished cap measures approx. 21.5 in (55 cm) around the brim band, 7.5 in (19 cm) tall at the center front, and 8 in (20 cm) deep from front edge to back edge.
Abbreviations and Beginner Glossary
- ch — chain. Make a loop with the yarn, put the hook through it, wrap yarn over the hook, and pull it through the loop. That is one chain. A row of chains is your starting foundation.
- sc — single crochet. Insert the hook into the stitch, wrap yarn over the hook, pull up a loop (2 loops on hook), wrap yarn over again, pull through both loops. One loop remains. That is one single crochet.
- sc2tog — single crochet 2 together (a decrease). Insert the hook into the first stitch, pull up a loop (2 loops on hook). Insert the hook into the next stitch, pull up a loop (3 loops on hook). Wrap yarn over and pull through all 3 loops. Two stitches have become one.
- sl st — slip stitch. Insert the hook into the stitch, wrap yarn over, and pull it through both the stitch and the loop on your hook in one motion. It makes a flat, nearly invisible join.
- st(s) — stitch(es).
- RS — right side. The “public” side of the fabric that will face outward on the finished cap.
- Turn — flip your work over so you can crochet back along the row you just made.
- Row-end — the little vertical edge formed by the end of each row. You will crochet into these when you add the brim band.
- A — Emerald. B — Blush.
Gauge
14 sc x 16 rows = 4 in (10 cm) in single crochet, worked flat and unblocked.
Why gauge matters here: this cap is worked side to side, so row gauge controls how tall the crown is and stitch gauge controls how far around the head it reaches. If your stitches are too big, the cap will be floppy and too large; too small, and it will not fit.
How to make a gauge swatch: With A, ch 22. Work 18 rows of sc (ch 1, turn at the start of each row). Lay the swatch flat without stretching it and measure a 4 in (10 cm) section in the middle. Count the stitches across and the rows up. If you have more than 14 stitches in 4 in, try a larger hook; if fewer, try a smaller hook. Change hook size and swatch again until it matches.
Beginner Tips Before You Start
- Count your first row. After Row 1 you must have exactly 75 sc. Count them before you go on — every later row depends on it.
- Do not pull the yarn too tight. Keep your loops relaxed and even. Tight crochet makes a stiff, small cap that will not stretch over the head.
- Use the stitch marker to clip the right side of your work (the side facing you on Row 1). It stops you losing track of which side is which after many turns.
- Change color on the last stitch of a row. Work the final sc of the row with the new color, then chain 1 and turn. This keeps the stripe edge neat.
- Read the whole Shaping Note before Row 1. The first six rows and last six rows have small decreases; the middle rows are plain. Marking them off on paper as you go keeps you calm.
- Keep your turning chain loose. A tight ch 1 at the start of each row makes the side edges pucker, which shows in the finished seam.
Step-by-Step Instructions
How This Cap Is Built
The crown is crocheted side to side in flat rows, starting at the left side seam and ending at the right side seam. Because the rows run horizontally, the color changes create horizontal stripes that wrap around the head. One long edge forms the smooth dome (the top of the cap) and the other stays straight (the brim edge). The two short ends are then seamed together, and a folded brim band is added along the straight lower edge.
Stripe sequence: 4 rows A, 3 rows B, 2 rows A, 3 rows B. This 12-row repeat gives an irregular, calm rhythm of emerald and blush bands.
Crown (worked flat, side to side)
With A, ch 76.
Row 1 (RS): Sc in 2nd ch from hook and in each ch across. After working 60 sc, sc2tog over the next 2 sts, then sc in each remaining st across. (74 sts) Turn.
Row 2: Ch 1, sc in each st across, but after working 62 sc, sc2tog over the next 2 sts, then sc in each remaining st across. (73 sts) Turn.
Row 3: Ch 1, sc in each st across, but after working 64 sc, sc2tog over the next 2 sts, then sc in each remaining st across. (72 sts) Turn. Change to B at the end of this row (work the last sc with B).
Row 4: With B, ch 1, sc in each st across, but after working 66 sc, sc2tog over the next 2 sts, then sc in each remaining st across. (71 sts) Turn.
Row 5: Ch 1, sc in each st across, but after working 68 sc, sc2tog over the next 2 sts, then sc in each remaining st across. (70 sts) Turn.
Row 6: Ch 1, sc in each st across, but after working 70 sc, sc2tog over the next 2 sts, then sc in each remaining st across. (69 sts) Turn. Change to A at the end of this row.
Rows 7–22: Ch 1, sc in each st across. (75 sts) Turn each row. Continue the stripe sequence (4 rows A, 3 rows B, 2 rows A, 3 rows B) across these rows, changing color at the end of the last row of each band.
Row 23: Ch 1, sc in each st across, but after working 70 sc, sc2tog over the next 2 sts, then sc in each remaining st across. (69 sts) Turn.
Row 24: Ch 1, sc in each st across, but after working 68 sc, sc2tog over the next 2 sts, then sc in each remaining st across. (70 sts) Turn.
Row 25: Ch 1, sc in each st across, but after working 66 sc, sc2tog over the next 2 sts, then sc in each remaining st across. (71 sts) Turn. Change to B at the end of this row.
Row 26: With B, ch 1, sc in each st across, but after working 64 sc, sc2tog over the next 2 sts, then sc in each remaining st across. (72 sts) Turn.
Row 27: Ch 1, sc in each st across, but after working 62 sc, sc2tog over the next 2 sts, then sc in each remaining st across. (73 sts) Turn.
Row 28: Ch 1, sc in each st across, but after working 60 sc, sc2tog over the next 2 sts, then sc in each remaining st across. (74 sts) Do not turn. Do not fasten off yet; continue directly to the brim band.
Math check: 28 rows at 16 rows per 4 in = 7 in (17.8 cm) of crown depth. The starting chain of 76 gives 75 sc at 14 sc per 4 in = approx. 21.4 in (54.4 cm) along the brim edge, which after seaming and the brim band’s slight draw-in gives a 21.5 in (55 cm) finished circumference.
Brim Band (worked along the straight lower edge of the crown)
Row 1: With RS facing and B, join yarn with a sl st at the right-hand corner of the long straight edge (the brim edge). Ch 1, work 1 sc in each row-end along the entire edge. (28 sc) Turn.
Row 2: Ch 1, sc in each st across. (28 sc) Turn.
Row 3: Ch 1, sc in each st across. (28 sc) Turn. Change to A at the end of this row.
Row 4: With A, ch 1, sc in each st across. (28 sc) Turn.
Row 5: Ch 1, sc in each st across. (28 sc) Turn.
Row 6: Ch 1, sc in each st across. (28 sc) Turn. Change to B at the end of this row.
Rows 7–9: With B, ch 1, sc in each st across. (28 sc) Turn each row.
Row 10: Ch 1, sc in each st across. (28 sc) Do not turn. Fasten off, leaving a 24 in (60 cm) tail for seaming.
Math check: 10 rows at 16 rows per 4 in = 2.5 in (6.4 cm), which folds in half to a 1.25 in (3.2 cm) brim.
Assembly and Finishing
- Seam the side edges. Fold the crown in half with RS together, matching the two short side edges. Thread the yarn tail onto the tapestry needle and whipstitch (or mattress-stitch) the short edges together to form a tube. Whipstitch means passing the needle through both edges again and again in small, even stitches. Fasten off and weave in the end.
- Turn the cap RS out. The seam now runs vertically at one side of the cap; this is the back-left seam.
- Fold the brim band. Fold the brim band up against the outside of the crown along its base, so the band doubles over the lower edge. Pin in place. With A and the crochet hook, work a sl st seam along the top folded edge of the band, catching only the band’s free edge and the base of the crown, working from the inside so the seam is hidden. Alternatively, slip-stitch the band’s free edge to the crown with the tapestry needle for an invisible finish.
- Firm up the brim edge. Work a final round of sc in A around the entire lower edge of the cap, through both layers of the folded brim: join A at the back seam, ch 1, sc evenly around the folded brim edge, then sl st to the first sc. Fasten off.
- Weave in all ends. Thread each tail onto the tapestry needle and run it back and forth through the inside of the fabric for about 1 in (2.5 cm), then trim close.
- Block. Lightly steam-block the cap over a bowl or rounded form to smooth the dome and set the brim fold. Hold the steamer a few inches away; do not press flat with an iron.
Optional detail: For a cleaner Japandi finish, work a single round of sl st in A around the entire brim edge after Step 4, which gives a crisp, corded edge.
Care: Hand wash cool, reshape, and dry flat away from direct sun.
Pro Tips and Variations
- Change the colors: Keep the same 12-row rhythm but swap in any two worsted-weight colors — oatmeal and charcoal, sage and cream, or navy and rust all work beautifully. Keep one color darker so the stripes still read clearly.
- Adjust the size: For a smaller head, start with ch 70 (69 sc) and work the same 28 rows; for a larger head, start with ch 82 (81 sc). Each 14 stitches added or removed changes the circumference by about 4 in (10 cm).
- Substitute yarn: Any worsted weight (category 4) cotton, cotton-linen, or cotton-acrylic blend works. Avoid fuzzy or hairy yarns, which hide the crisp single-crochet texture and the stripe edges.
- Make the brim deeper: Work 14 rows instead of 10 for the brim band, then fold it in half for a 1.75 in (4.5 cm) brim — just add a few extra yards of each color.