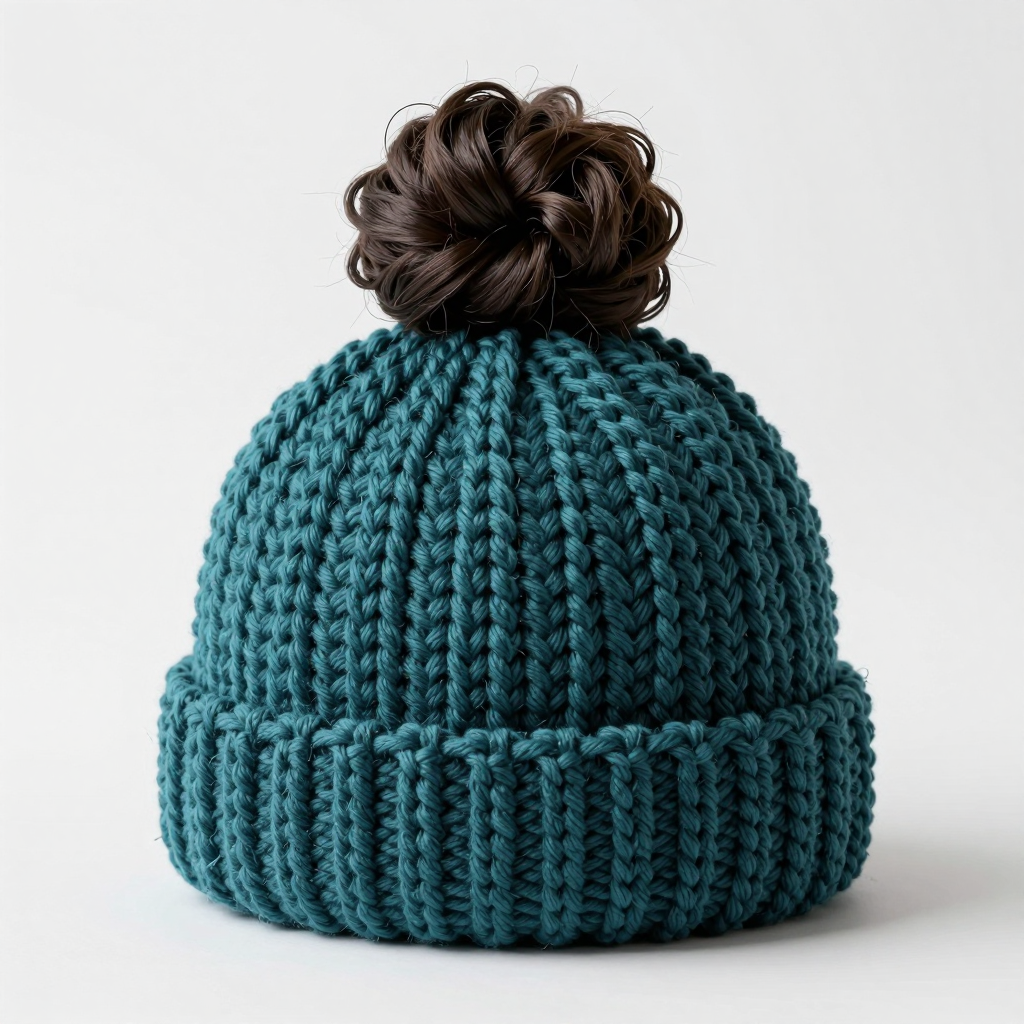
Dusty Rose Bear Beanie Free Pattern: A Kawaii Crochet Hat with Grey Folded Brim

Introduction
If you have never held a crochet hook before, this Dusty Rose Bear Beanie is the perfect first project to fall in love with. It is worked almost entirely in one simple stitch, single crochet, so you only need to learn one motion to make the whole hat. The finished beanie is a soft, rounded dome in a muted dusty rose pink, with a thick medium grey brim that folds up about 2.5 inches for a cozy, squishy cuff. Two little round grey bear ears sit on the crown, giving it that sweet, kawaii look that makes people smile. It works up in an afternoon, feels snuggly and warm, and fits heads measuring 19–21 inches around.
Materials Needed
- Yarn: Worsted weight (category 4) acrylic or acrylic-blend yarn, approx. 150–180 yards total. You need about 110 yards of dusty rose and about 60 yards of medium grey. The sample uses a soft worsted at 4 oz / 200 yds per skein, so one skein of each color is plenty.
- Crochet hook: Size H/8 (5.0 mm) for the hat body and ears.
- Crochet hook: Size I/9 (5.5 mm) for the brim (optional — it gives a slightly looser, softer brim).
- Stitch marker: At least one, to mark the first stitch of each round.
- Tapestry needle: A blunt, large-eyed needle for sewing the brim and ears and weaving in ends.
- Scissors: Any sharp pair for cutting yarn.
- Finished size: Fits head circumference 19–21 inches (48–53 cm). Finished hat measures approx. 8 inches (20 cm) tall unfolded, 10 inches (25 cm) at the widest point, with the brim folded up approx. 2.5 inches (6 cm).
Abbreviations and Beginner Glossary
- ch – chain. Make a loop of yarn on your hook, then pull the yarn through the loop. Each loop you pull through is one chain. Chains are the foundation you build on.
- sc – single crochet. Insert your hook into the stitch, wrap the yarn over the hook, pull up a loop (you now have 2 loops on the hook), wrap the yarn over again, and pull it through both loops. That is one single crochet.
- sl st – slip stitch. Insert your hook into the stitch, wrap the yarn over, and pull it straight through both the stitch and the loop on your hook in one motion. It makes a nearly invisible joining stitch.
- sc2tog – single crochet 2 together (a decrease). Insert your hook into the first stitch, pull up a loop, insert your hook into the next stitch, pull up a loop (3 loops on hook), wrap yarn over and pull through all 3 loops. This turns two stitches into one.
- st(s) – stitch or stitches. One completed loop or "V" in your work.
- rnd – round. One full circle of stitches worked around the hat.
- MR – magic ring. A loop of yarn you wrap around your fingers and work stitches into, then pull tight so the center closes with no hole.
- 2 sc in next st – work two single crochets into the same stitch. This is an increase and makes the circle grow.
- [ ] – brackets. Repeat everything inside the brackets the number of times stated after them.
- turn – flip your work over so you can work back the other way (used for the flat brim).
Gauge
14 sc x 16 rounds = 4 inches (10 cm) with the H/8 (5.0 mm) hook.
Gauge means how many stitches and rows fit into a 4-inch square. It matters because it decides whether the hat fits a real head — too loose and it slides off, too tight and it will not go on. To check it, crochet a small flat square about 5 inches wide in single crochet, then lay a ruler across the middle and count how many stitches fit in 4 inches. If you get more than 14, your stitches are tight — try a larger hook. If you get fewer, your stitches are loose — try a smaller hook. Always check gauge before starting the hat.
Beginner Tips Before You Start
- Use a stitch marker. Because the hat is worked in a continuous spiral, the first stitch of each round moves. Clip a marker into the first stitch of every round so you never lose your place.
- Do not pull the yarn too tight. Keep your tension relaxed and even. Tight stitches make a stiff, small hat that will not stretch over a head.
- Count your stitches at the end of every increase round. The numbers in parentheses tell you exactly how many stitches you should have. If the count is off, fix it before moving on.
- Work the increases loosely. The "2 sc in next st" stitches tend to tighten up; give them a little extra slack so the crown stays flat.
- Keep the magic ring tail handy. After Round 1, pull the starting tail firmly to close the center hole completely, then weave it in later.
- Try the hat on as you go. Once the crown is about 6.5 inches across, it should sit flat on top of the head — that is your signal to stop increasing.
Step-by-Step Instructions
Notes: The hat is worked in continuous rounds — do not join unless stated. Use a stitch marker to mark the first stitch of each round. The brim is worked separately in turned rows and sewn on, then folded up. The ears are small flat circles worked in the round and sewn to the crown.
Hat Body (dusty rose, H/8 hook)
Rnd 1: Make a magic ring, ch 1, work 6 sc into the ring. Pull the ring closed. (6 sc)
Rnd 2: 2 sc in each st around. (12 sc)
Rnd 3: [2 sc in next st, sc in next st] around. (18 sc)
Rnd 4: [2 sc in next st, sc in next 2 sts] around. (24 sc)
Rnd 5: [2 sc in next st, sc in next 3 sts] around. (30 sc)
Rnd 6: [2 sc in next st, sc in next 4 sts] around. (36 sc)
Rnd 7: [2 sc in next st, sc in next 5 sts] around. (42 sc)
Rnd 8: [2 sc in next st, sc in next 6 sts] around. (48 sc)
Rnd 9: [2 sc in next st, sc in next 7 sts] around. (54 sc)
Rnd 10: [2 sc in next st, sc in next 8 sts] around. (60 sc)
Rnd 11: [2 sc in next st, sc in next 9 sts] around. (66 sc)
Rnd 12: [2 sc in next st, sc in next 10 sts] around. (72 sc)
The crown diameter should now measure approx. 6.5 inches (16.5 cm).
Rnds 13–40: Sc in each st around, working evenly without increasing. (72 sc per rnd)
After Rnd 40, the hat body measures approx. 8 inches (20 cm) from the crown. Do not fasten off yet; sl st in the next st, then fasten off leaving a 12-inch tail for seaming the brim. Weave in the starting tail.
Brim (medium grey, I/9 hook)
Worked flat in turned rows, then sewn to the lower edge of the hat.
Row 1: Ch 13, sc in 2nd ch from hook and in each ch across. (12 sc)
Row 2: Ch 1, turn, sc in each st across. (12 sc)
Rows 3–72: Repeat Row 2 until the brim strip measures approx. 20 inches (51 cm) long, slightly stretched. Fasten off leaving a long tail.
Ears (make 2, medium grey, H/8 hook)
Rnd 1: Make a magic ring, ch 1, work 6 sc into the ring. Pull the ring closed. (6 sc)
Rnd 2: 2 sc in each st around. (12 sc)
Rnd 3: [2 sc in next st, sc in next st] around. (18 sc)
Rnd 4: Sc in each st around. (18 sc)
Rnd 5: [Sc2tog, sc in next st] around. (12 sc)
Rnd 6: Sc in each st around. (12 sc)
Sl st in the next st, fasten off leaving a 10-inch tail. Flatten each ear slightly into a rounded oval and use the tail to sew a small running stitch around the base to hold the shape. Do not stuff.
Assembly and Finishing
Seaming the brim: With right sides facing, sew the short ends of the brim strip together to form a ring using the mattress stitch or whipstitch. Turn the ring right side out. Pin the brim ring around the bottom edge of the hat so the bottom edges align, overlapping the hat body by about 1 inch (2.5 cm). Sew in place with matching grey yarn, working through both layers. Fold the brim up approx. 2.5 inches (6 cm) to create the folded cuff.
Attaching the ears: Lay the hat flat with the brim folded up and the front facing you. Position the two ears on the crown, about 2 inches (5 cm) apart and about 1.5 inches (4 cm) back from the front edge, so they sit symmetrically. Pin in place. Using the grey tails, sew each ear securely to the hat with small, even stitches, going around the entire base of each ear.
Weaving in ends: Thread each loose tail onto the tapestry needle and weave it back and forth through the inside of the hat for about 2 inches, then trim close to the fabric.
Blocking: Gently steam or block the hat to settle the stitches, being careful not to flatten the ears. Let it dry fully, then fold the grey brim up to wear.
Pro Tips and Variations
- Change the colors: Swap the dusty rose for any worsted color you love — mint green, mustard, or lavender all look adorable with a grey brim. Keep the grey for the brim and ears so the bear look stays clear.
- Adjust the size: For a smaller baby hat, stop increasing at Rnd 10 (60 sts) and work Rnds 11–36 without increasing. For a larger adult hat, add Rnd 13 of increases (78 sts) and work a few extra even rounds.
- Substitute the yarn: Any worsted weight (category 4) yarn works — cotton gives a crisper stitch, while a soft acrylic or wool blend is snuggliest. Always re-check your gauge with a new yarn.
- Add a pom-pom: Skip the ears and sew a fluffy grey pom-pom to the top for a classic beanie look, or add a small crocheted flower to one side of the brim.