Montmartre Crochet Beret Free Pattern: Parisian Chic Hat with Knit-Look Rib Brim & Strawberry Appliqué

Introduction
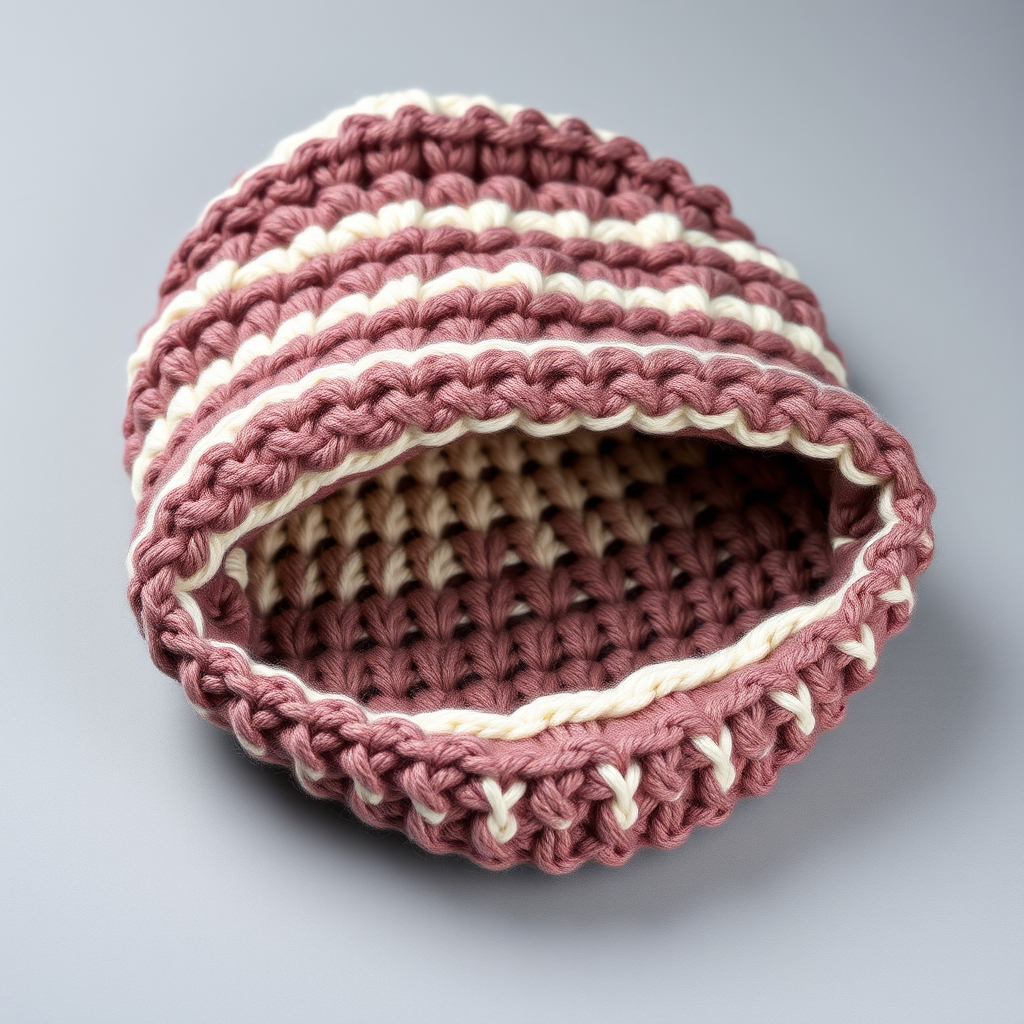
Welcome to your very first Parisian adventure in crochet! This Montmartre Beret is the perfect project for a complete beginner who wants to make something that looks genuinely stylish and impressive. It is worked almost entirely in single crochet, which is the easiest and most beginner-friendly stitch there is, so you only need to learn one stitch to make the whole hat. The finished beret is soft, slouchy, and warm, with a deep berry-red body, a stretchy knit-look ribbed brim that hugs your head, and a tiny cream strawberry with green leaves perched on the crown. It feels like something you would buy in a little shop in Paris, but you made it yourself.
Materials Needed
- Yarn (worsted weight, Category 4): approx. 170 yd (155 m) deep berry red (main color, MC) for the beret body and brim; approx. 10 yd (9 m) cream for the strawberry; approx. 5 yd (4.5 m) leaf green for the leaves and stem. Acrylic or a wool blend both work beautifully.
- Crochet hook: US H/8 (5.0 mm) for the beret body and brim.
- Crochet hook: US G/6 (4.0 mm) for the strawberry appliqué.
- Stitch marker (one is enough; a safety pin or scrap of yarn works too).
- Tapestry needle (a big blunt needle with a large eye) for weaving in ends and sewing the brim and strawberry.
- Scissors.
- Optional: a tiny bit of fiberfill or yarn scraps to stuff the strawberry, and a dinner plate or balloon for blocking.
Finished size: Fits an average adult head of 21–23 in (53–58 cm). Circumference at the brim is approx. 20 in (51 cm) unstretched and stretches to 23 in (58 cm). The crown circle measures approx. 11 in (28 cm) across at its widest point, the brim is approx. 1.75 in (4.5 cm) deep, and the total hat height is approx. 8.5 in (21.5 cm).
Abbreviations and Beginner Glossary
- ch – chain: wrap the yarn over your hook and pull it through the loop on your hook. This makes a small link.
- sl st – slip stitch: insert your hook into the stitch, wrap yarn over, and pull it through both the stitch and the loop on your hook at once. It joins things without adding height.
- sc – single crochet: insert hook into the stitch, wrap yarn over, pull up a loop (2 loops on hook), wrap yarn over again, pull through both loops. One loop remains.
- hdc – half double crochet: wrap yarn over first, insert hook into stitch, wrap yarn over, pull up a loop (3 loops on hook), wrap yarn over, pull through all 3 loops at once.
- dc – double crochet: wrap yarn over, insert hook, pull up a loop (3 loops), wrap yarn over and pull through 2 loops, wrap yarn over and pull through the last 2 loops.
- sc2tog – single crochet 2 stitches together (a decrease): insert hook into the first stitch, pull up a loop, insert hook into the next stitch, pull up a loop (3 loops on hook), wrap yarn over and pull through all 3 loops. Two stitches become one.
- BLO – back loop only: every stitch has two top loops (a front one nearer you and a back one farther away). Working in the back loop only means you insert your hook under just the back loop.
- FLO – front loop only: same idea, but you work under just the front loop.
- st(s) – stitch(es).
- rnd – round: one complete circle of stitches worked in the round.
- rep – repeat: do the bracketed instruction again.
- MC – main color (the berry red).
- magic ring – an adjustable loop of yarn you crochet into to start a circle; you pull the tail to close the hole tight.
Gauge
16 sc x 18 rounds = 4 in (10 cm) in single crochet with the 5.0 mm hook. (14 hdc x 12 rounds = 4 in / 10 cm in half double crochet with the same hook, if you use hdc anywhere.)
Gauge means how big your stitches come out. If your stitches are bigger than mine, the hat will be too large; if smaller, it will be too tight. Gauge matters here because the beret is shaped entirely by counting stitches, so the finished size depends on it. To check: with the 5.0 mm hook and MC, chain 20, then work single crochet rows until the piece measures about 4 in (10 cm) tall. Lay it flat and measure a 4 in (10 cm) square in the middle. Count the stitches across and the rows up. If you have more than 16 stitches, your stitches are too small — try a larger hook. If you have fewer, your stitches are too big — try a smaller hook.
Beginner Tips Before You Start
- Use your stitch marker every round. Because the crown is worked in a continuous spiral (no joining), it is easy to lose track of where a round begins. Place the marker in the first stitch of each round and move it up as you go.
- Do not pull your yarn too tight. Tension is the number-one beginner struggle. Keep your loops relaxed and even; tight stitches make a stiff, small hat.
- Count out loud. The increases follow a simple pattern (each round adds one more plain stitch between the increases), so counting keeps you on track and the stitch counts correct.
- Work the increases in the same spot each round is fine — but stagger them if you like. For a perfectly round circle, some crocheters shift where the increase falls; for a beret it does not matter, so keep it simple.
- Try on as you go. Once the brim is attached you can gently stretch the hat over your head to check the fit before sewing the strawberry on.
- Keep your brim strip slightly stretched when measuring. The ribbed band should be snug, not loose, so it grips your head.
Step-by-Step Instructions
Notes: The beret is worked in the round from the center of the crown outward as a flat circle, then the sides are worked even, then decreased to the brim opening. Do not join rounds for the crown and sides — work in a continuous spiral and use your stitch marker. The brim is worked separately in turned rows and sewn on. The strawberry is worked separately and sewn on last.
Part 1: Crown (flat circle, continuous spiral, 5.0 mm hook, MC)
Set-up: Make a magic ring.
Rnd 1: Work 6 sc into the magic ring. Pull the tail tight to close. Place marker in first st. (6 sc)
Rnd 2: 2 sc in each st around. (12 sc)
Rnd 3: [2 sc in next st, 1 sc in next st] rep around. (18 sc)
Rnd 4: [2 sc in next st, 1 sc in each of next 2 sts] rep around. (24 sc)
Rnd 5: [2 sc in next st, 1 sc in each of next 3 sts] rep around. (30 sc)
Rnd 6: [2 sc in next st, 1 sc in each of next 4 sts] rep around. (36 sc)
Rnd 7: [2 sc in next st, 1 sc in each of next 5 sts] rep around. (42 sc)
Rnd 8: [2 sc in next st, 1 sc in each of next 6 sts] rep around. (48 sc)
Rnd 9: [2 sc in next st, 1 sc in each of next 7 sts] rep around. (54 sc)
Rnd 10: [2 sc in next st, 1 sc in each of next 8 sts] rep around. (60 sc)
Rnd 11: [2 sc in next st, 1 sc in each of next 9 sts] rep around. (66 sc)
Rnd 12: [2 sc in next st, 1 sc in each of next 10 sts] rep around. (72 sc)
Rnd 13: [2 sc in next st, 1 sc in each of next 11 sts] rep around. (78 sc)
Rnd 14: [2 sc in next st, 1 sc in each of next 12 sts] rep around. (84 sc)
Rnd 15: [2 sc in next st, 1 sc in each of next 13 sts] rep around. (90 sc)
Rnd 16: [2 sc in next st, 1 sc in each of next 14 sts] rep around. (96 sc)
Rnd 17: [2 sc in next st, 1 sc in each of next 15 sts] rep around. (102 sc)
Rnd 18: [2 sc in next st, 1 sc in each of next 16 sts] rep around. (108 sc)
Rnd 19: [2 sc in next st, 1 sc in each of next 17 sts] rep around. (114 sc)
Rnd 20: [2 sc in next st, 1 sc in each of next 18 sts] rep around. (120 sc)
At the end of Rnd 20 the circle should measure approx. 11 in (28 cm) in diameter. Do not fasten off.
Part 2: Sides (work even for the slouch)
Rnds 21–30: Sc in each st around. (120 sc)
The sides should measure approx. 3.5 in (9 cm) from the edge of the crown circle. Do not fasten off.
Part 3: Decrease to the Brim Opening
Rnd 31: [Sc2tog, 1 sc in each of next 8 sts] rep around. (108 sc)
Rnd 32: [Sc2tog, 1 sc in each of next 7 sts] rep around. (96 sc)
Rnd 33: [Sc2tog, 1 sc in each of next 6 sts] rep around. (84 sc)
Rnd 34: [Sc2tog, 1 sc in each of next 5 sts] rep around. (72 sc)
Rnd 35: [Sc2tog, 1 sc in each of next 4 sts] rep around. (60 sc)
Rnd 36: [Sc2tog, 1 sc in each of next 3 sts] rep around. (48 sc)
Rnd 37: [Sc2tog, 1 sc in each of next 2 sts] rep around. (36 sc)
Rnd 38: [Sc2tog, 1 sc in next st] rep around. (24 sc)
Rnd 39: [Sc2tog] rep around. (12 sc)
Rnd 40: Sc in each st around. (12 sc)
Do not fasten off. The opening should measure approx. 4 in (10 cm) in diameter; the brim will cover it.
Part 4: Knit-Look Rib Brim (5.0 mm hook, MC, turned rows)
The brim is a separate strip worked in the back loops only, which gives it a stretchy, knit-look ribbed texture. It is later folded in half and sewn to the beret opening.
Row 1: Ch 9. Sc in 2nd ch from hook and in each ch across. (8 sc)
Row 2: Ch 1, turn. Working in BLO, sc in each st across. (8 sc)
Repeat Row 2 until the ribbed strip measures approx. 20 in (51 cm) unstretched, or long enough to wrap snugly around the beret opening with a little stretch. Fasten off, leaving a long tail for seaming.
Part 5: Strawberry Appliqué (4.0 mm hook)
With cream yarn:
Rnd 1: Make a magic ring. Work 6 sc into the ring. Join with sl st to first sc. (6 sc)
Rnd 2: Ch 1. 2 sc in each st around. Join with sl st to first sc. (12 sc)
Rnd 3: Ch 1. [2 sc in next st, 1 sc in next st] rep around. Join with sl st to first sc. (18 sc)
Rnd 4: Ch 1. Sc in each st around. Join with sl st to first sc. (18 sc)
Rnd 5: Ch 1. [Sc2tog, 1 sc in next st] rep around. Join with sl st to first sc. (12 sc)
Stuff lightly with a small amount of fiberfill or yarn scraps (optional — the appliqué can stay flat).
Rnd 6: Ch 1. [Sc2tog] rep around. Join with sl st to first sc. (6 sc)
Fasten off, leaving a long tail. Using the tail, sew the opening closed and shape into a small strawberry.
With leaf green yarn — Leaves: Ch 5. Sl st in 2nd ch from hook, sc in next ch, hdc in next ch, sl st in last ch. This makes one small leaf. Rep 3 more times to make 4 leaves total, joining each to the base of the strawberry with a sl st. Fasten off, leaving a tail.
Stem: With green yarn, ch 4. Sl st in 2nd ch from hook and in each ch across. Fasten off. Sew the stem to the top of the strawberry.
Assembly and Finishing
1. Make the brim band. Fold the ribbed strip in half lengthwise so it becomes a double-thick band, with the ribbed texture facing outward.
2. Pin the brim in place. Pin the long raw edges of the folded strip evenly around the beret opening, aligning the strip's edge with the final round of the beret body. The ribbed band should sit on the outside of the beret.
3. Sew the brim on. Thread your long tail onto the tapestry needle. Whipstitch (bring the needle up through both layers and over the edge, then repeat) the strip to the beret opening, catching both layers of the folded strip and the beret edge. Work evenly around, easing in any fullness so the band lies flat.
4. Close the band. Sew the short ends of the ribbed strip together to close the band into a ring. Weave in ends.
5. Weave in all ends on the beret, brim, and strawberry, running each tail through the back of several stitches and trimming close.
6. Block the beret. Lightly mist the hat with water and shape it over a dinner plate or an inflated balloon to the desired diameter. Allow it to dry completely — this smooths the stitches and helps the beret hold its round shape.
7. Attach the strawberry. Position the strawberry at the center of the crown, or slightly off-center for a Parisian-chic look. Pin it in place and sew securely with matching yarn, catching the leaves and stem so nothing flops.
Care: Hand wash cold, lay flat to dry. Do not bleach. Do not iron.
Pro Tips and Variations
- Change the color story. Work the beret in classic black, camel, or dusty pink, and swap the strawberry for a cream flower or a tiny crocheted cherry. The pattern stays exactly the same.
- Adjust the size. For a smaller hat, stop the crown increases at Rnd 18 (108 sc) and work the sides even, then follow the decreases from Rnd 31 onward. For a larger, slouchier beret, add one or two more increase rounds (Rnd 21: 126 sc, Rnd 22: 132 sc) before the sides.
- Substitute yarn. Any worsted weight (Category 4) yarn works. If you use a thinner DK yarn, go down one hook size and check your gauge again; if you use a bulky yarn, go up a hook size.
- Make the brim extra stretchy. Work the brim strip in half double crochet in the back loop only instead of single crochet — it grows faster and feels softer against the forehead. Check your gauge with the hdc note above.