Cloudberry Cuff Baby Mittens Free Pattern

Cloudberry Cuff Baby Mittens: A Cozy, Beginner-Friendly Knitting Project
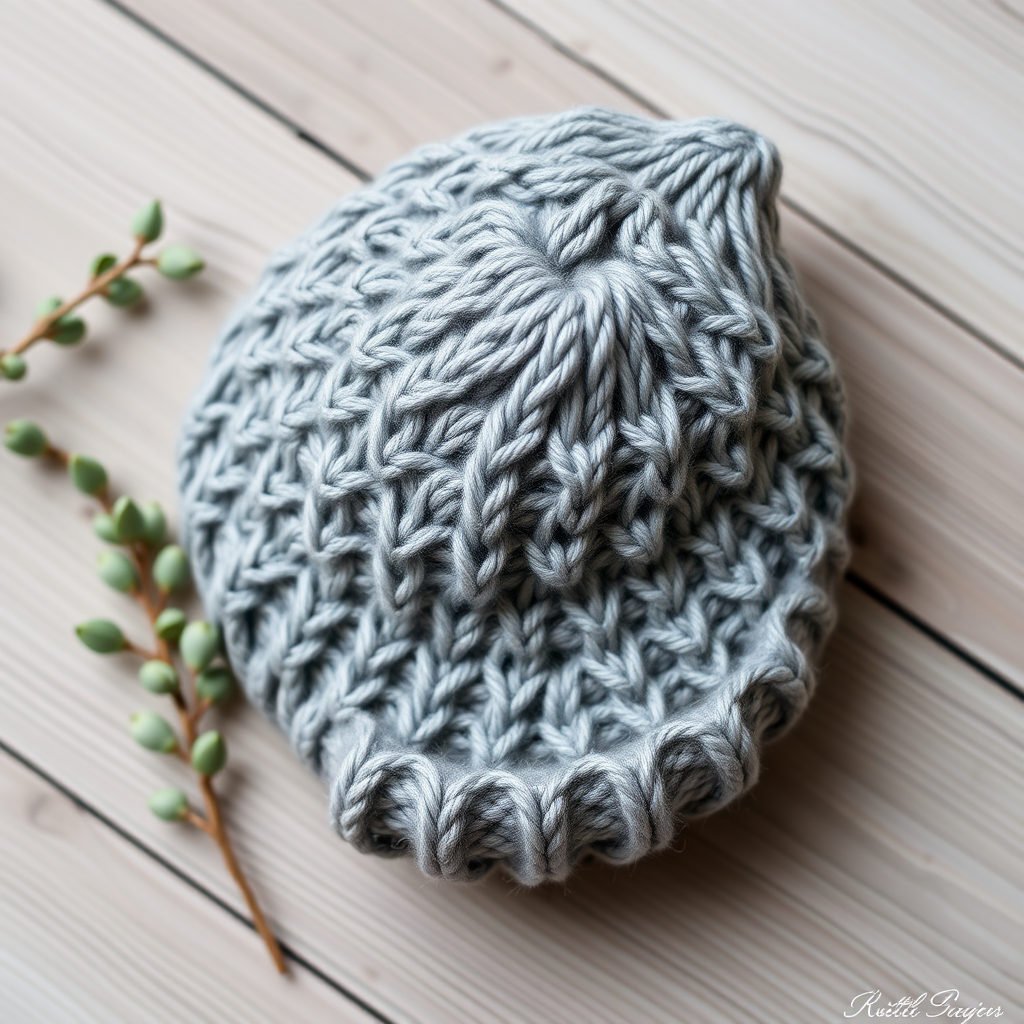
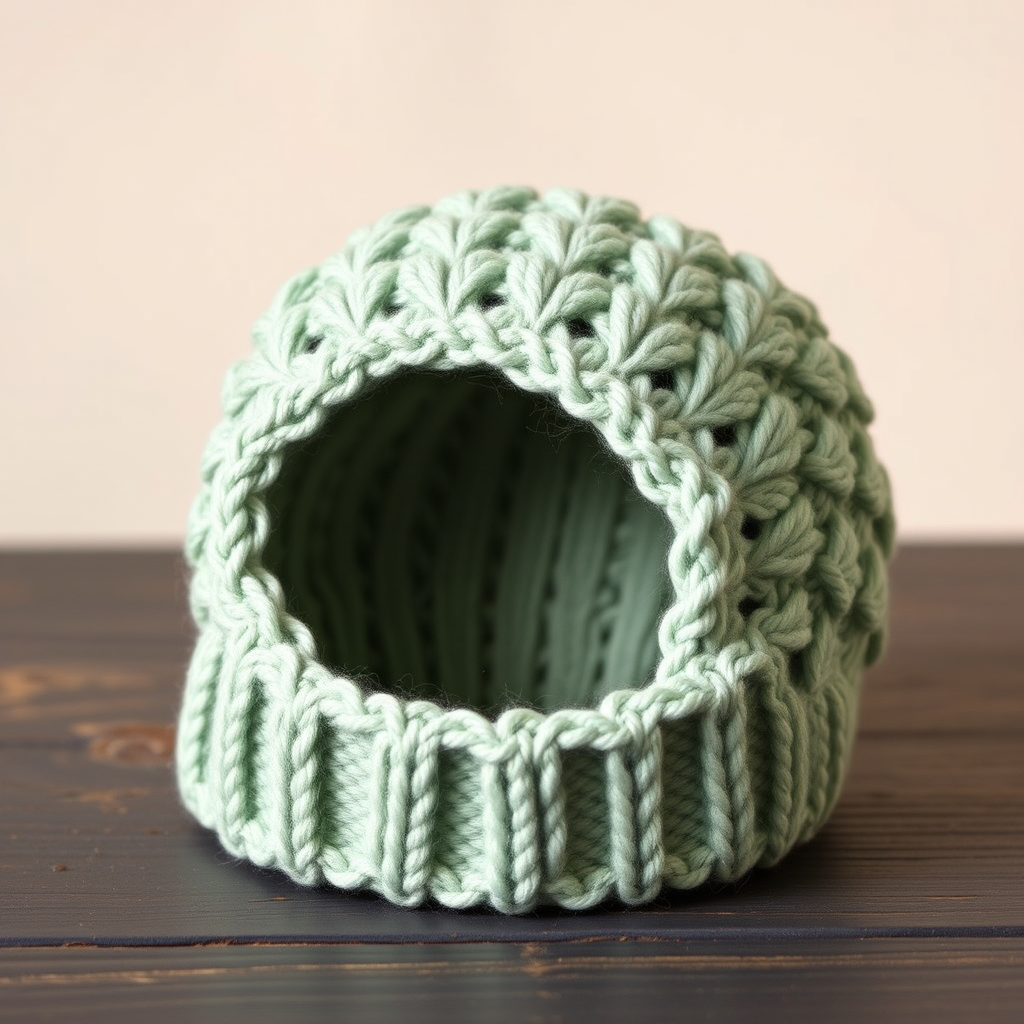
There's something truly special about creating a handmade gift for a little one. These Cloudberry Cuff Baby Mittens are not only adorable but also incredibly practical, designed to keep tiny hands warm and snug. Inspired by the delicate texture of cloudberries, this pattern features a unique, easy-to-achieve stitch that creates small, raised "berry" bumps across the body of the mitten.
This is the perfect project for beginner knitters looking to expand their skills beyond the basics. Worked in the round from the cuff up, it introduces you to simple ribbing, basic texture patterns, and easy decreases—all while producing a quick, satisfying result. Whether you're crafting for your own little one or searching for a thoughtful baby shower gift, these mittens are sure to be a hit. Let's get those needles clicking!
Materials Needed: Gathering Your Supplies
Before you begin, ensure you have all the necessary materials. This project uses simple, readily available supplies, making it an excellent choice for a spontaneous knitting session.
- Yarn: Worsted weight yarn in two colors. You will need a small amount of each.
- Main Color (MC): Soft cream (approx. 50-75 yards)
- Contrast Color (CC): Warm coral or berry red (approx. 25-40 yards)
- Needles: US Size 6 (4.0 mm) double-pointed needles (DPNs). Alternatively, you can use a circular needle long enough for the magic loop technique.
- Notions: Stitch marker (optional), tapestry needle for weaving in ends, and scissors.
Gauge: 22 stitches and 30 rows = 4 inches in stockinette stitch. While gauge is important for a perfect fit, this pattern is quite forgiving for a baby gift. If your gauge is slightly off, the mittens will still likely fit a newborn to 3-month-old.
Step-by-Step Instructions: Knitting Your Cloudberry Mittens
This pattern is worked in the round, creating a seamless, cozy finish. You will make two identical mittens. Follow these detailed instructions carefully, and you'll have a beautiful pair in no time.
Abbreviations
- CO: Cast on
- K: Knit
- P: Purl
- K2tog: Knit two stitches together (right-leaning decrease)
- SSK: Slip, slip, knit (left-leaning decrease - not used in this pattern but good to know)
- St(s): Stitch(es)
- MC: Main Color (cream)
- CC: Contrast Color (coral/red)
Mitten (Make 2)
Note: All rounds are worked continuously. Use a stitch marker to mark the beginning of the round if you find it helpful.
Cuff
Step 1: With your Contrast Color (CC), cast on 24 stitches using the long-tail method. Distribute these stitches evenly across three double-pointed needles (8 stitches per needle).
Step 2: Join to work in the round. Critical: Ensure your cast-on edge is not twisted around the needles. Place a stitch marker on your right-hand needle to indicate the start of the round.
Rounds 1-8: Work the ribbing pattern: *K2, P2*; repeat from * to * around. This creates a stretchy, snug-fitting cuff. Continue this ribbing for all 8 rounds.
Body and Textured Berry Pattern
Step 3: Switch to your Main Color (MC). Cut the CC yarn, leaving a 4-inch tail to weave in later.
Rounds 9-10: Knit every stitch around. This creates a smooth stockinette base before the texture begins.
Round 11: Begin the textured pattern: *K1, P1*; repeat from * to * around. This row creates the purl bumps that will form the "cloudberries."
Round 12: Knit every stitch around.
Round 13: Offset the pattern: *P1, K1*; repeat from * to * around. This staggers the purl bumps, creating a more organic, berry-like texture.
Rounds 14-15: Knit every stitch around.
Step 4: Repeat Rounds 11 through 15 two more times. After completing these repeats, you will have a total of three distinct textured bands on the mitten body. The piece should measure approximately 2.5 to 3 inches from the cast-on edge.
Shaping the Top (Decreases)
Step 5: Now, you will begin decreasing to shape the rounded top of the mitten.
Round 21: *K2, K2tog*; repeat from * to * around. (You will have 18 stitches remaining).
Round 22: Knit every stitch around. (No decrease this round).
Round 23: *K1, K2tog*; repeat from * to * around. (You will have 12 stitches remaining).
Round 24: Knit every stitch around. (No decrease this round).
Round 25: *K2tog*; repeat from * to * around. (You will have 6 stitches remaining).
Step 6: Cut your yarn, leaving a generous 6-inch tail. Thread this tail onto a tapestry needle. Slide the needle through the remaining 6 stitches on your knitting needles, removing them from the needles as you go. Pull the yarn tight to cinch the top of the mitten closed, creating a neat, gathered finish. Secure the yarn with a small stitch and weave the end inside the mitten to hide it.
Finishing Touches
Step 7: Weave in all loose ends from your color changes and cast-on edge using your tapestry needle. Make sure to weave them in securely on the inside of the mitten so they don't show on the outside.
Step 8 (Optional but Adorable): To create a small hanging loop, use your CC yarn to crochet or knit a simple 2-inch i-cord. Attach this loop to the inside of the cuff. This is perfect for attaching the mittens to a stroller, car seat, or a baby's jacket with a clip, ensuring they never get lost.
Step 9: Repeat the entire process to create the second mitten.
And there you have it—a beautiful, handcrafted pair of Cloudberry Cuff Baby Mittens! The combination of the soft cream and vibrant berry color, along with the unique textured stitch, makes these a truly special gift. They are quick to knit, wonderfully soft, and sure to be treasured. Happy knitting!