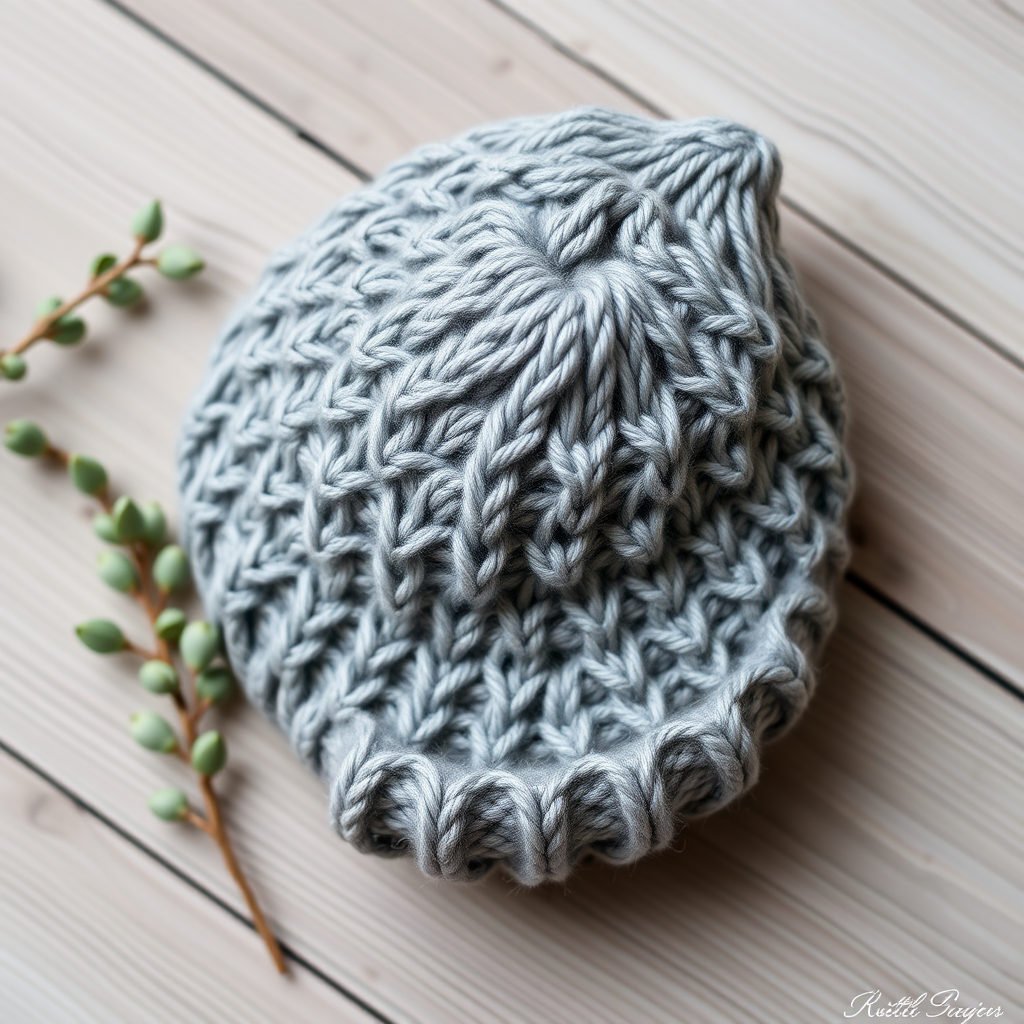
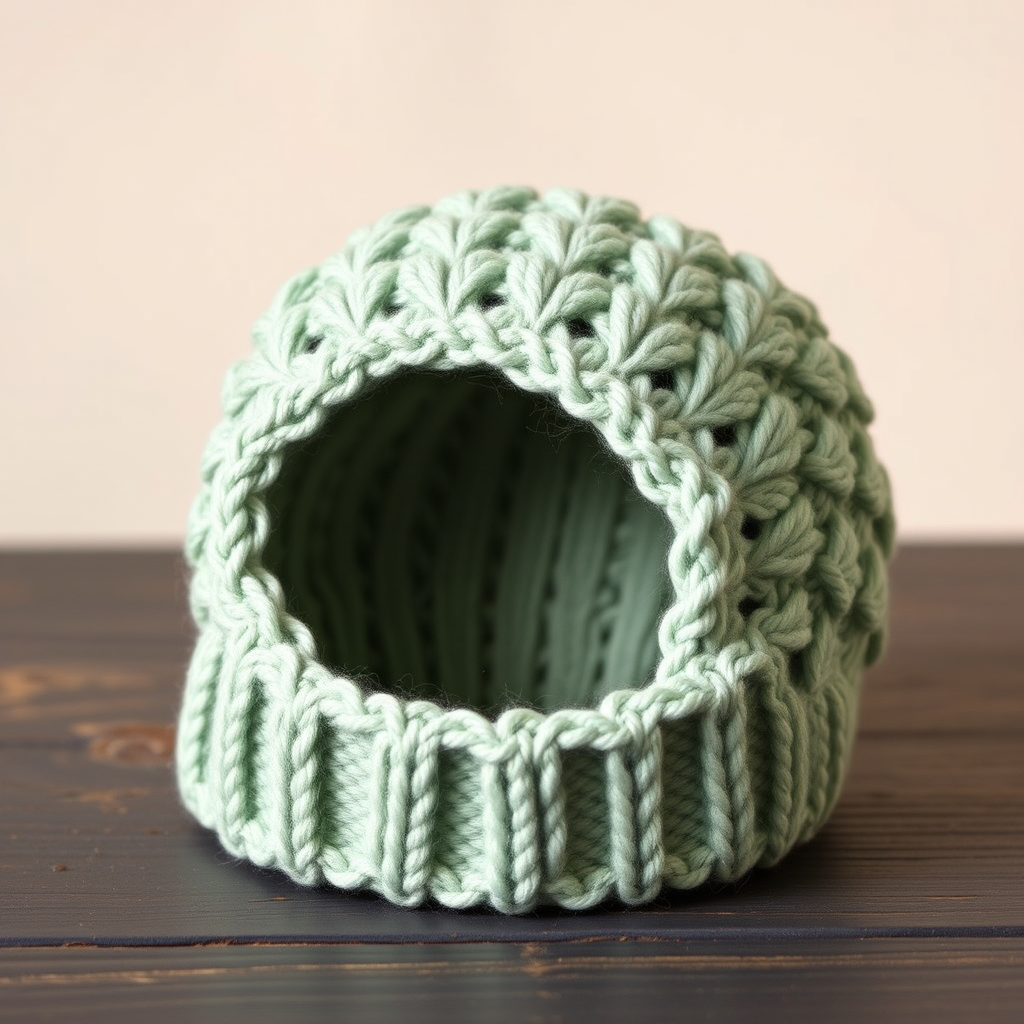
Whispering Willow Preemie Cocoon & Hat Set Free Pattern

Whispering Willow Preemie Cocoon & Hat Set: A Free Knitting Pattern for Tiny Miracles
There is nothing quite as tender as knitting for a baby—especially when that baby arrives early and needs an extra layer of love. The Whispering Willow Preemie Cocoon & Hat Set is designed for the tiniest miracles, wrapping them in a delicate, textured haven that feels as soothing as a lullaby. The gentle ripple stitch creates a rhythmic, wavy pattern across the cocoon, while the matching hat features a soft cream ribbed brim that rolls slightly for a cozy, handmade finish. Whether you are a seasoned knitter or a brave beginner ready for a rewarding project, this free pattern will guide you stitch by stitch to create a gift that speaks volumes.
This set is knitted flat from the bottom up for the cocoon, then finished with a seamless side seam. The hat is worked in the round on double-pointed needles, making it a perfect introduction to circular knitting. The result is a plush, comforting set that any NICU nurse or new parent will cherish. Let’s gather our materials and begin this labor of love.
Materials Needed
Before you cast on, ensure you have everything ready. This pattern calls for soft, thick DK-weight yarn that will hold its shape while remaining gentle against delicate skin.
- Yarn: DK weight (light worsted) baby yarn in soft sage green (approx 200g) and a cream accent (approx 50g). Look for machine-washable blends like cotton-acrylic or superwash merino for easy care.
- Needles: US 6 (4.0 mm) circular knitting needle (16-inch length) for the cocoon, and a set of US 6 (4.0 mm) double-pointed needles (DPNs) for the hat.
- Notions: Tapestry needle for weaving in ends and seaming, stitch markers (at least 5), scissors, and a tape measure.
- Gauge: 22 stitches and 30 rows = 4 inches in stockinette stitch (blocked). Always knit a swatch to match gauge—this ensures the correct size for a preemie.
Step-by-Step Instructions
Read through the entire pattern once before starting. The cocoon is worked flat, then seamed. The hat is worked in the round. Take your time, and remember that every stitch is a hug for a little one.
Part 1: The Cocoon (Worked Flat from Bottom Up)
Foundation: With sage green yarn, cast on 80 stitches using your preferred long-tail cast-on method. This will be the bottom edge of the cocoon, which remains open.
Ripple Pattern (Main Body): The ripple stitch is a 16-row repeat, but we only use Rows 1-4 to create the wave effect. The pattern is symmetrical, with increases (yarn overs) and decreases (ssk and k2tog) balancing each other out.
- Row 1 (Right Side): Knit 2, *purl 2, knit 2, yarn over (yo), knit 2, yo, knit 2, purl 2, knit 2, slip-slip-knit (ssk), knit 2, knit 2 together (k2tog), knit 2*; repeat from * to * across, ending with knit 2. You will have 5 full repeats of the pattern across the row.
- Row 2 (Wrong Side): Purl all stitches. This row creates the flat background that makes the ripples pop.
- Row 3: Repeat Row 1 exactly. The yarn overs and decreases align to form the peaks and valleys.
- Row 4: Purl all stitches.
Repeat Rows 1-4 until the piece measures 8 inches from the cast-on edge, ending with a Wrong Side row (Row 2 or 4). This forms the body of the cocoon that will wrap around the baby.
Shaping the Top (Rounded Crown)
Now we will decrease stitches to gather the top into a soft, rounded shape. This section is worked in stockinette stitch (knit on RS, purl on WS) with decreases at marked intervals.
- Next Row (Right Side): Knit 2, *purl 2, knit 2, yo, knit 2, yo, knit 2, purl 2, knit 2, ssk, knit 2, k2tog, knit 2*; repeat from * to * across, but this time, after completing each full repeat, place a stitch marker on the needle. You will have 5 markers, dividing the work into 5 equal sections of 16 stitches each.
- Next Row (Wrong Side): Purl all stitches. From here on, you will no longer work the ripple pattern; you are now in stockinette stitch with decreases.
- Decrease Row (Right Side): *Knit to 2 stitches before the marker, knit 2 together (k2tog), slip marker, slip-slip-knit (ssk)*; repeat from * to * across, ending with knit to the last 2 stitches, k2tog. This decreases 2 stitches per section, for a total of 10 stitches decreased per row.
- Next Row (Wrong Side): Purl all stitches. This stabilizes the decreases.
Repeat these two rows (Decrease Row and Purl Row) until only 20 stitches remain on your needle. Cut the yarn, leaving a long tail (at least 12 inches). Thread the tail onto a tapestry needle, slide it through the remaining 20 stitches, and pull tight to gather the top. Secure with a knot.
Seaming: With the right side facing you, use the mattress stitch or a whip stitch to sew the side seam from the bottom cast-on edge up to the gathered top. Leave the bottom edge open—this is where the baby will be placed. Weave in the yarn tail at the top securely.
Part 2: The Matching Hat (Worked in the Round)
The hat is a simple beanie with a ribbed brim and a gathered crown. It uses both cream and sage green yarn.
Ribbing: With cream yarn, cast on 60 stitches onto double-pointed needles. Distribute them evenly (20 stitches per needle if using three needles, or 15 per needle if using four). Join in the round, being careful not to twist the stitches. Place a stitch marker to indicate the beginning of the round. Work in knit 2, purl 2 ribbing for 1 inch. This creates the stretchy, rolled brim.
Body: Switch to sage green yarn. Work in stockinette stitch, which means knitting every round, for 2 inches from the ribbing. This creates a smooth, plush fabric that contrasts beautifully with the textured cocoon.
Shaping the Crown: Now we will decrease to close the top of the hat. The decreases are spaced evenly, and we knit one fewer stitch between decreases on each decrease round.
- Round 1: *Knit 8, knit 2 together (k2tog)*; repeat from * to * around. You will have 54 stitches remaining.
- Round 2: Knit all stitches. (No decreases)
- Round 3: *Knit 7, k2tog*; repeat from * to * around. (48 stitches)
- Round 4: Knit all stitches.
- Round 5: *Knit 6, k2tog*; repeat from * to * around. (42 stitches)
- Round 6: Knit all stitches.
Continue decreasing in this manner, knitting one fewer stitch between decreases on each decrease round (e.g., Knit 5, k2tog; Knit 4, k2tog; etc.), and knitting all stitches on the alternate rounds. When you have 12 stitches remaining, cut the yarn, leaving a long tail. Thread the tail through the remaining stitches, pull tight to close the hole, and secure firmly. Weave in all ends.
Finishing Touches
Weave in all loose ends with your tapestry needle, making sure they are secure and hidden within the fabric. To open up the ripple stitch pattern and give the cocoon a professional finish, gently block the piece. Soak the cocoon in lukewarm water with a drop of baby shampoo, then gently squeeze out excess water (do not wring). Lay it flat on a towel, shape it to the correct dimensions (approximately 8 inches wide by 12 inches tall before seaming), and allow it to dry completely. The hat can be blocked by placing it over a small bowl or balloon to maintain its shape.
Your Whispering Willow Preemie Cocoon & Hat Set is now complete. The gentle ripple stitch, the soft sage green, and the cream accent combine to create a gift that is both practical and deeply sentimental. Whether you donate it to a local NICU or give it to a friend, this set carries the warmth of your hands and the hope of a bright future. Happy knitting, and know that every stitch you made was a whisper of love for a tiny miracle.