Moonlit Meadow Preemie Hat Free Pattern – Knit a Tiny Starry Night
Moonlit Meadow Preemie Hat Free Pattern – Knit a Tiny Starry Night
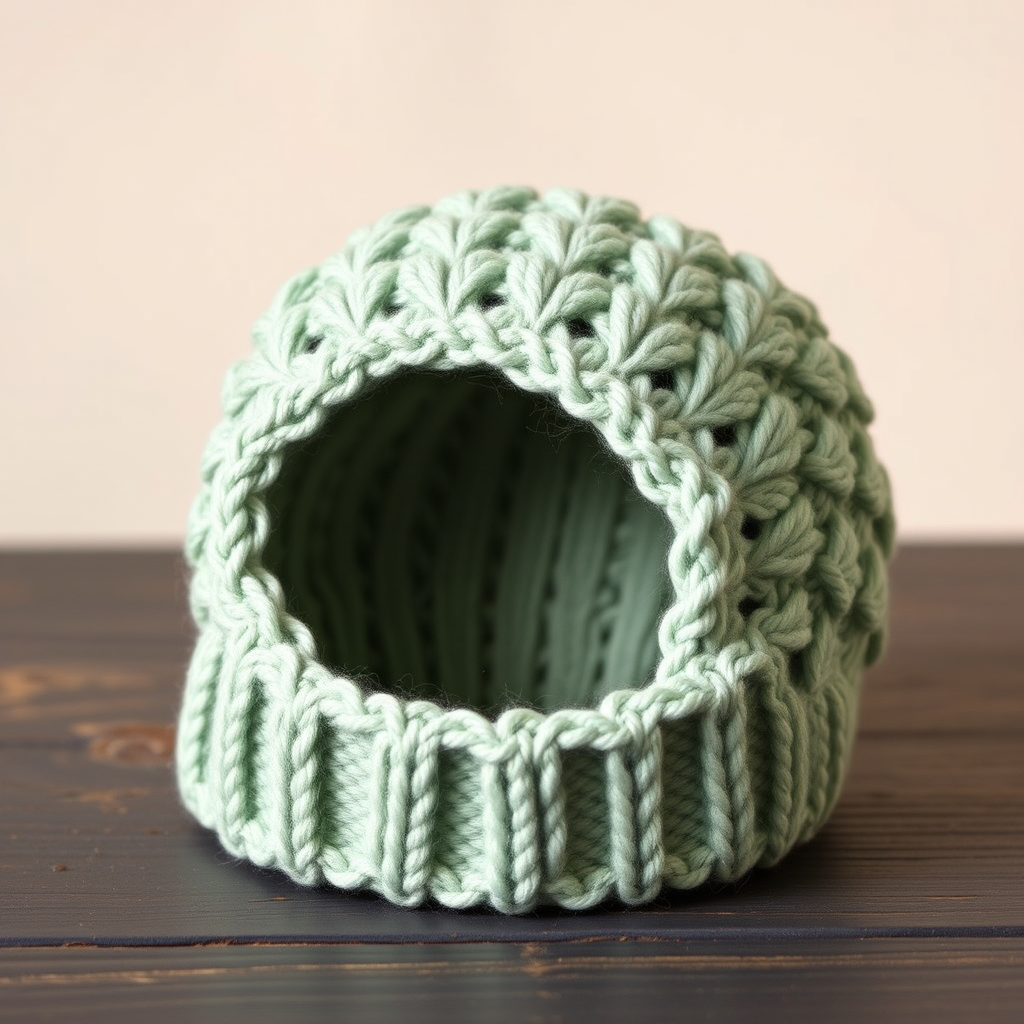
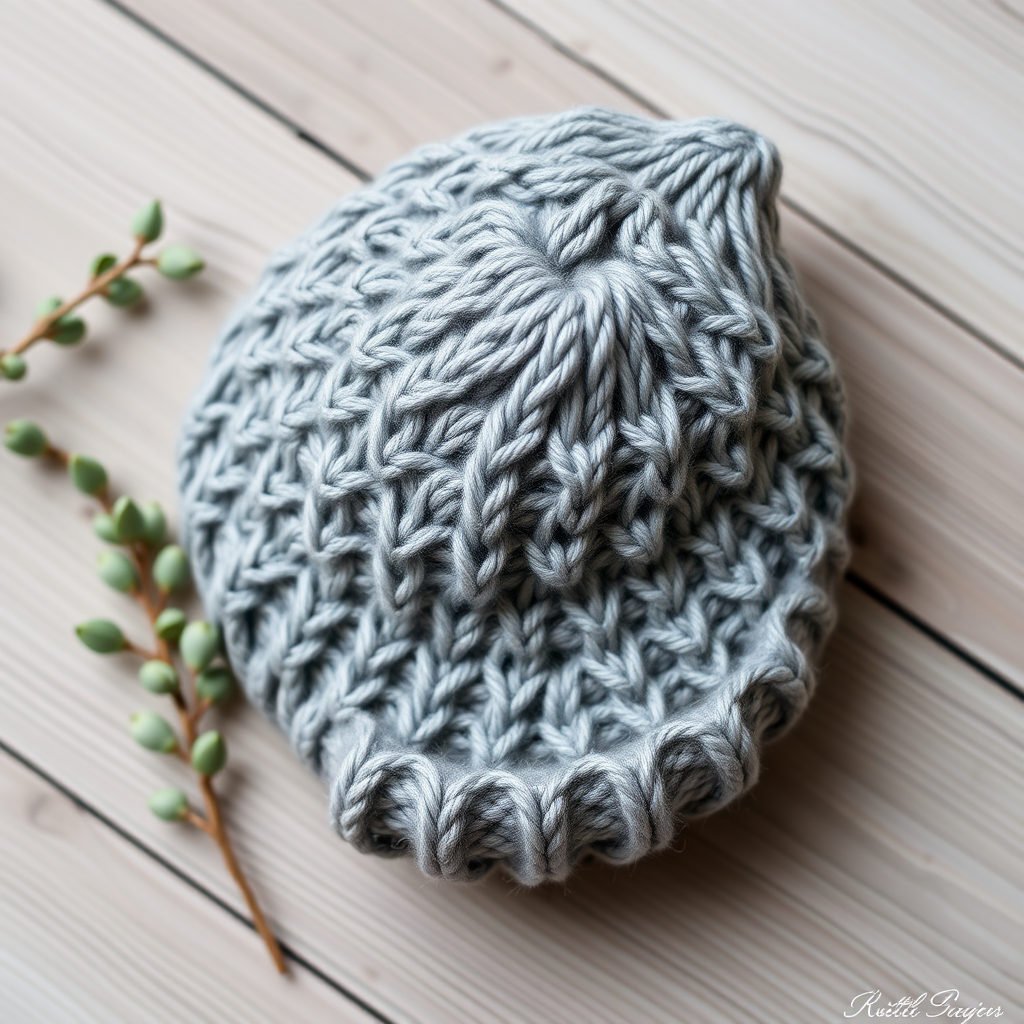
There is something profoundly tender about knitting for a baby who arrives early. Every stitch feels like a whispered promise of warmth and love. The Moonlit Meadow Preemie Hat is designed to wrap the tiniest dreamer in comfort, inspired by a quiet meadow under a starry sky. This delicate beanie features a beautiful lace star pattern that creates an interplay of light and shadow, finished with a soft, naturally rolled brim for a gentle, cozy fit. Whether you are a seasoned knitter looking for a quick, meaningful project or a beginner ready to try lace for the first time, this pattern is a perfect choice. It's also a wonderful gift for a hospital's neonatal unit or a baby shower for an early arrival.
This pattern is written for a preemie head circumference of 10-12 inches, making it a truly tiny treasure. The combination of a simple ribbed brim, an easy-to-memorize lace repeat, and a classic crown decrease makes this project both enjoyable and rewarding. Let's pick up our needles and create a little piece of starry night for a precious little one.
Materials Needed
Before you begin, gather your supplies. This project uses minimal materials, making it a great stash-buster or a quick single-skein purchase.
- Yarn: DK weight superwash merino wool (approx 50g / 125 yards) in a soft heather grey. The superwash treatment makes it machine-washable, which is essential for baby items. The heather grey gives a beautiful, muted "moonlit" effect that shows off the lace pattern perfectly.
- Needles: US 4 (3.5 mm) 16-inch circular needle and a set of double-pointed needles (dpns) in the same size for the crown decreases. Alternatively, you can use the magic loop method with a longer circular needle.
- Notions: Stitch marker, tapestry needle for weaving in ends, and scissors.
- Gauge: 24 stitches and 32 rows = 4 inches in stockinette stitch. Always take time to check your gauge to ensure the correct fit.
Step-by-Step Instructions
This pattern is worked in the round from the brim up. The lace pattern is simple and repetitive, making it easy to memorize. Let's break it down into manageable sections.
Finished Size & Abbreviations
Finished Size: Fits preemie head circumference 10-12 inches.
Abbreviations:
- k = knit
- p = purl
- yo = yarn over
- k2tog = knit two together (right-leaning decrease)
- ssk = slip, slip, knit (left-leaning decrease)
- pm = place marker
- rnd(s) = round(s)
Part 1: The Rolled Brim
We'll start with a simple ribbed brim that will naturally curl into a soft, rolled edge.
- Cast On: Cast on 60 stitches using your preferred method (long-tail cast on works well).
- Join in the Round: Carefully place your marker and join in the round, being extremely careful not to twist your stitches. This is crucial for a neat finish.
- Rnds 1-6: *K1, p1; repeat from * to end of round. This creates a 1x1 rib. As you knit these rounds, you'll notice the knit side naturally begins to curl, creating the rolled brim effect.
Part 2: The Star Lace Body
Now we begin the starry night. The lace pattern is a 10-stitch repeat. Since you have 60 stitches, the pattern will repeat exactly 6 times around. The "yo, ssk, k2tog" combinations create the star points and the open, diamond-shaped holes.
- Rnd 7: Knit all stitches. (This is a plain round to separate the brim from the lace.)
- Rnd 8 (Lace Setup): *K2, yo, ssk, k1, k2tog, yo, k1; repeat from * to end. Tip: Notice how the yarn overs are paired with decreases to keep the stitch count at 10 per repeat.
- Rnd 9: Knit all stitches.
- Rnd 10: *K1, yo, ssk, k3, k2tog, yo; repeat from * to end. Notice how the pattern shifts by one stitch to create the diagonal lines of the star.
- Rnd 11: Knit all stitches.
- Rnd 12: *K2tog, yo, k1, yo, ssk, k3; repeat from * to end. This round creates the center of the star with a double yarn over effect.
- Rnd 13: Knit all stitches.
- Rnd 14: *K1, yo, ssk, k3, k2tog, yo; repeat from * to end. (This is the same as Rnd 10, completing the star's lower half.)
- Rnd 15: Knit all stitches.
- Rnd 16: *K2, yo, ssk, k1, k2tog, yo, k1; repeat from * to end. (This is the same as Rnd 8, closing the star.)
- Rnds 17-20: Knit all stitches. (This is a stockinette section that gives the hat a bit of breathing room between the lace and the crown.)
Part 3: The Crown Decreases
Now we shape the top of the hat. We will switch to double-pointed needles when the circular needle becomes too long for the number of stitches. The decreases are simple and evenly spaced.
- Rnd 21: *K8, k2tog; repeat from * to end. (54 stitches remain)
- Rnd 22: Knit all stitches.
- Rnd 23: *K7, k2tog; repeat from * to end. (48 stitches remain)
- Rnd 24: Knit all stitches.
- Rnd 25: *K6, k2tog; repeat from * to end. (42 stitches remain)
- Rnd 26: Knit all stitches.
- Rnd 27: *K5, k2tog; repeat from * to end. (36 stitches remain)
- Rnd 28: *K4, k2tog; repeat from * to end. (30 stitches remain)
- Rnd 29: *K3, k2tog; repeat from * to end. (24 stitches remain)
- Rnd 30: *K2, k2tog; repeat from * to end. (18 stitches remain)
- Rnd 31: *K1, k2tog; repeat from * to end. (12 stitches remain)
- Rnd 32: *K2tog; repeat from * to end. (6 stitches remain)
Finishing Touches
- Cut Yarn: Cut the yarn, leaving a 6-inch tail.
- Gather Stitches: Thread the tail onto a tapestry needle. Carefully slide the needle through the remaining 6 stitches on your knitting needle, removing them from the needle as you go.
- Pull Tight: Pull the yarn tail firmly to gather the stitches into a tight circle at the top of the hat. This closes the crown.
- Secure: Weave the tail through the inside of the hat a few times to secure it, then weave in the cast-on tail at the brim. Trim any excess yarn.
And there you have it—a beautiful, delicate Moonlit Meadow Preemie Hat. The lace pattern will block beautifully if you choose to gently wash and lay it flat to dry, opening up the star motifs even more. This hat is a labor of love, a tiny piece of art that will keep a precious head warm and cozy. Happy knitting!